Bulk load assets from a file
Bulk Load registers many assets, or updates their values, from one CSV file. It always takes two steps: first you validate the file, which writes nothing to the register, then you commit the valid rows as a separate, deliberate act.
Before you start
- You need to be IT Business Systems or Application Team. The Administration group, including Bulk Load, is for that role only.
- Have your data in a CSV file with a header row and at least one data row. The upload dialog shows which columns are required.
Steps
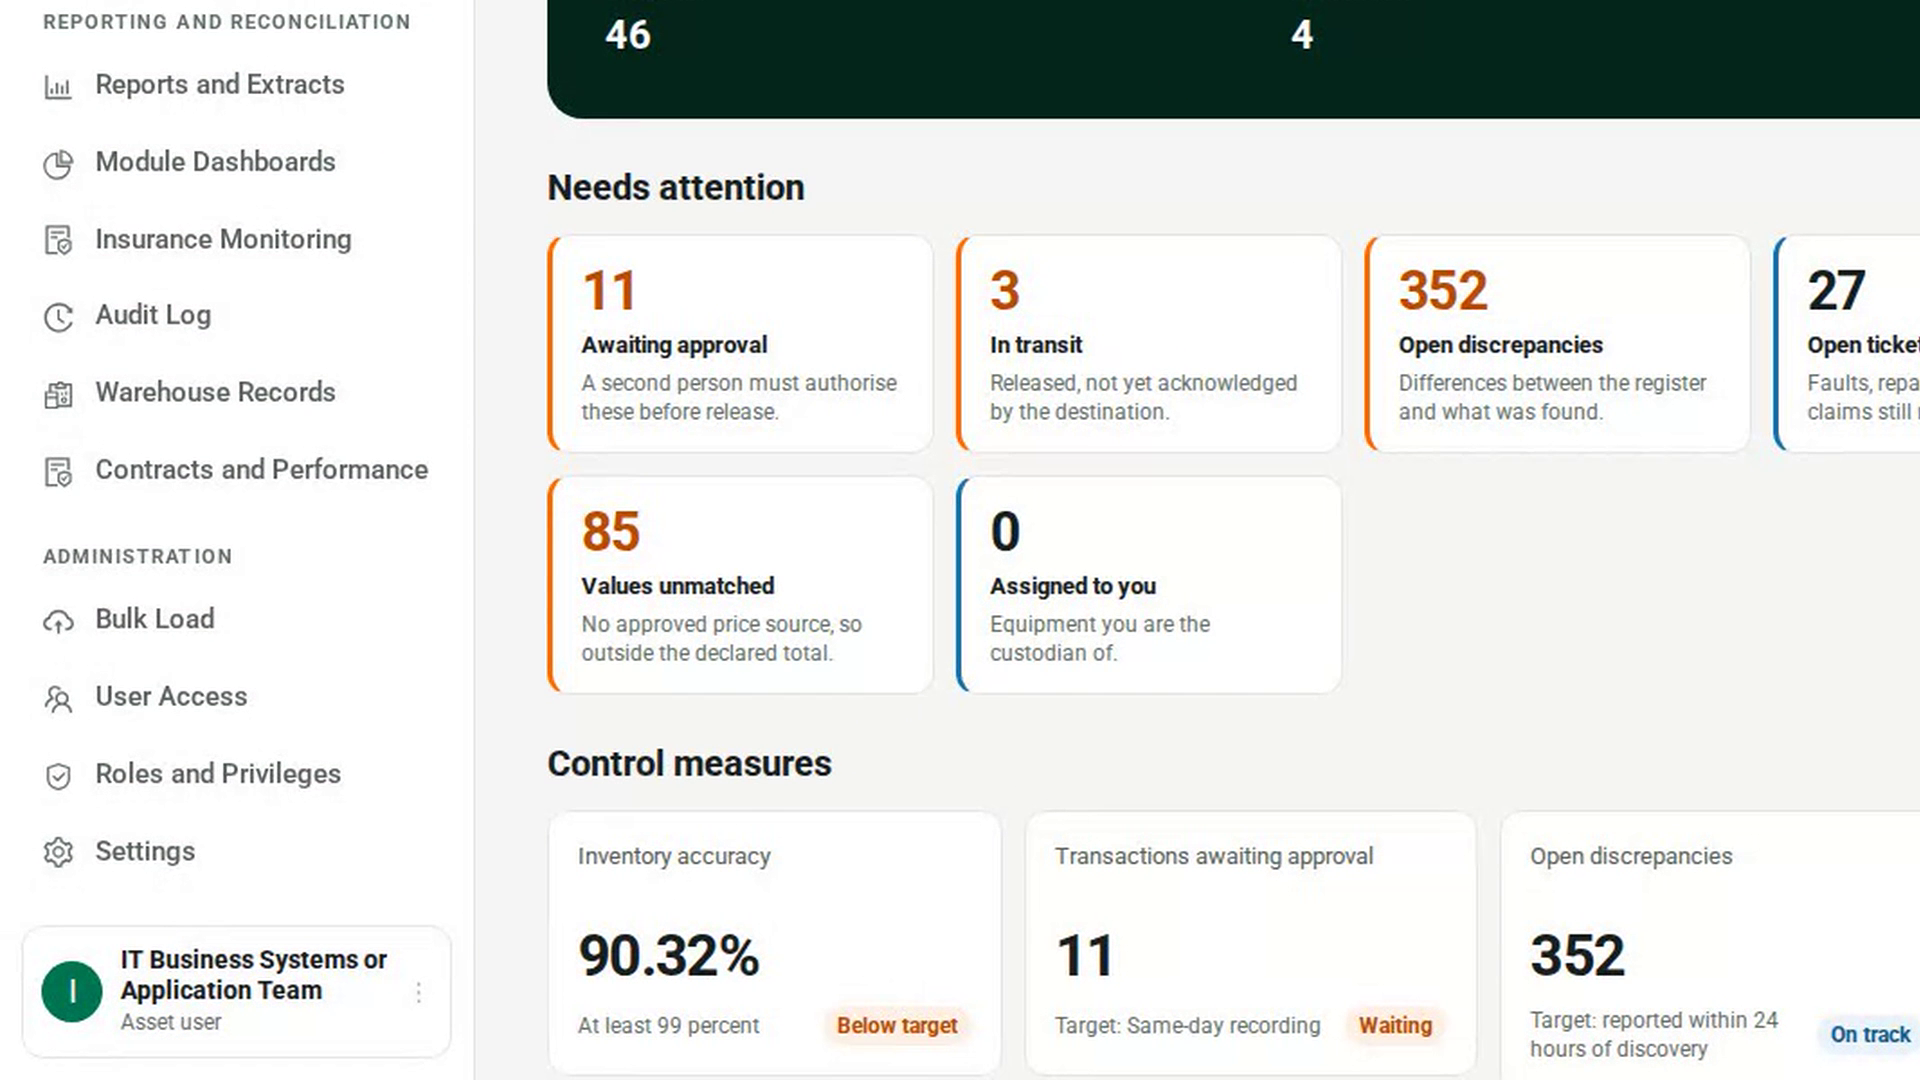
Open Bulk Load
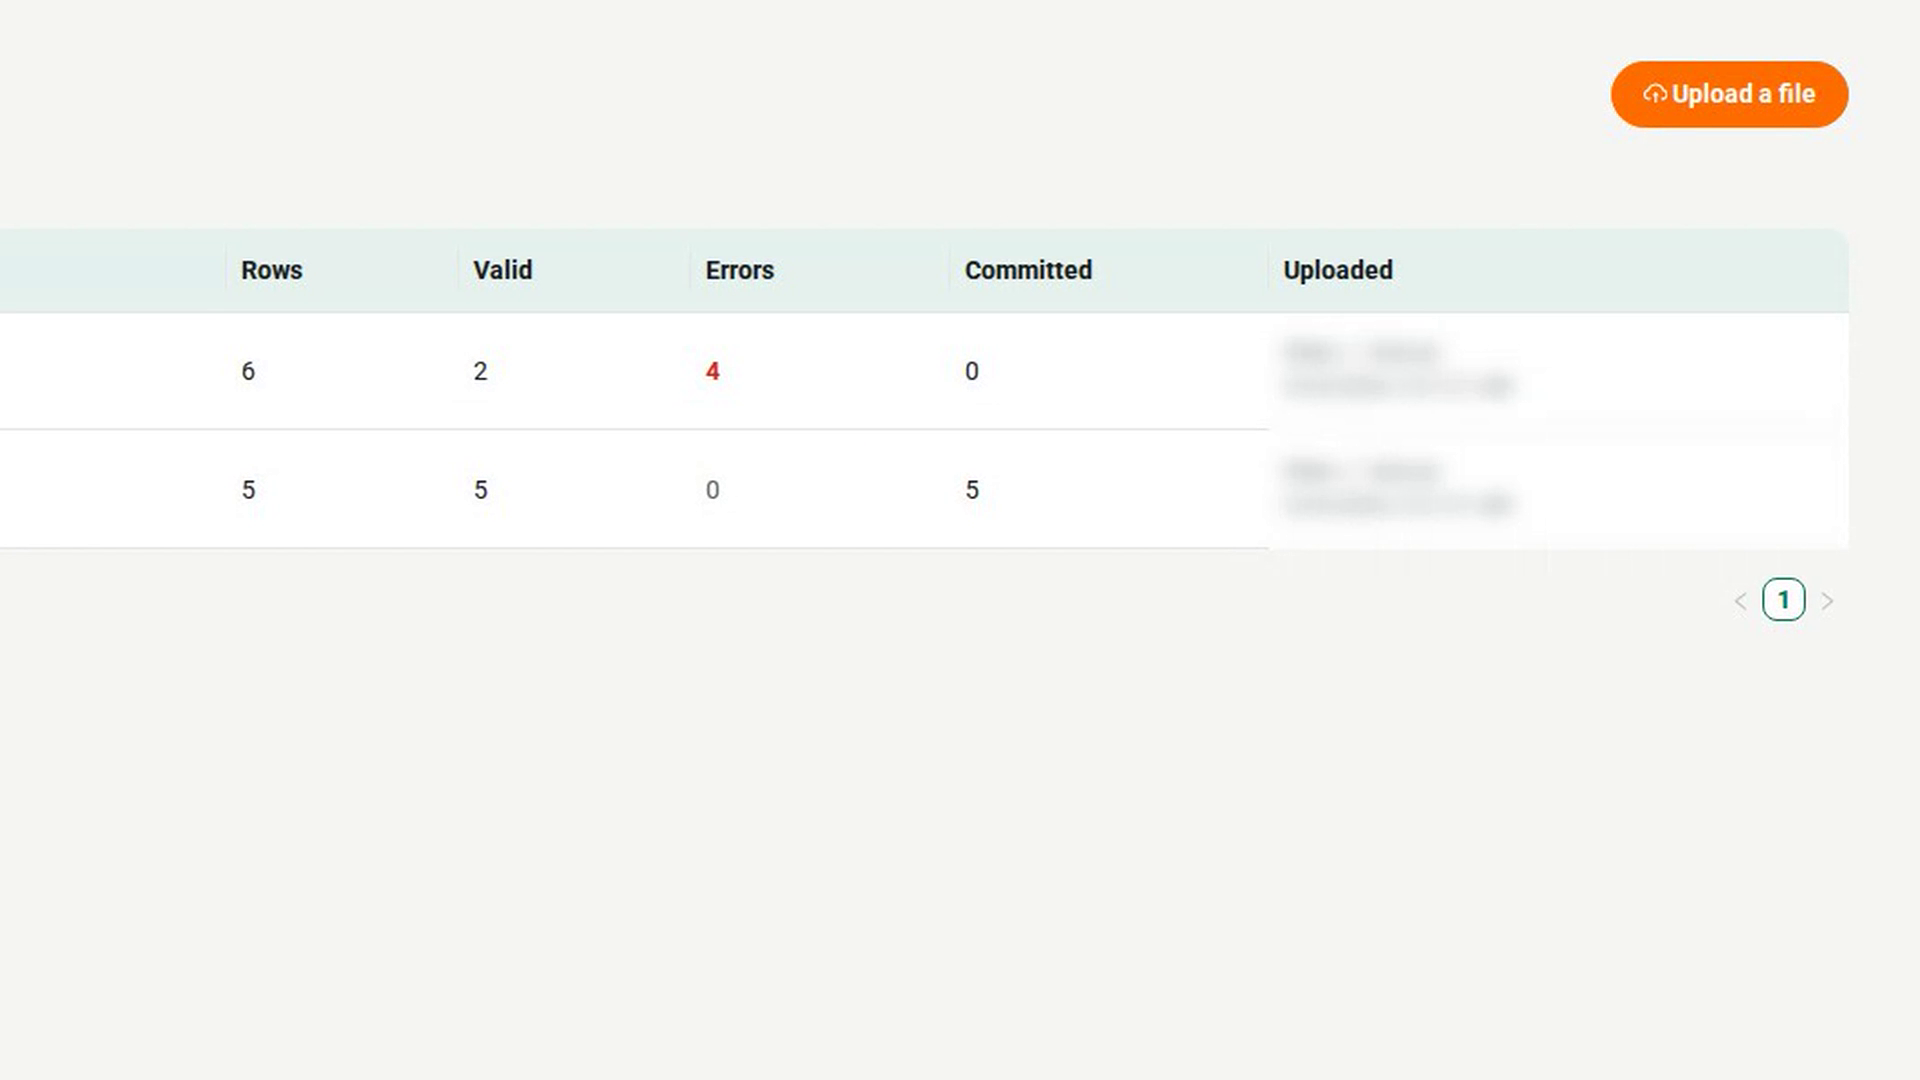
In the sidebar, under Administration, select Bulk Load. The list shows every earlier load with its Status, Rows, Valid, Errors, Committed and who uploaded it. If there are none yet, you see No bulk loads yet.
Start an upload
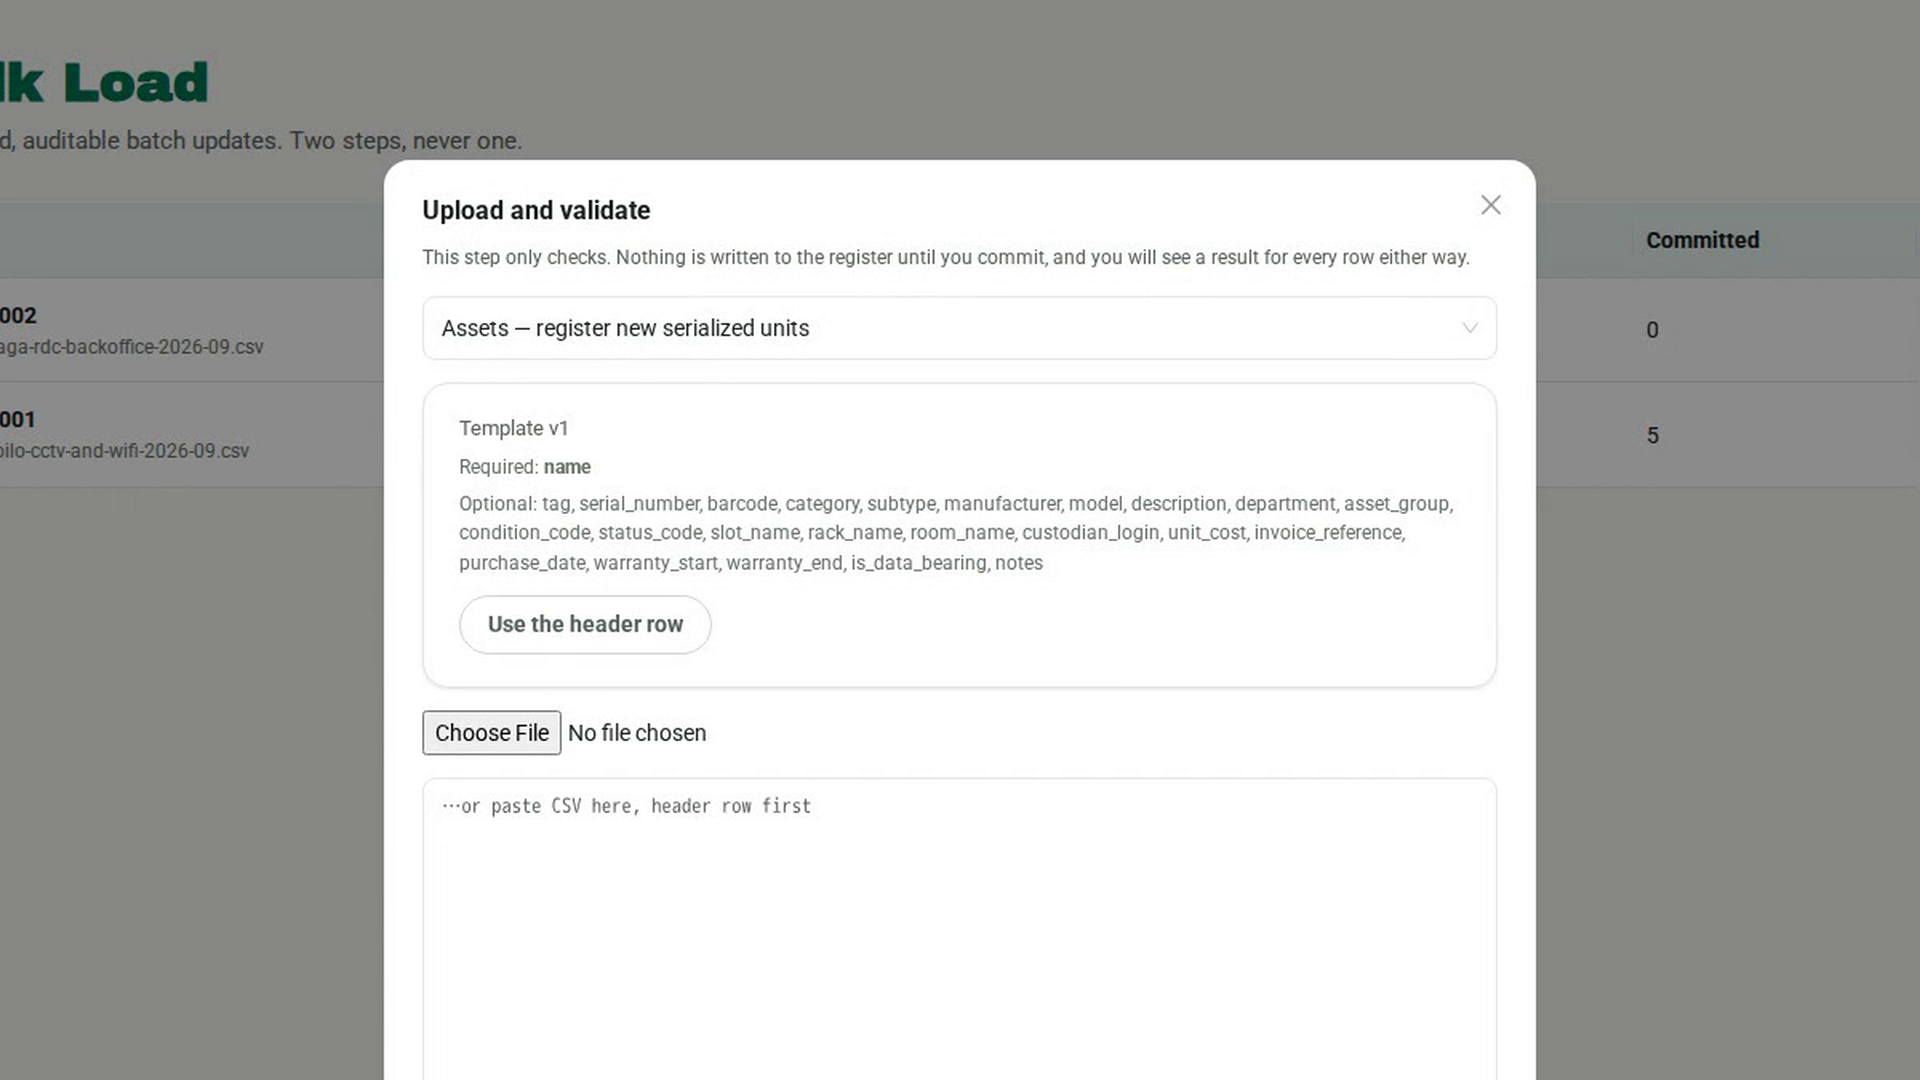
Select Upload a file. The Upload and validate dialog opens and says that this step only checks.
Choose what you are loading
In the list at the top, choose Assets — register new serialized units or Asset values — cost, declared value and insurance. The template card below shows the Required and Optional columns. Select Use the header row to start from the template's header.
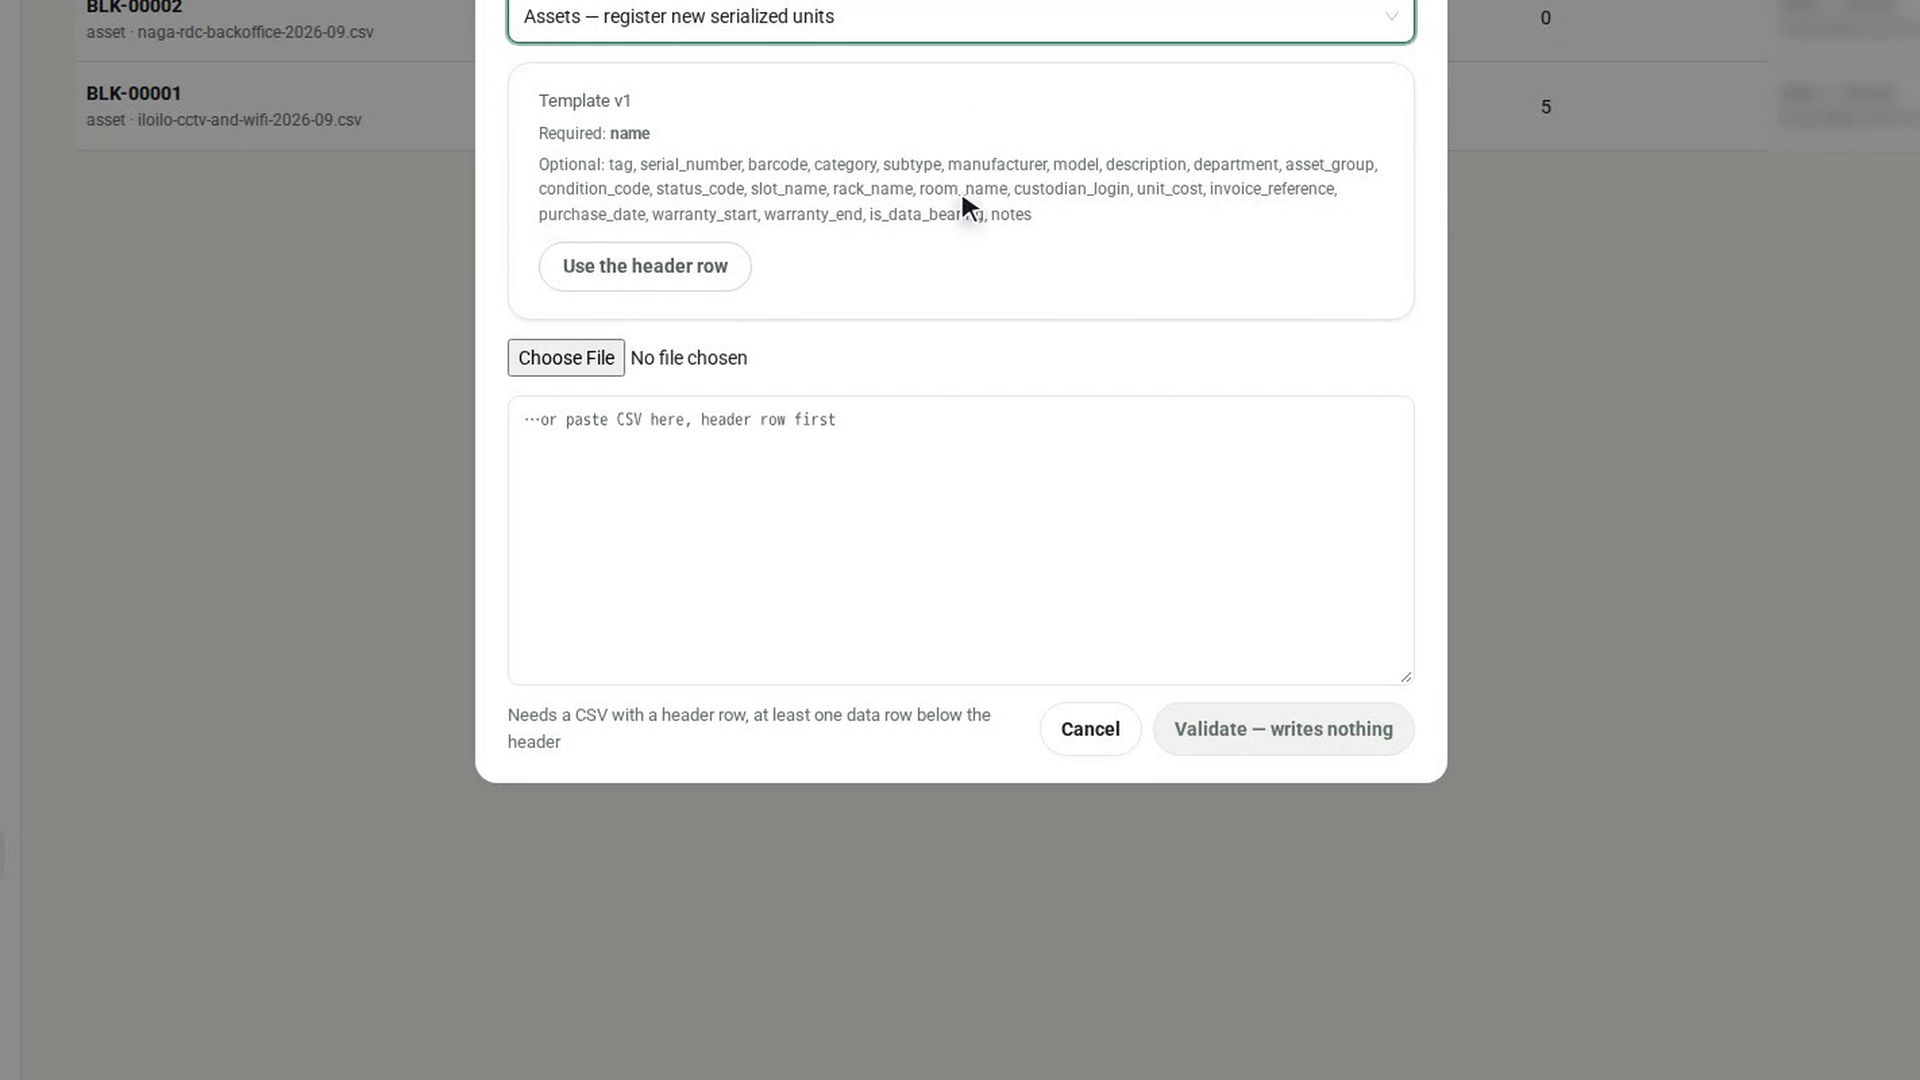
Add your data
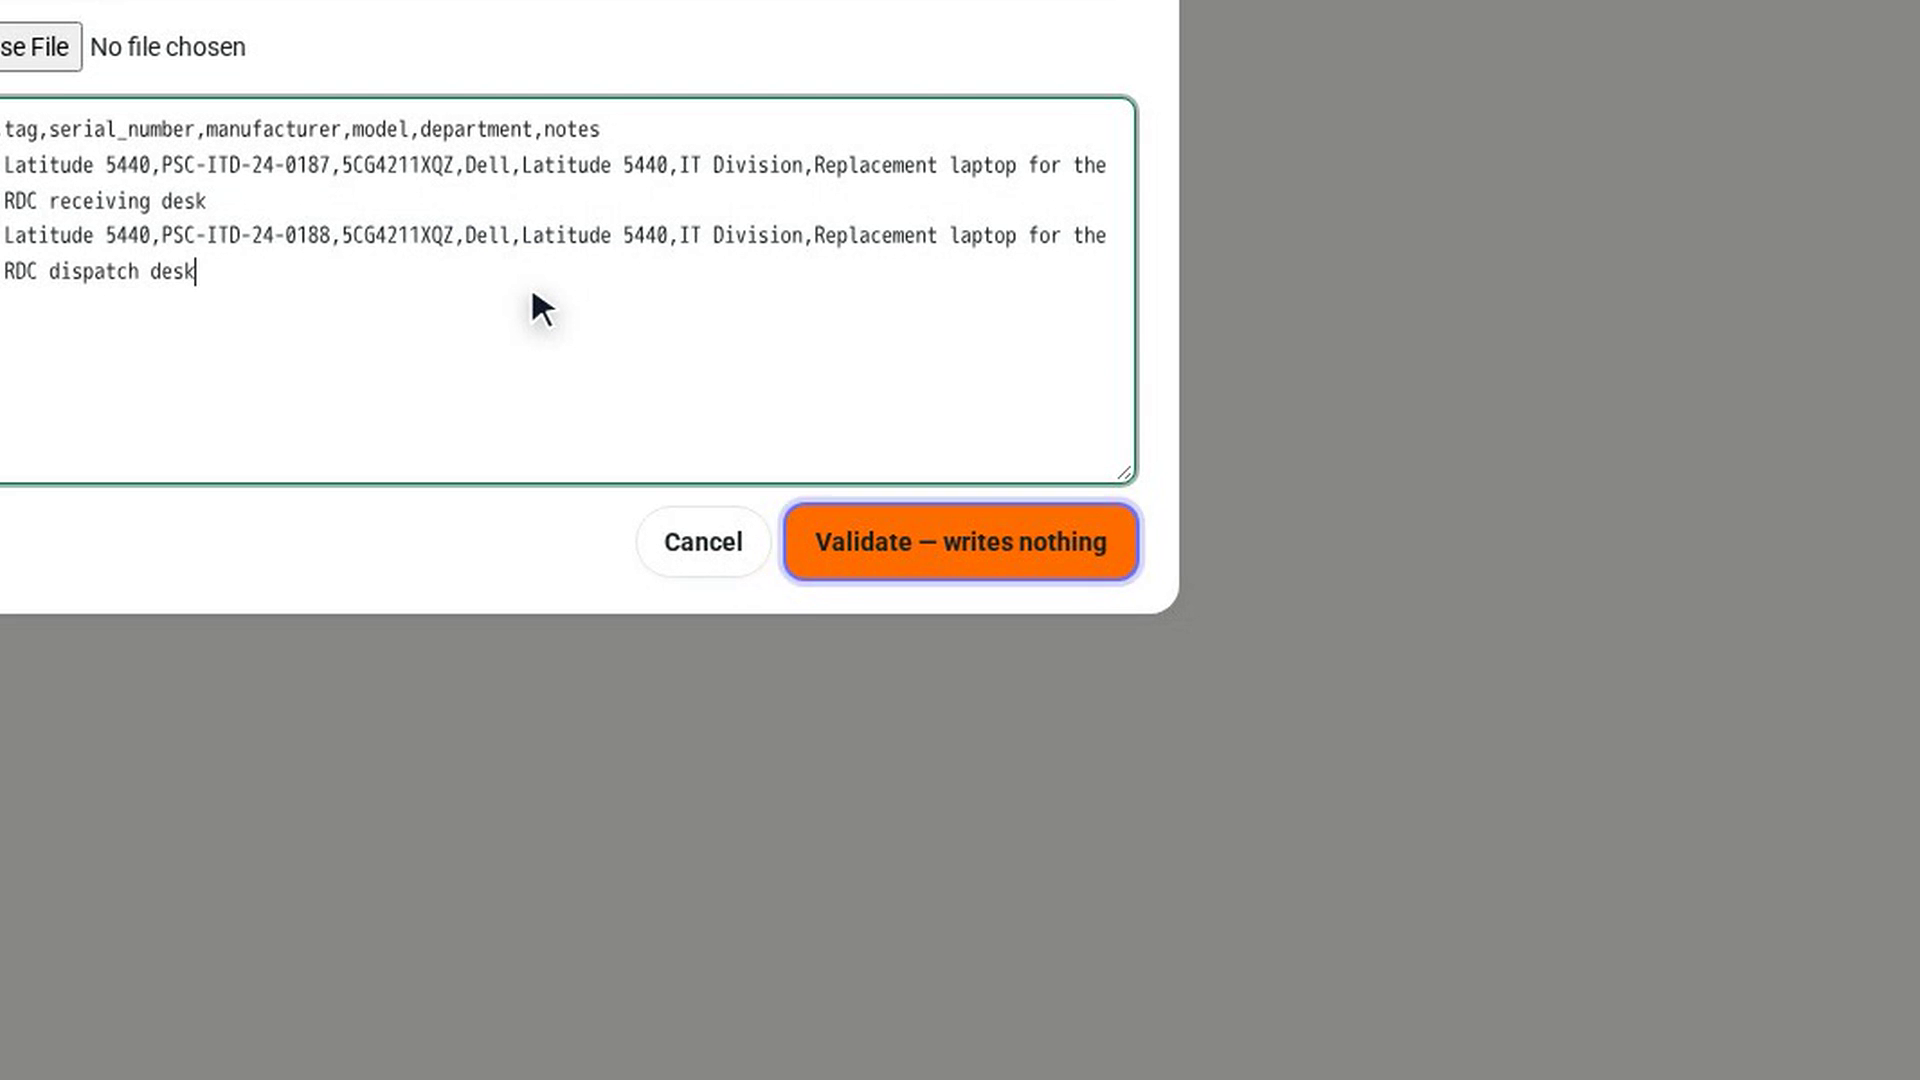
Choose your CSV file, or paste the rows into the box, header row first.
Validate the file
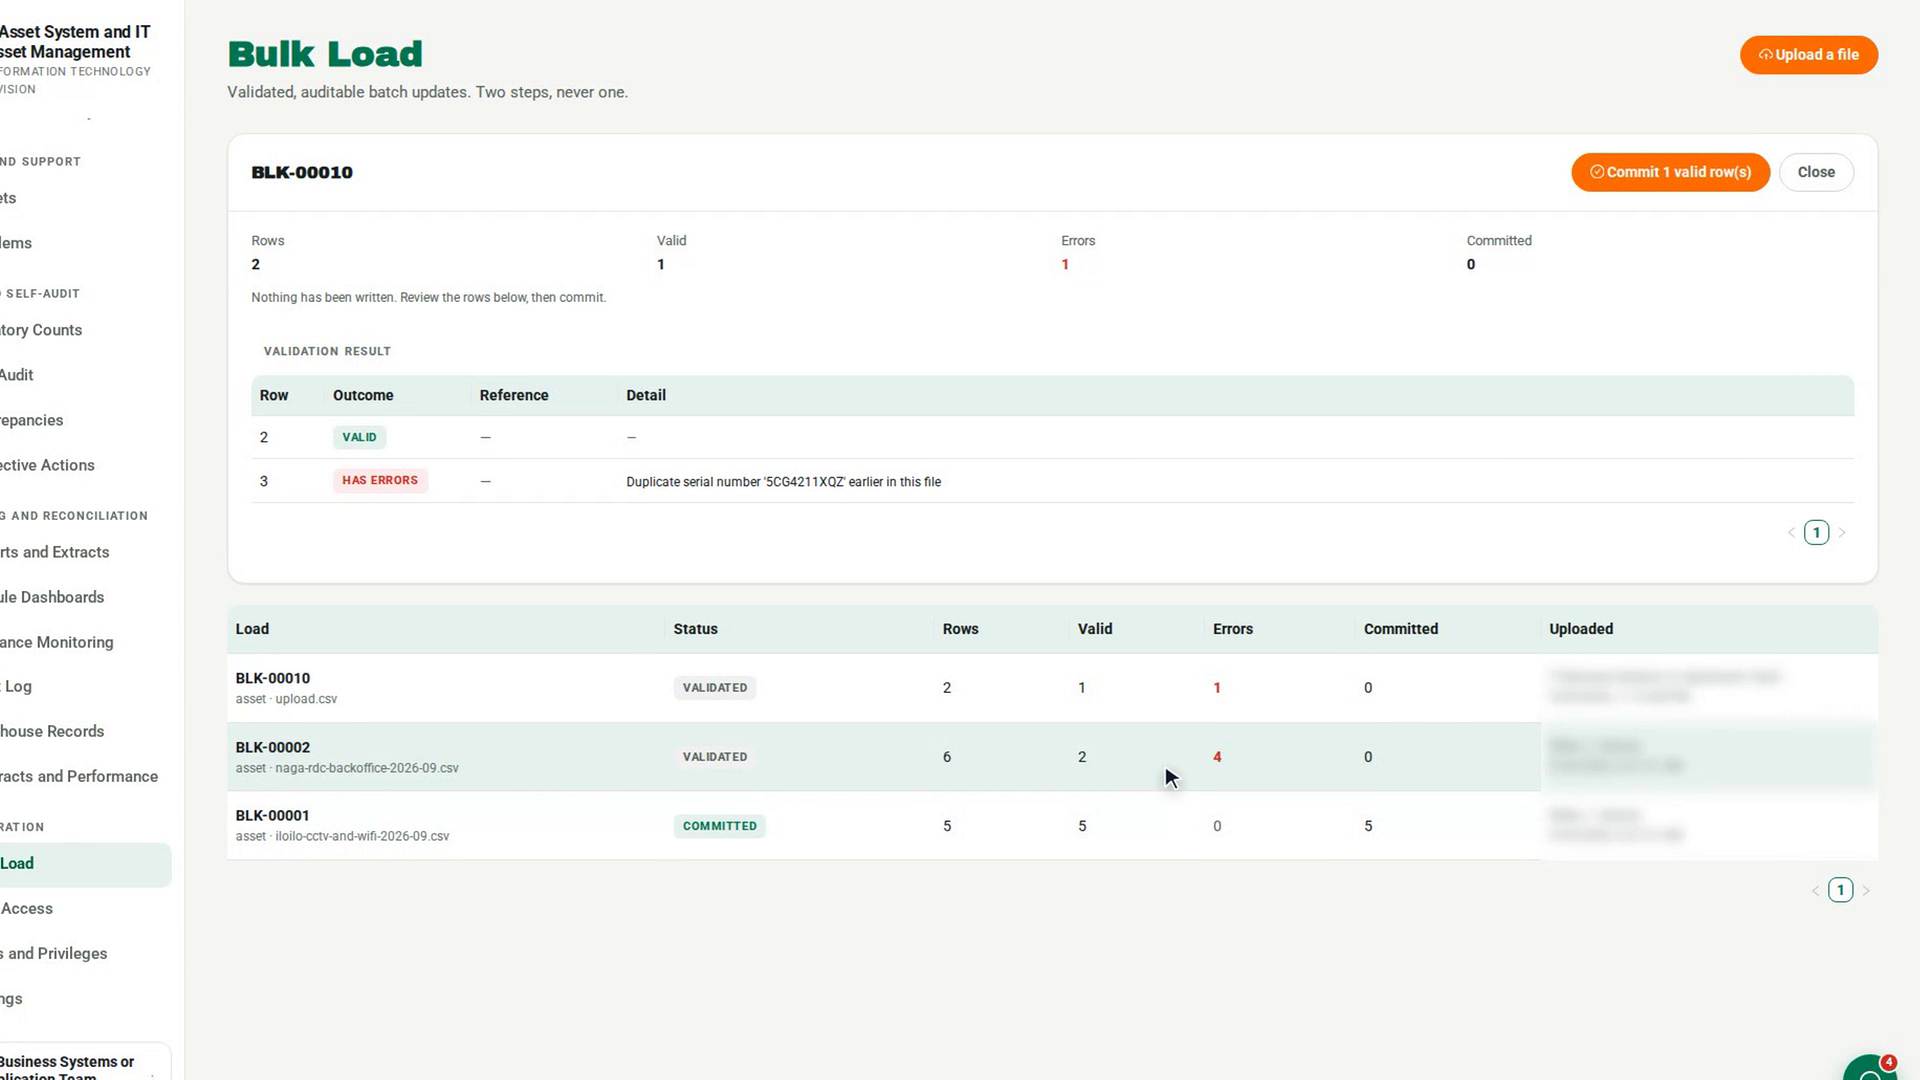
Select Validate — writes nothing. A message tells you how many rows are valid and how many have errors, and ends with Nothing has been written yet. The load opens with a Validation result table showing each Row, its Outcome and the Detail of any error.
Fix the rows with errors
Read the Detail column for each row marked has errors, correct those rows in your file, and upload it again. Each upload is validated as a new load.
Commit the valid rows
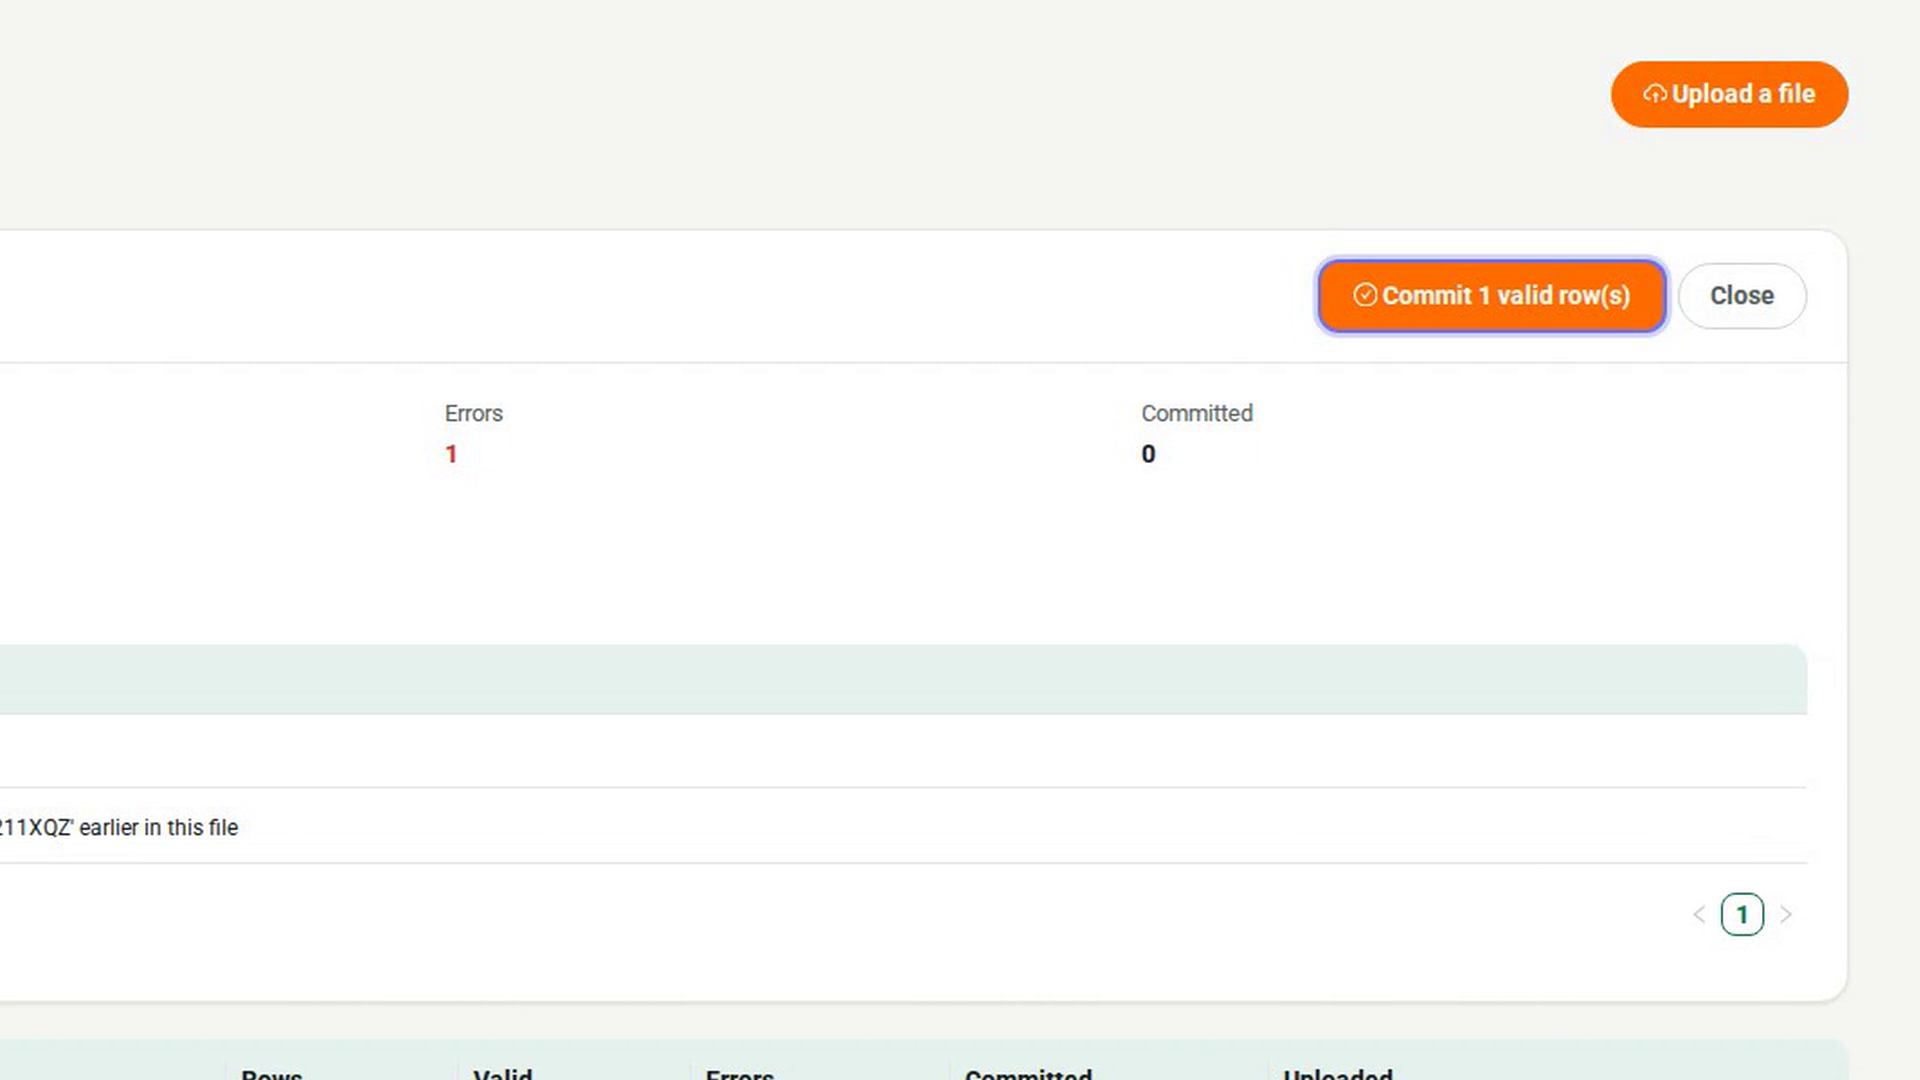
When the result is right, select Commit followed by the number of valid rows. The confirmation explains that only valid rows post and each row is checked again. Select Commit rows. The table changes to Commit result, showing each row as committed or not committed with the reason.
Screenshots
Step 1: Open Bulk Load
Step 2: Start an upload
Step 3: Choose what you are loading
Step 4: Add your data
Step 5: Validate the file
Step 6: Fix the rows with errors
Step 7: Commit the valid rows
Watch how
Tip: Rows are checked again at commit time. If a tag was free when you validated but someone has taken it since, that row is reported as not committed rather than forced through.
Committing writes the rows to the asset register, and this screen has no undo. A load that has been committed cannot be committed again. Check the Validation result before you commit.