Manage an incident
An incident is a ticket on Tickets, the help desk. Log it, set its priority and route, assign it, keep it inside its SLA, and resolve it. The SLA and escalation state show on the ticket itself.
Before you start
- To classify, assign and close, you need to be IT Service Operations, IT Hardware Inventory Supervisor, or IT Business Systems or Application Team. IT Warehouse Technical Team can also classify.
- To change status and resolve, you need a role that can update tickets, such as IT Service Operations, IT Warehouse Technical Team, Dedicated IT Warehouse Administrator or CDI Staff, or JIMAC or Application Service Provider.
- The incident must already be raised as a ticket, or you raise it yourself with Raise Ticket.
Steps
Check the queue
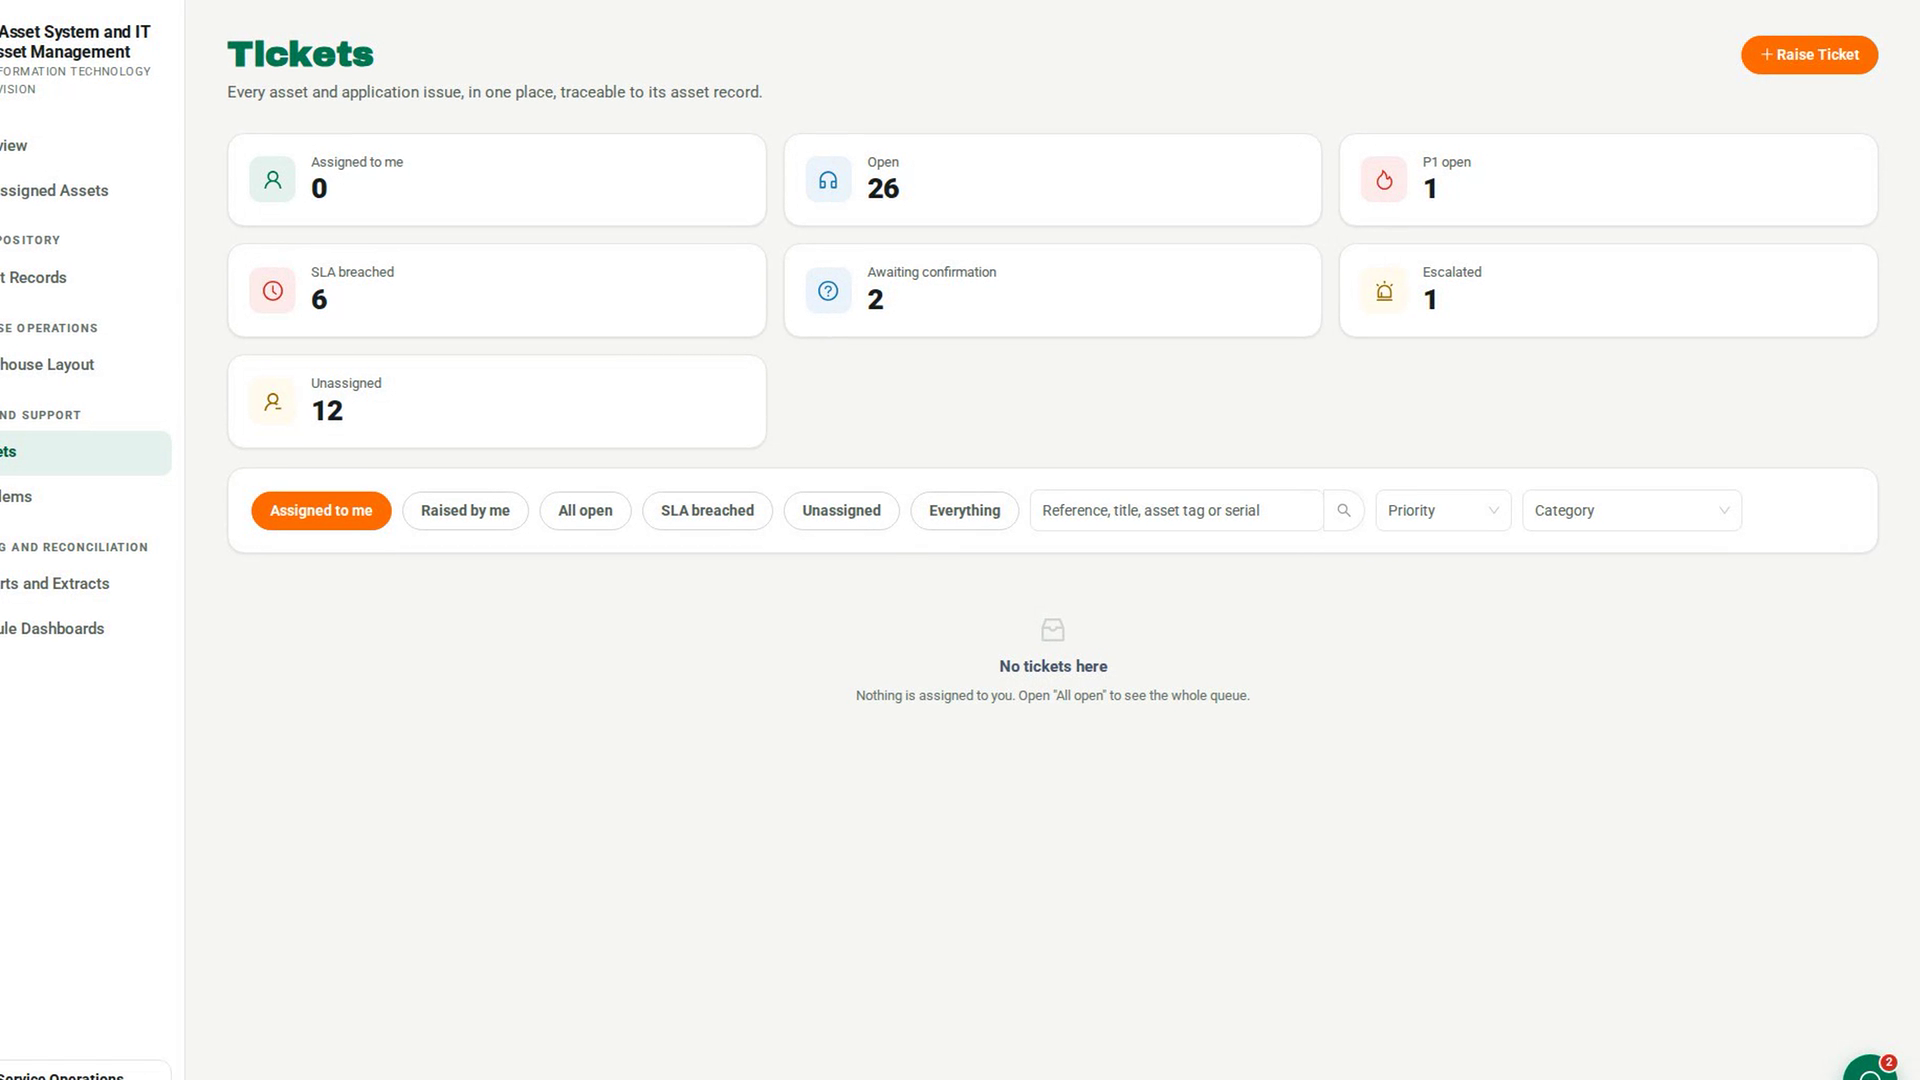
In the sidebar, under Service and Support, select Tickets. The cards at the top count Assigned to me, Open, P1 open, SLA breached, Awaiting confirmation, Escalated and Unassigned. Select All open or Unassigned to see the tickets that need a first look.
Set the priority and route
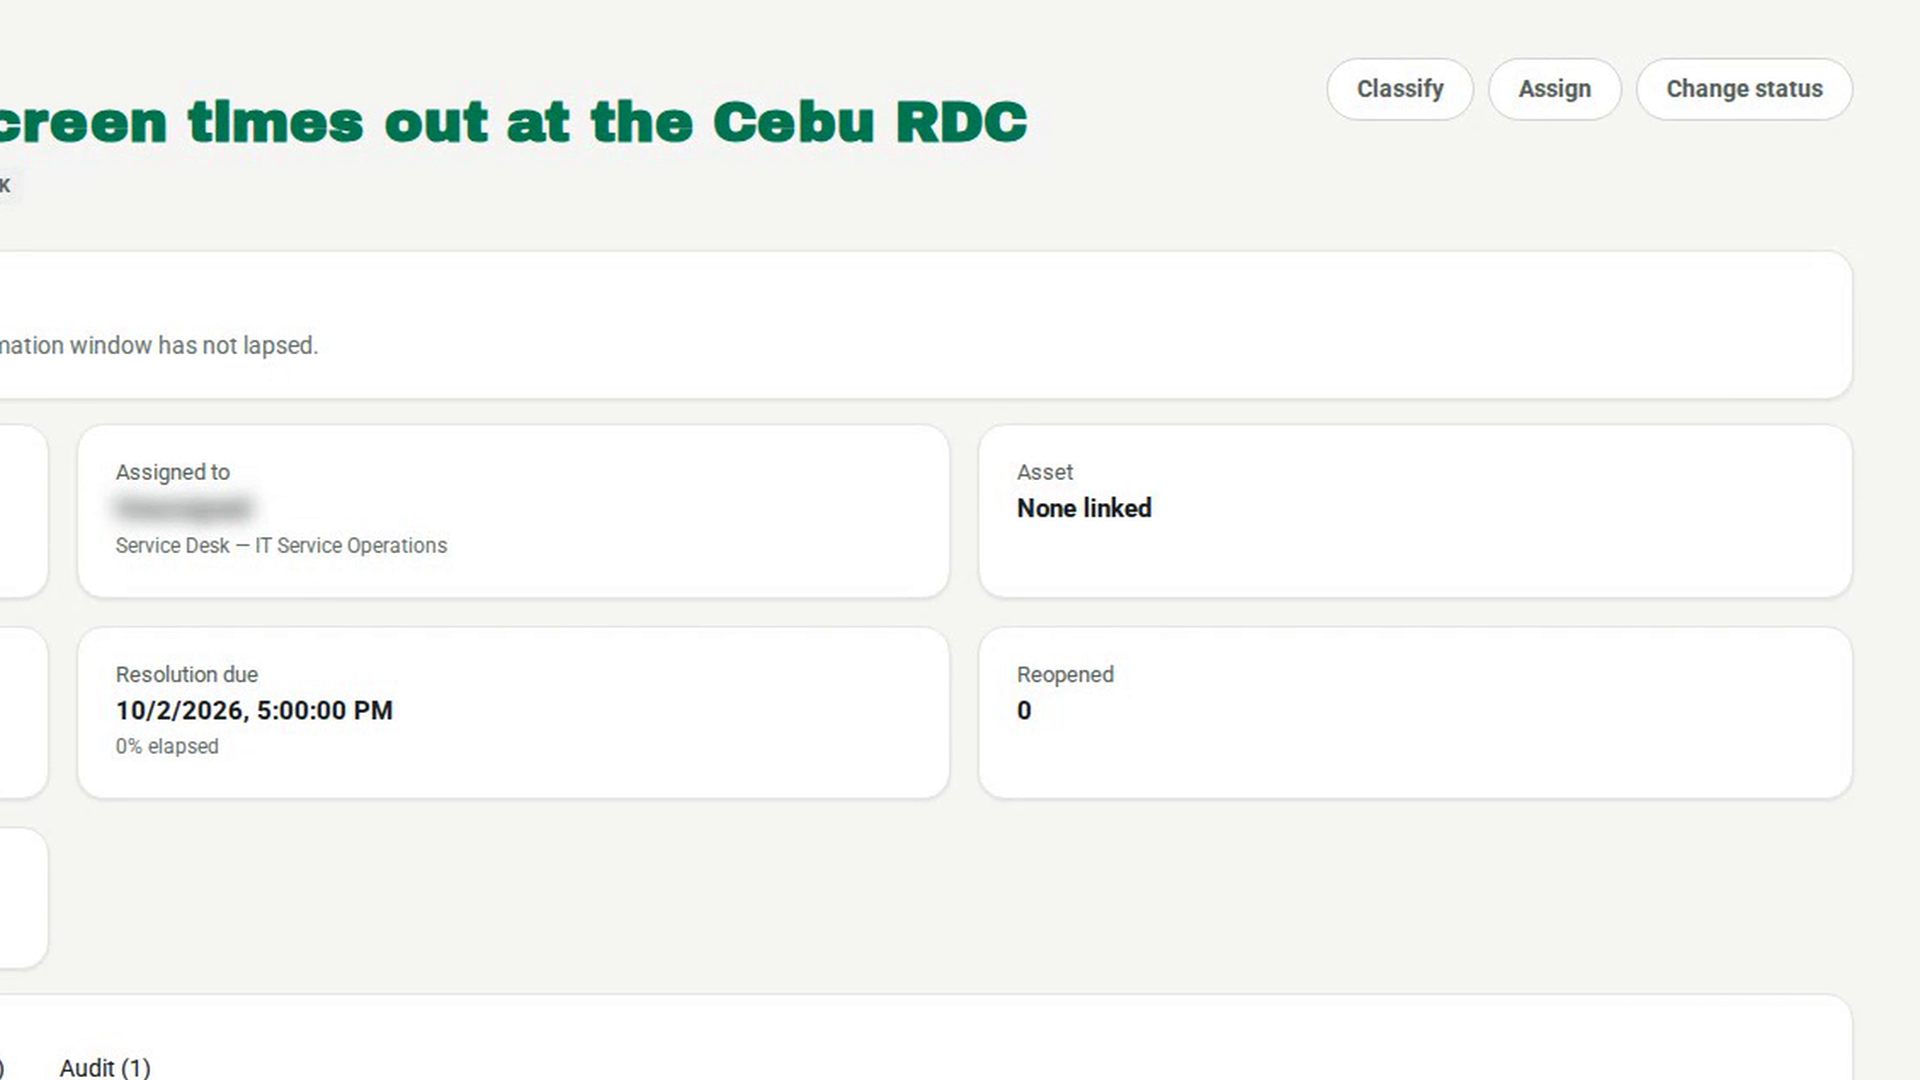
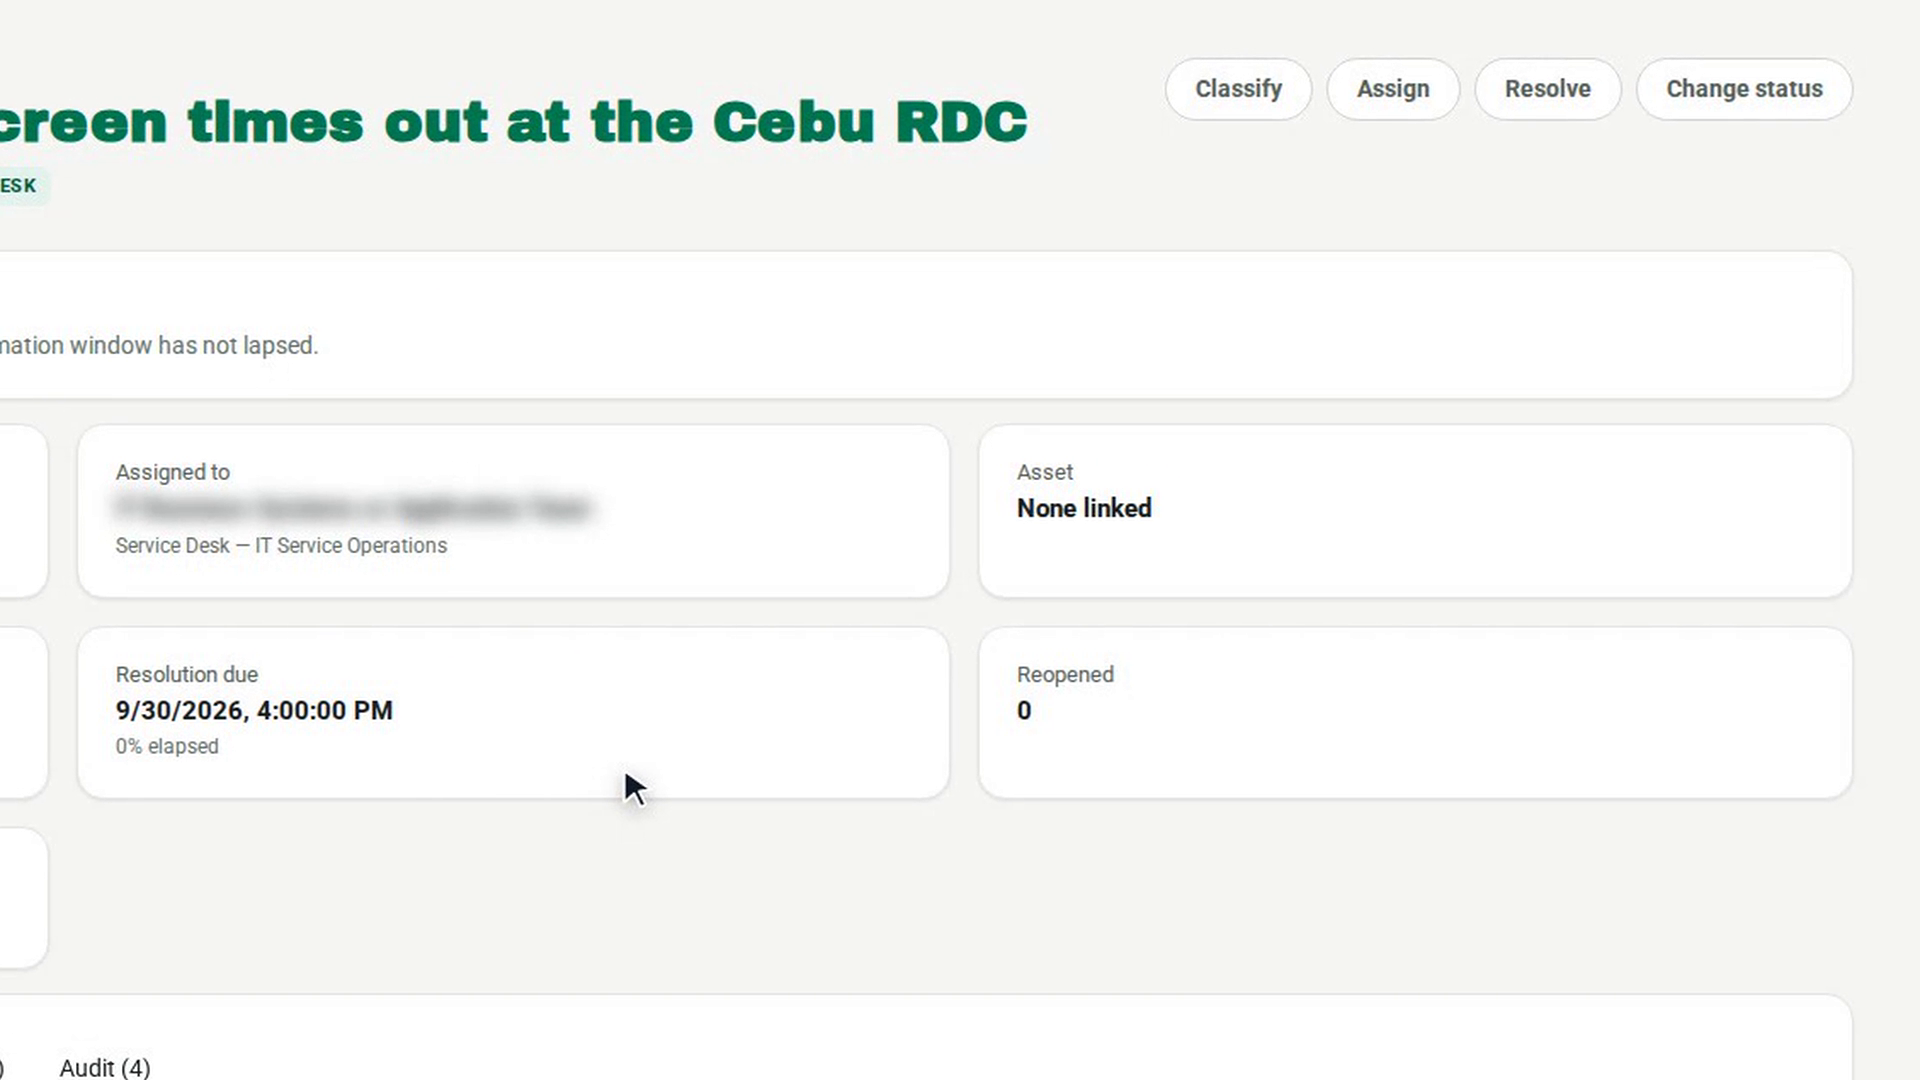
Open the ticket and select Classify. In Classify and route, pick the Category and the group it routes to. Pick the Priority, where each option shows its response and resolution targets. Set Impact, then select Classify. The SLA clock restarts from now against the new priority.
Assign a resolver
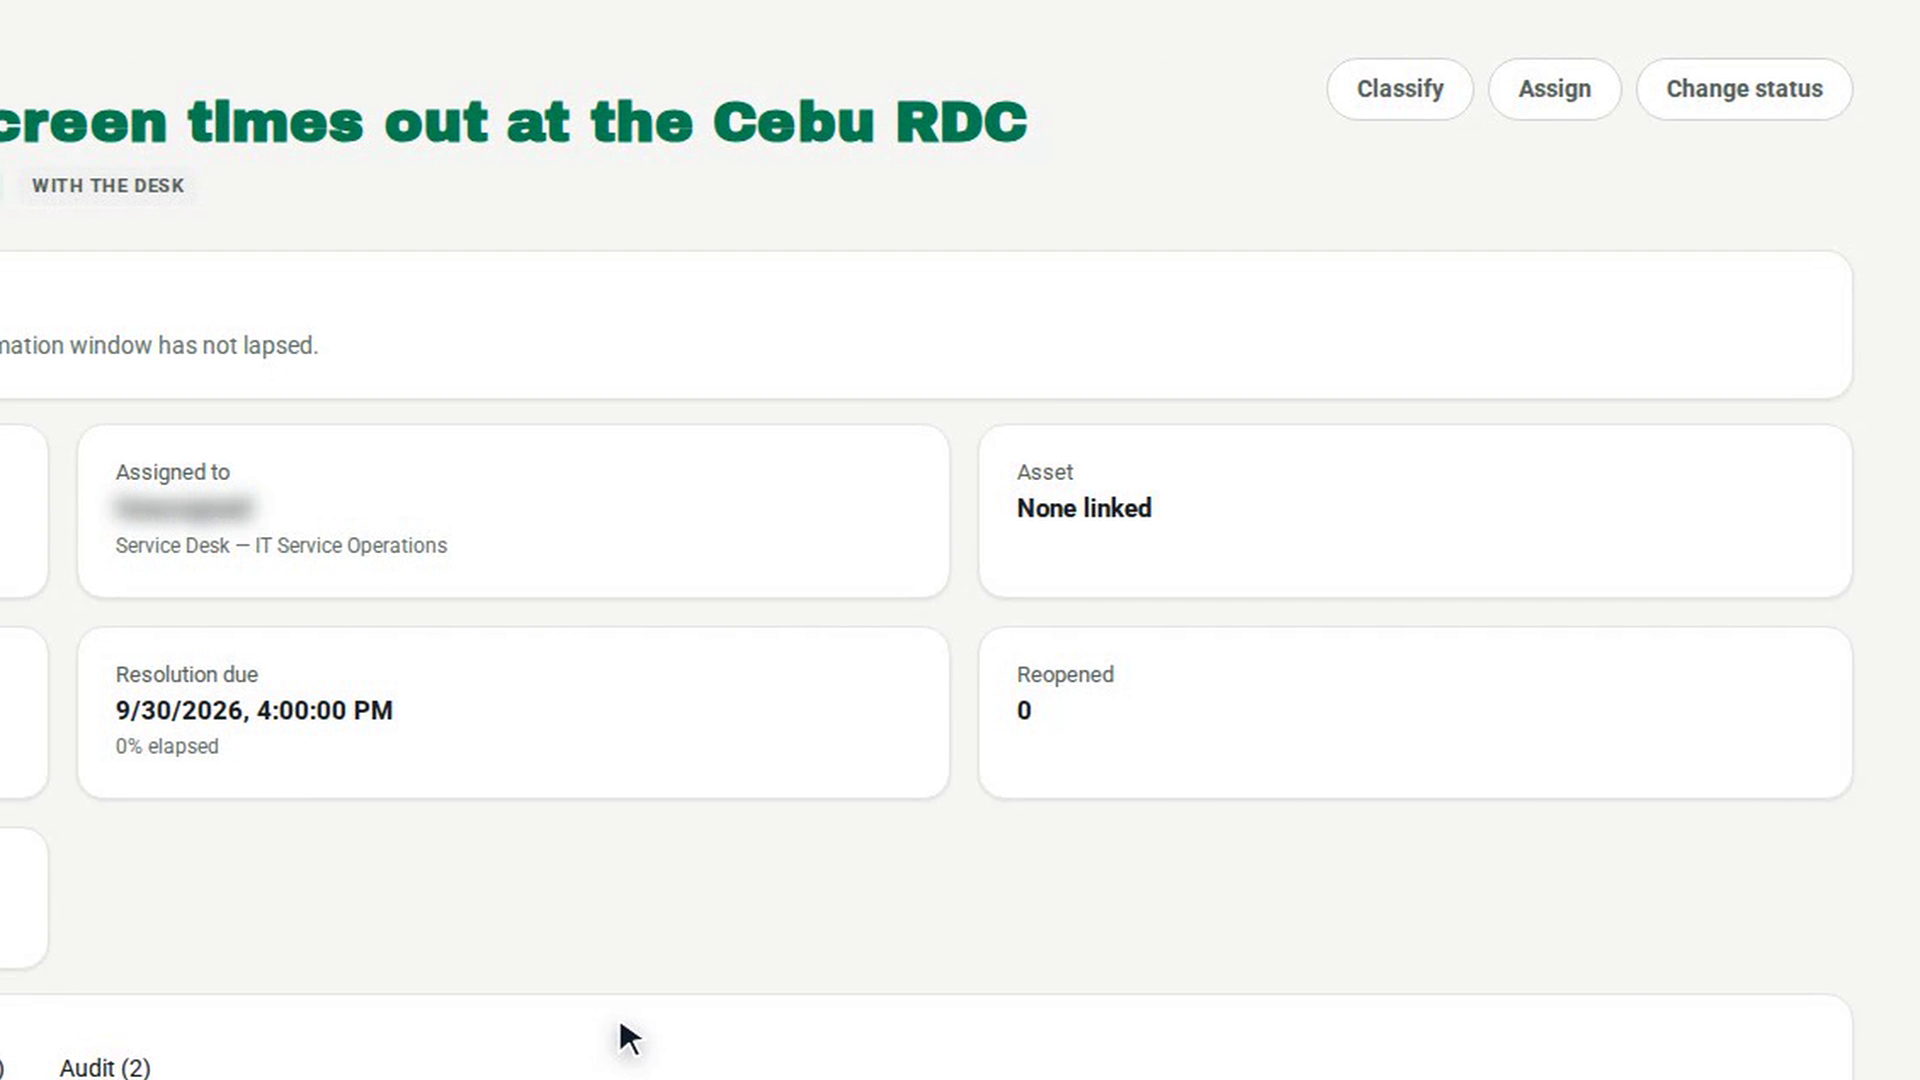
Select Assign, choose the person in Assign to or a Resolver group, and select Assign. The status changes to Assigned, and the Assigned to card shows who has it. The resolver then selects Change status and chooses In Progress.
Watch the SLA
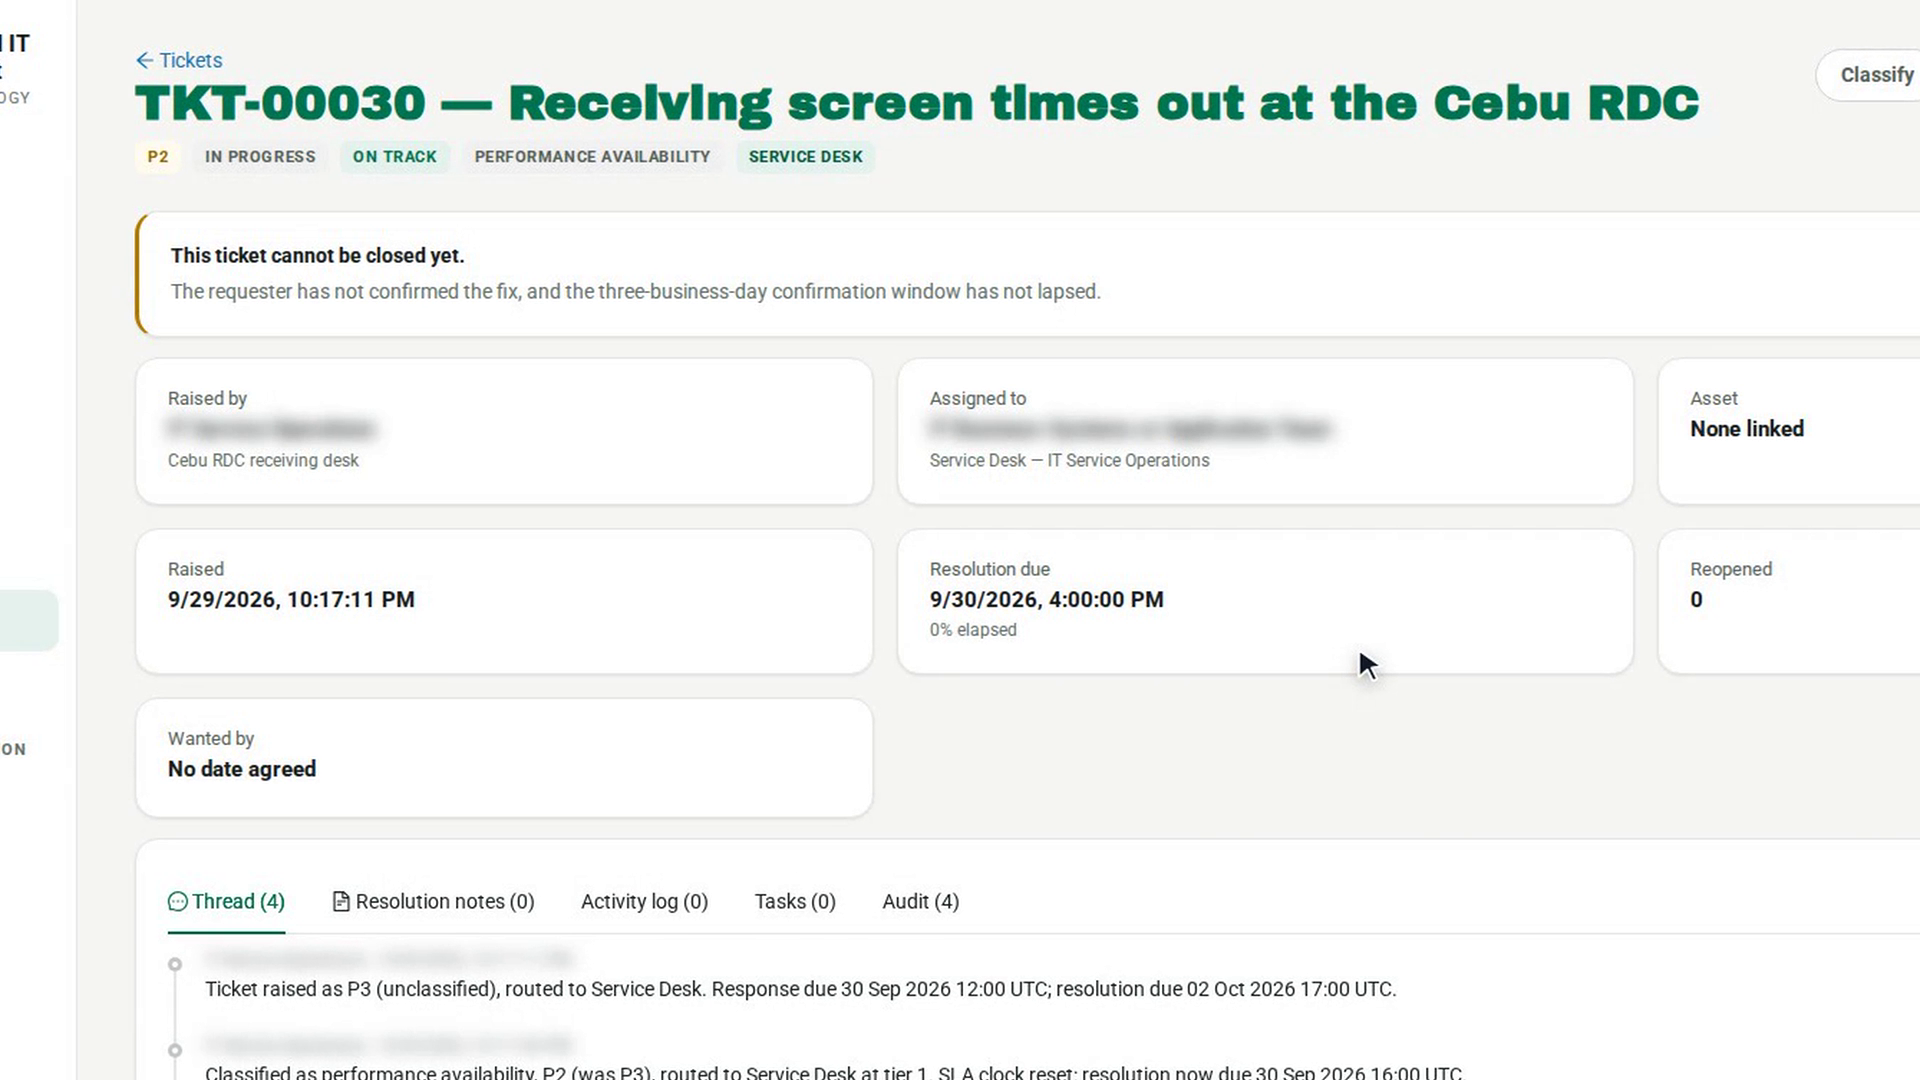
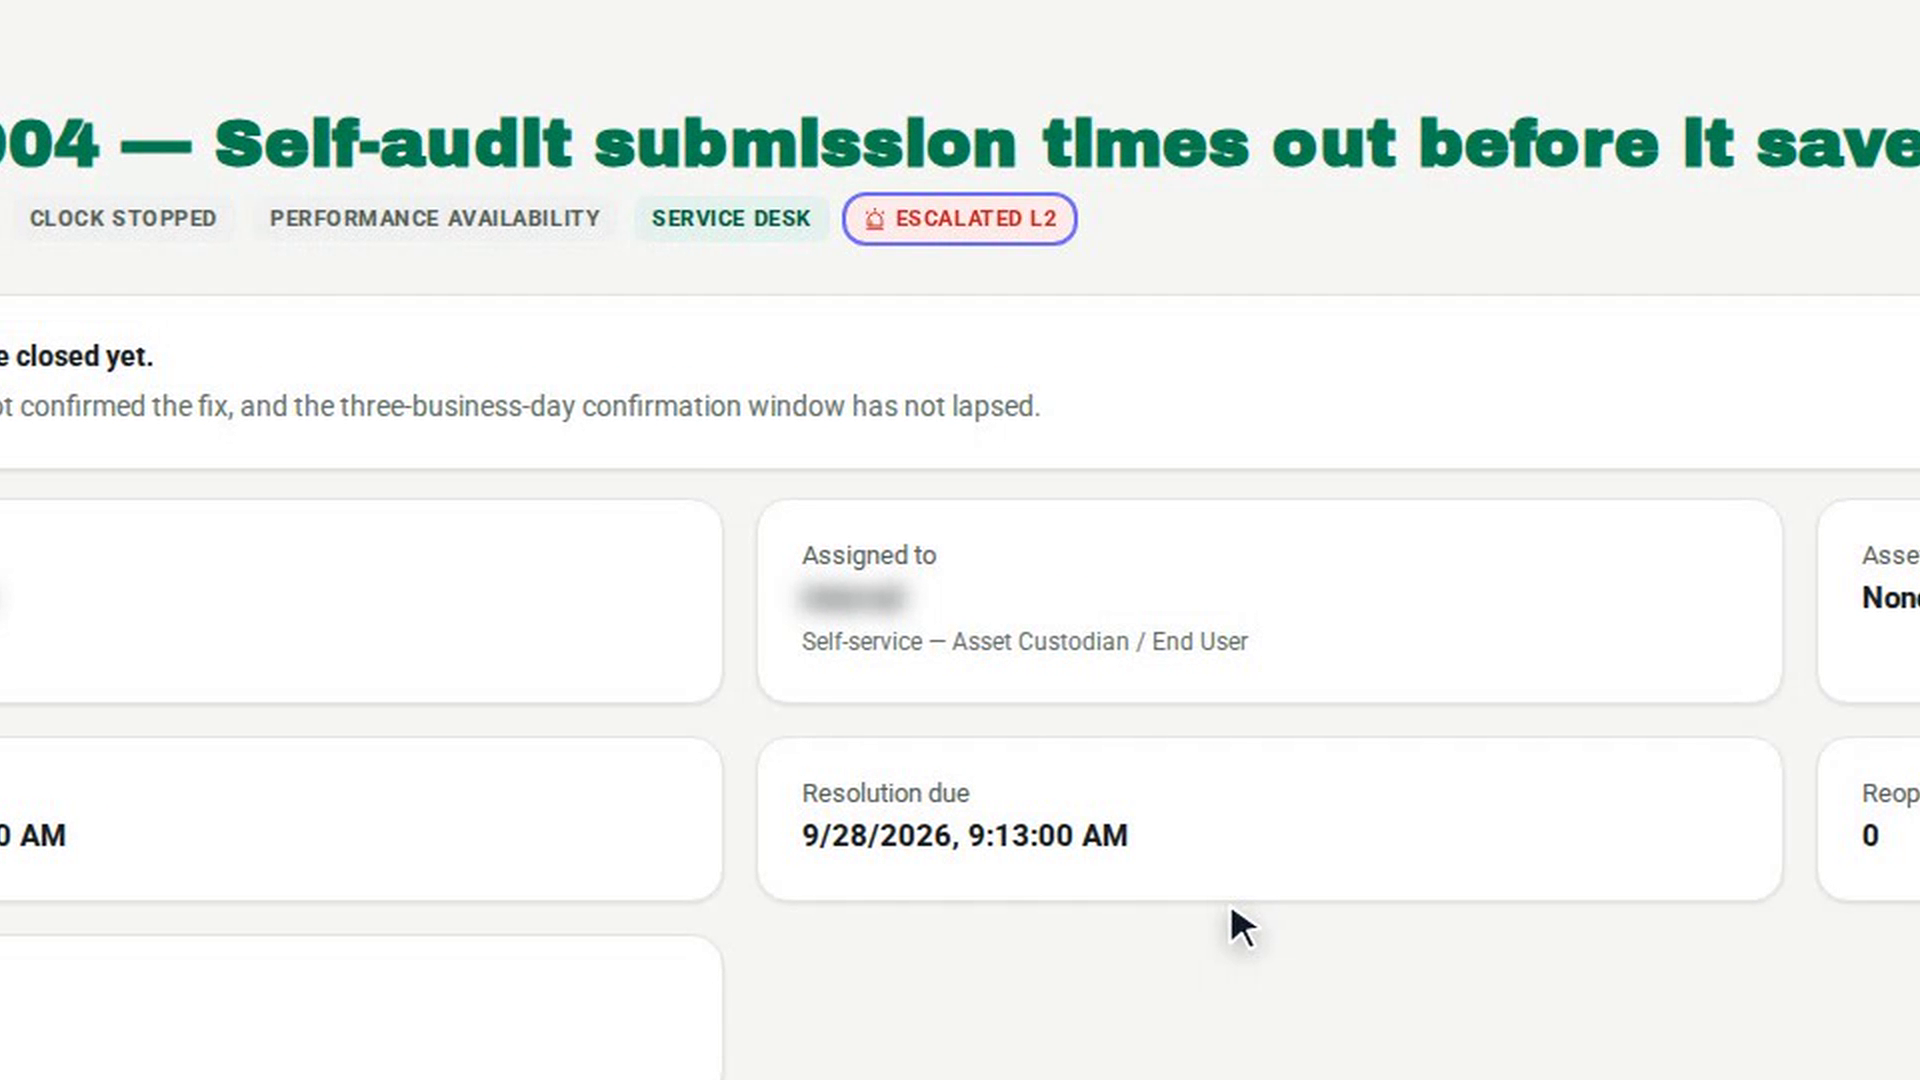
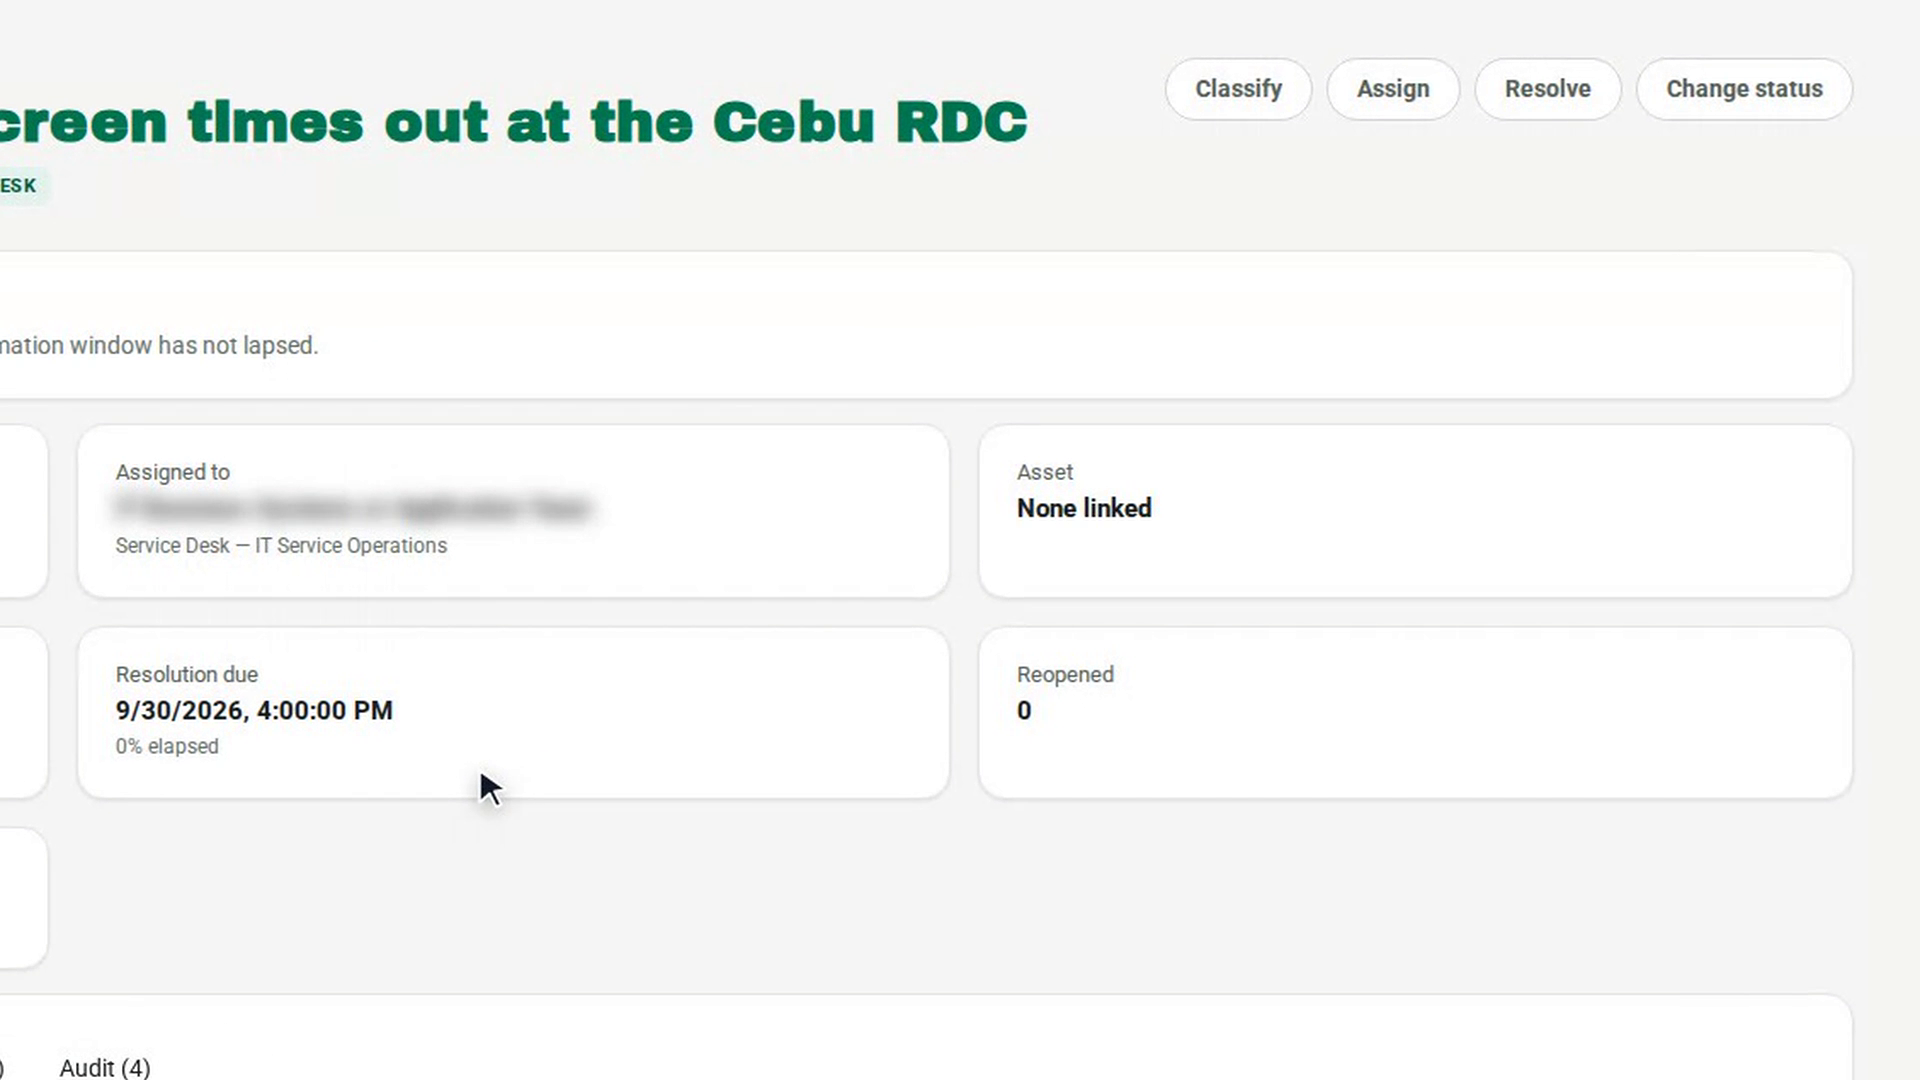
The SLA chip in the ticket header reads On track, At risk, Breached, Clock stopped, Met or No target. Hover over it to see when resolution is due. The Resolution due card shows the deadline and how much of the time has elapsed.
Pause the clock while you wait
If you are waiting on the requester, a vendor or parts, select Change status and choose Pending (User), Pending (Vendor) or Pending (Parts). Write the reason in Remarks, which is required. The SLA chip shows Clock stopped until you move the ticket back to In Progress.
Check escalation
An escalated ticket shows a red chip with its level in the header, for example Escalated L2. In the queue, hovering over its warning icon shows the level. The Escalated card counts them.
Resolve the incident
Select Resolve, choose the Resolution, describe What was done, and select Mark resolved. The requester is asked to confirm, and the SLA chip changes to Met.
Screenshots
Step 1: Check the queue
Step 2: Set the priority and route
Step 3: Assign a resolver
Step 4: Watch the SLA
Step 5: Pause the clock while you wait
Step 6: Check escalation
Step 7: Resolve the incident
Watch how
Tip: The ticket page has no button to escalate by hand. Escalation follows the SLA clock and the priority, not a request.
Tip: Every P1 ticket, and any issue that keeps recurring, shows Root-cause review required. on the ticket. Open a problem record for it on Problems. A ticket in the Lost Stolen category also says on its thread that the security, HR, finance and insurance procedures run alongside it.