Handle a return at the warehouse
Take in returned equipment, inspect it, decide where it goes, and record that it reached the right area. You receive the return on its transaction first. Everything after that happens on the Returns tab of Preparation and Returns.
Before you start
- You need to be Dedicated IT Warehouse Administrator or CDI Staff, IT Warehouse Technical Team, Asset and Logistics Associate, IT Hardware Inventory Supervisor, or IT Business Systems or Application Team.
- The returned asset must have the status Returned. A completed return transaction sets it, and so does a custodian handing the asset in.
Steps
Receive the return
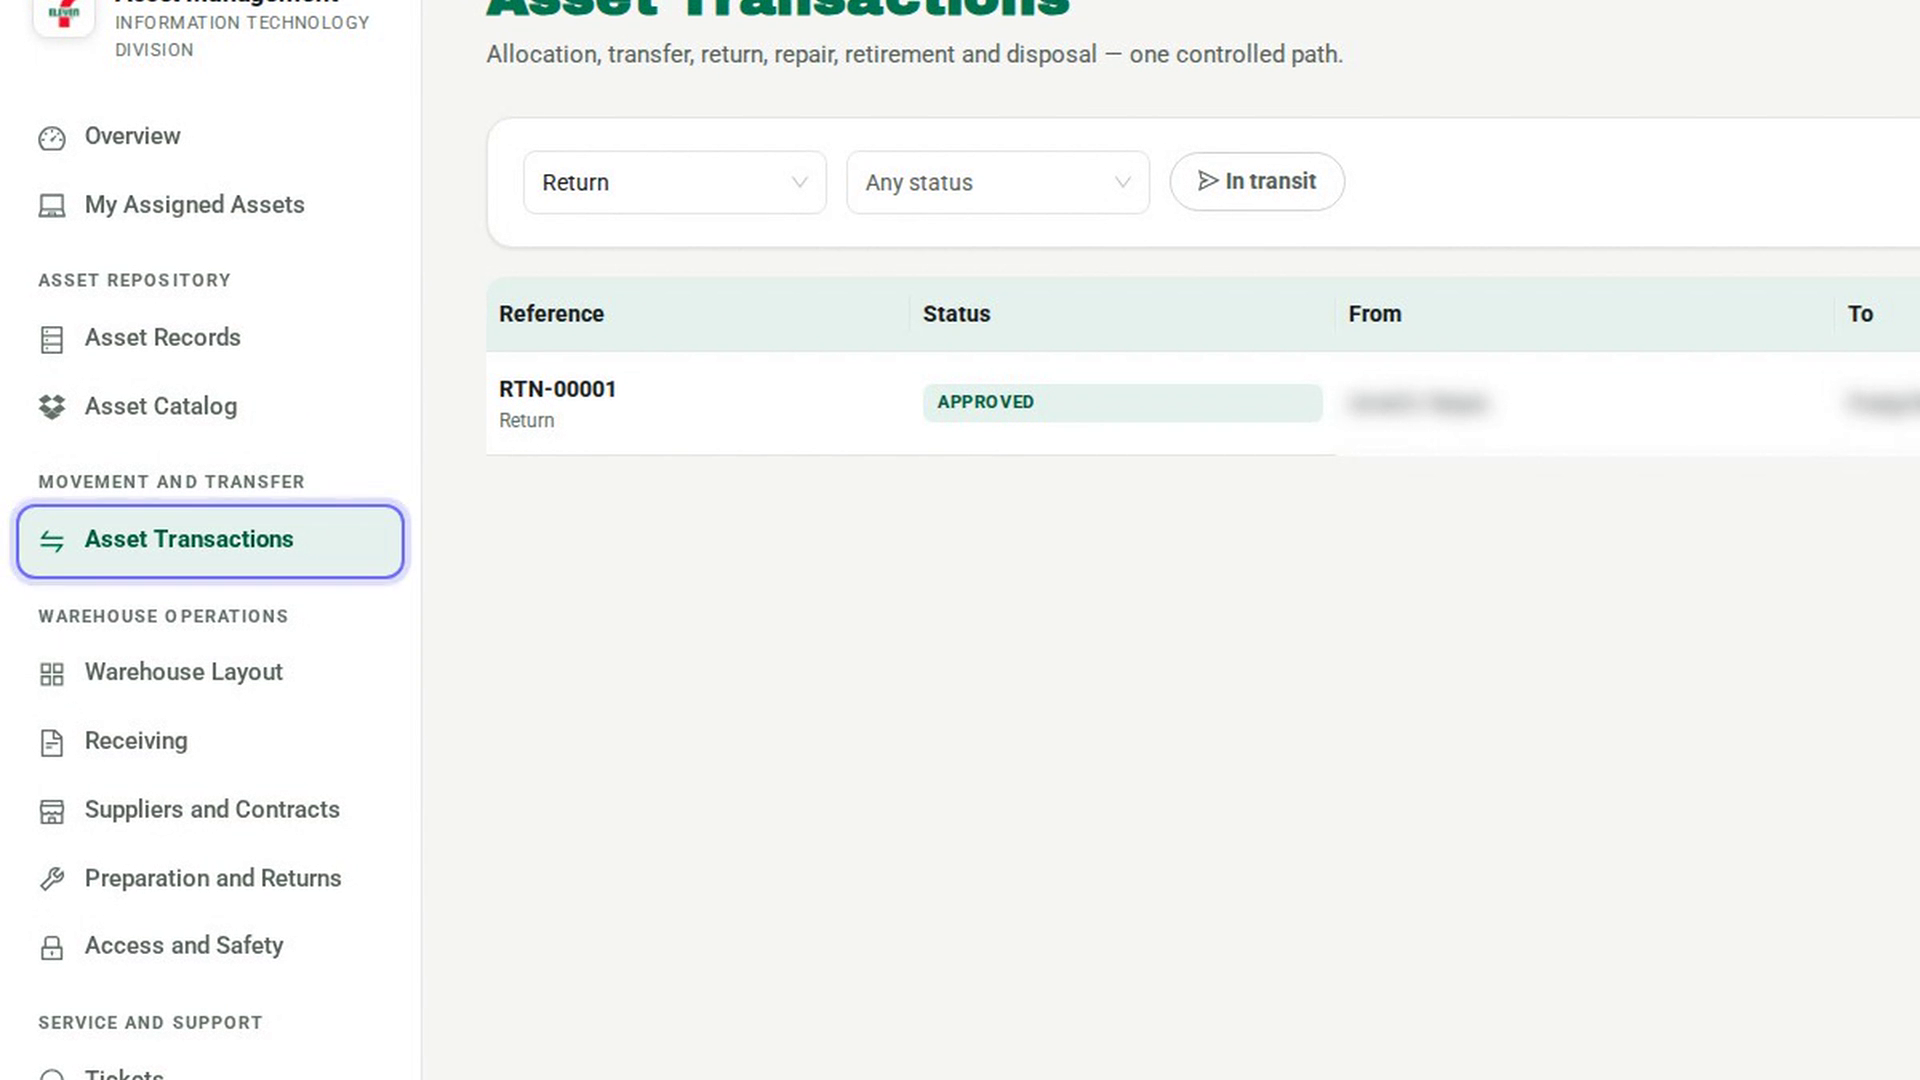
In the sidebar, under Movement and Transfer, select Asset Transactions and receive the return transaction for the equipment that arrived. Custody lands at the warehouse only when you accept it there.
Find the asset awaiting inspection
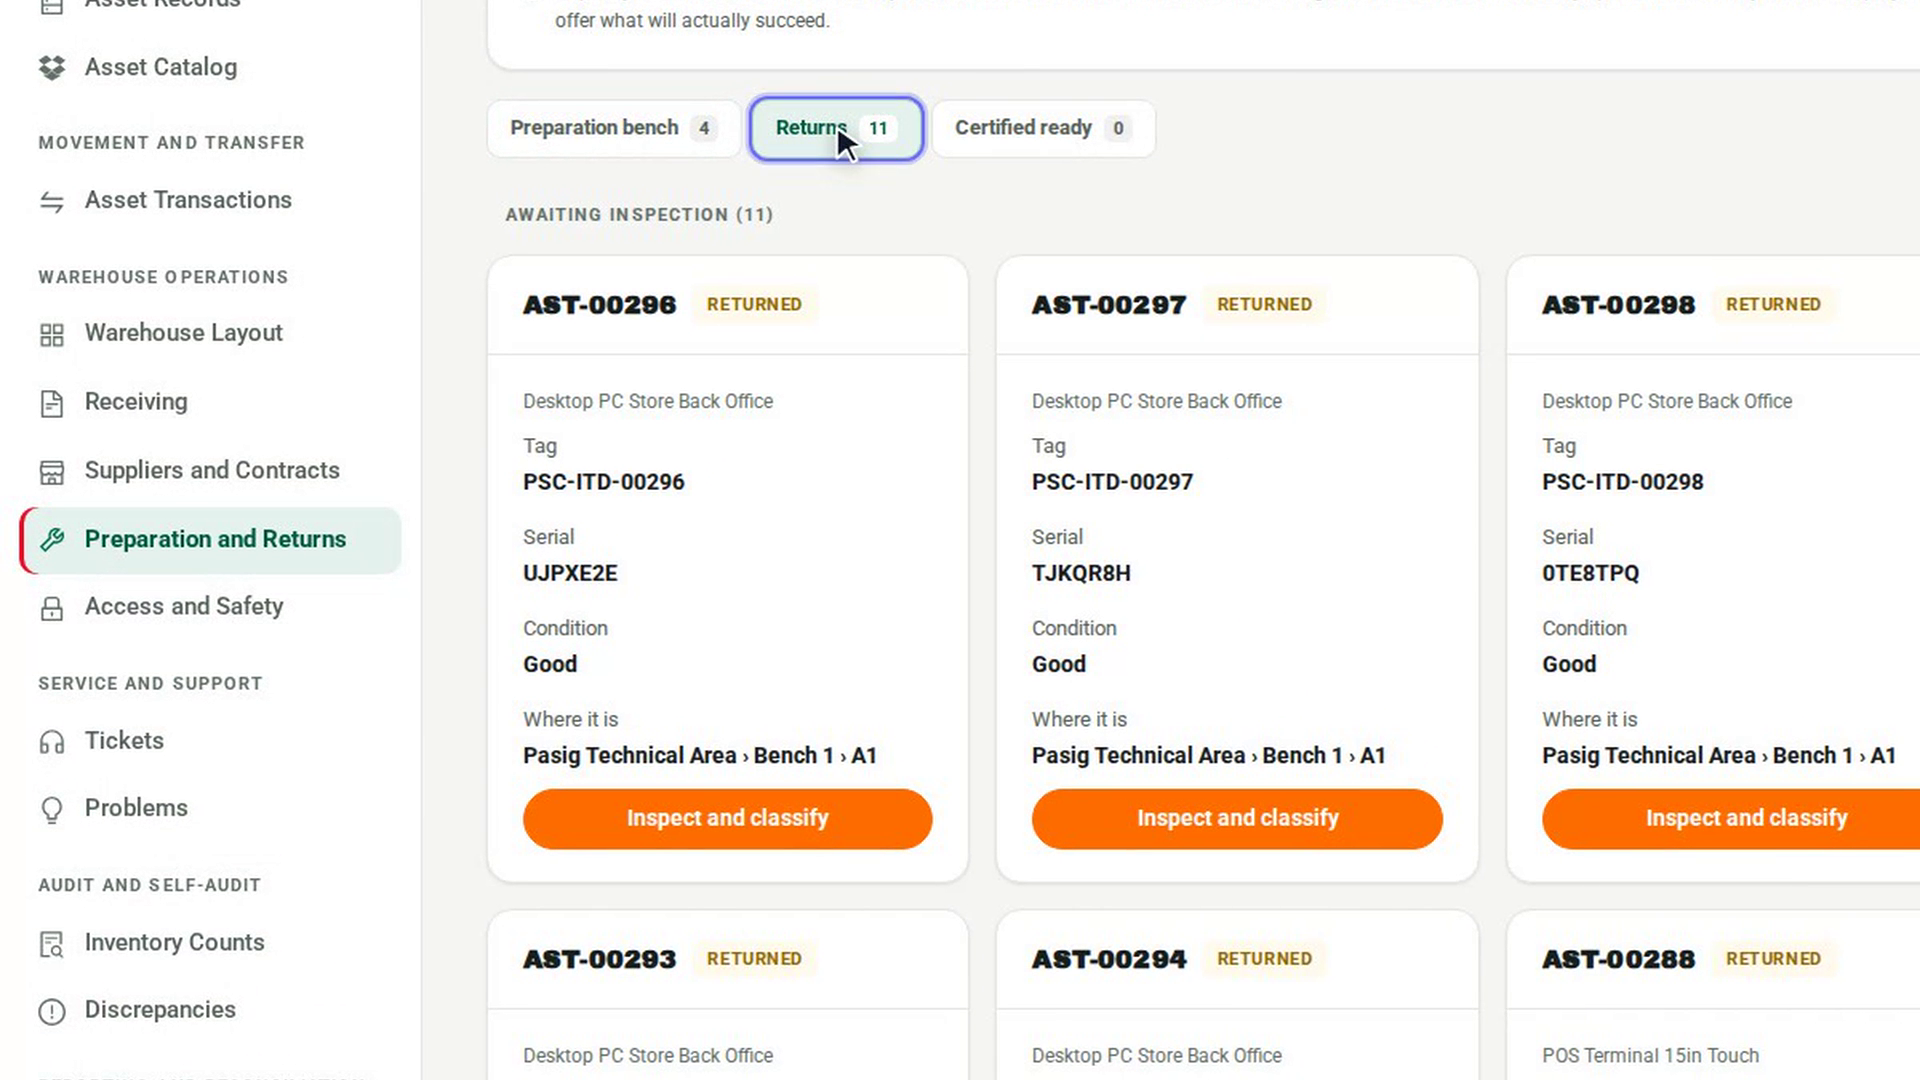
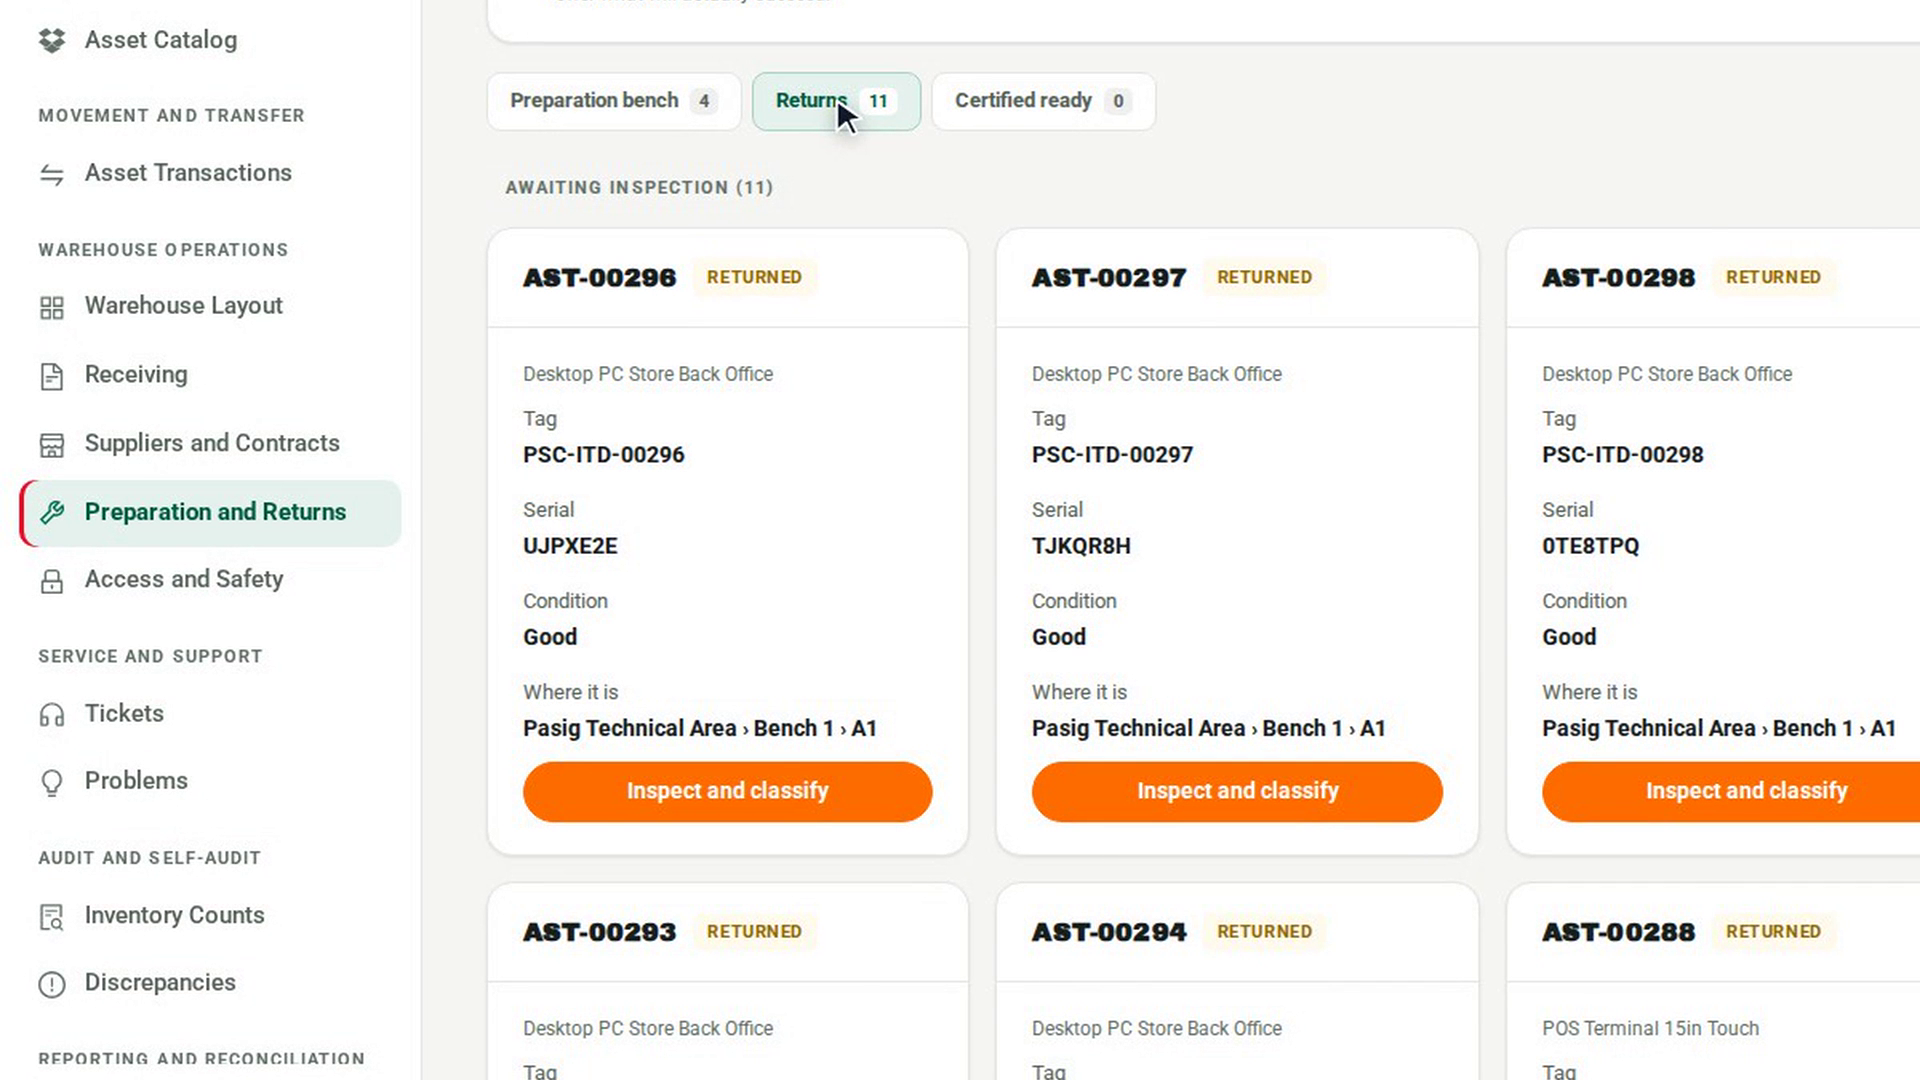
In the sidebar, under Warehouse Operations, select Preparation and Returns and open the Returns tab. The asset appears under Awaiting inspection, marked Returned, with Where it is showing its current slot.
Inspect and classify it
Select Inspect and classify. Choose the Classification that fits what you found. Each option names the area the asset must be held in. Write your reason in Why, add Inspection notes, and select OK. The asset moves to Classified, not finished.
Move it and record where it went
Put the asset in the area shown under Must be held in. Then select Record where it went, choose the Slot it was placed in, and select OK. Segregated changes to Yes.
Link the record that carries it onward
If the decision needs a follow-up, select Link the follow-up and enter the Ticket id, Transaction id or Preparation id that carries the asset onward. Select OK.
Close the return
Select Close. The classification closes straight away and leaves the Returns tab.
Screenshots
Step 1: Receive the return
Step 2: Find the asset awaiting inspection
Step 3: Inspect and classify it
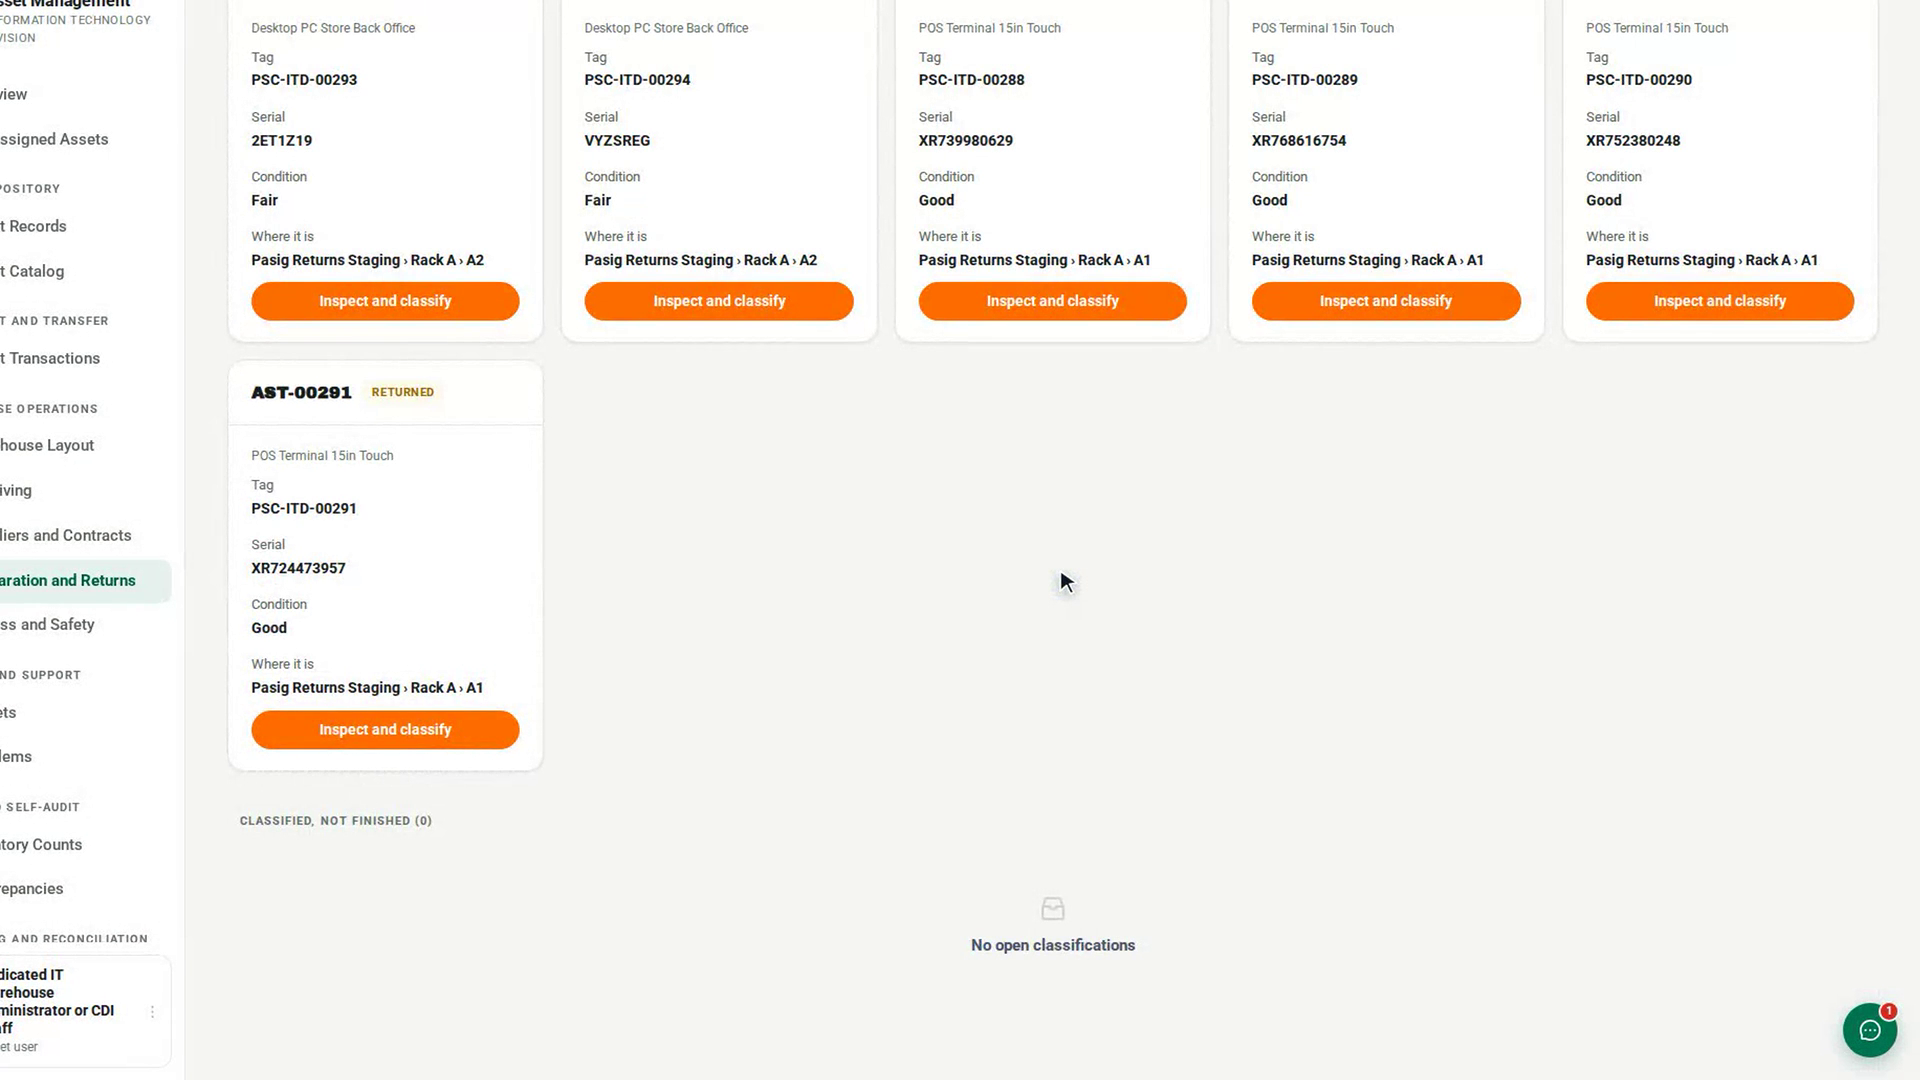
Step 4: Move it and record where it went
Step 5: Link the record that carries it onward
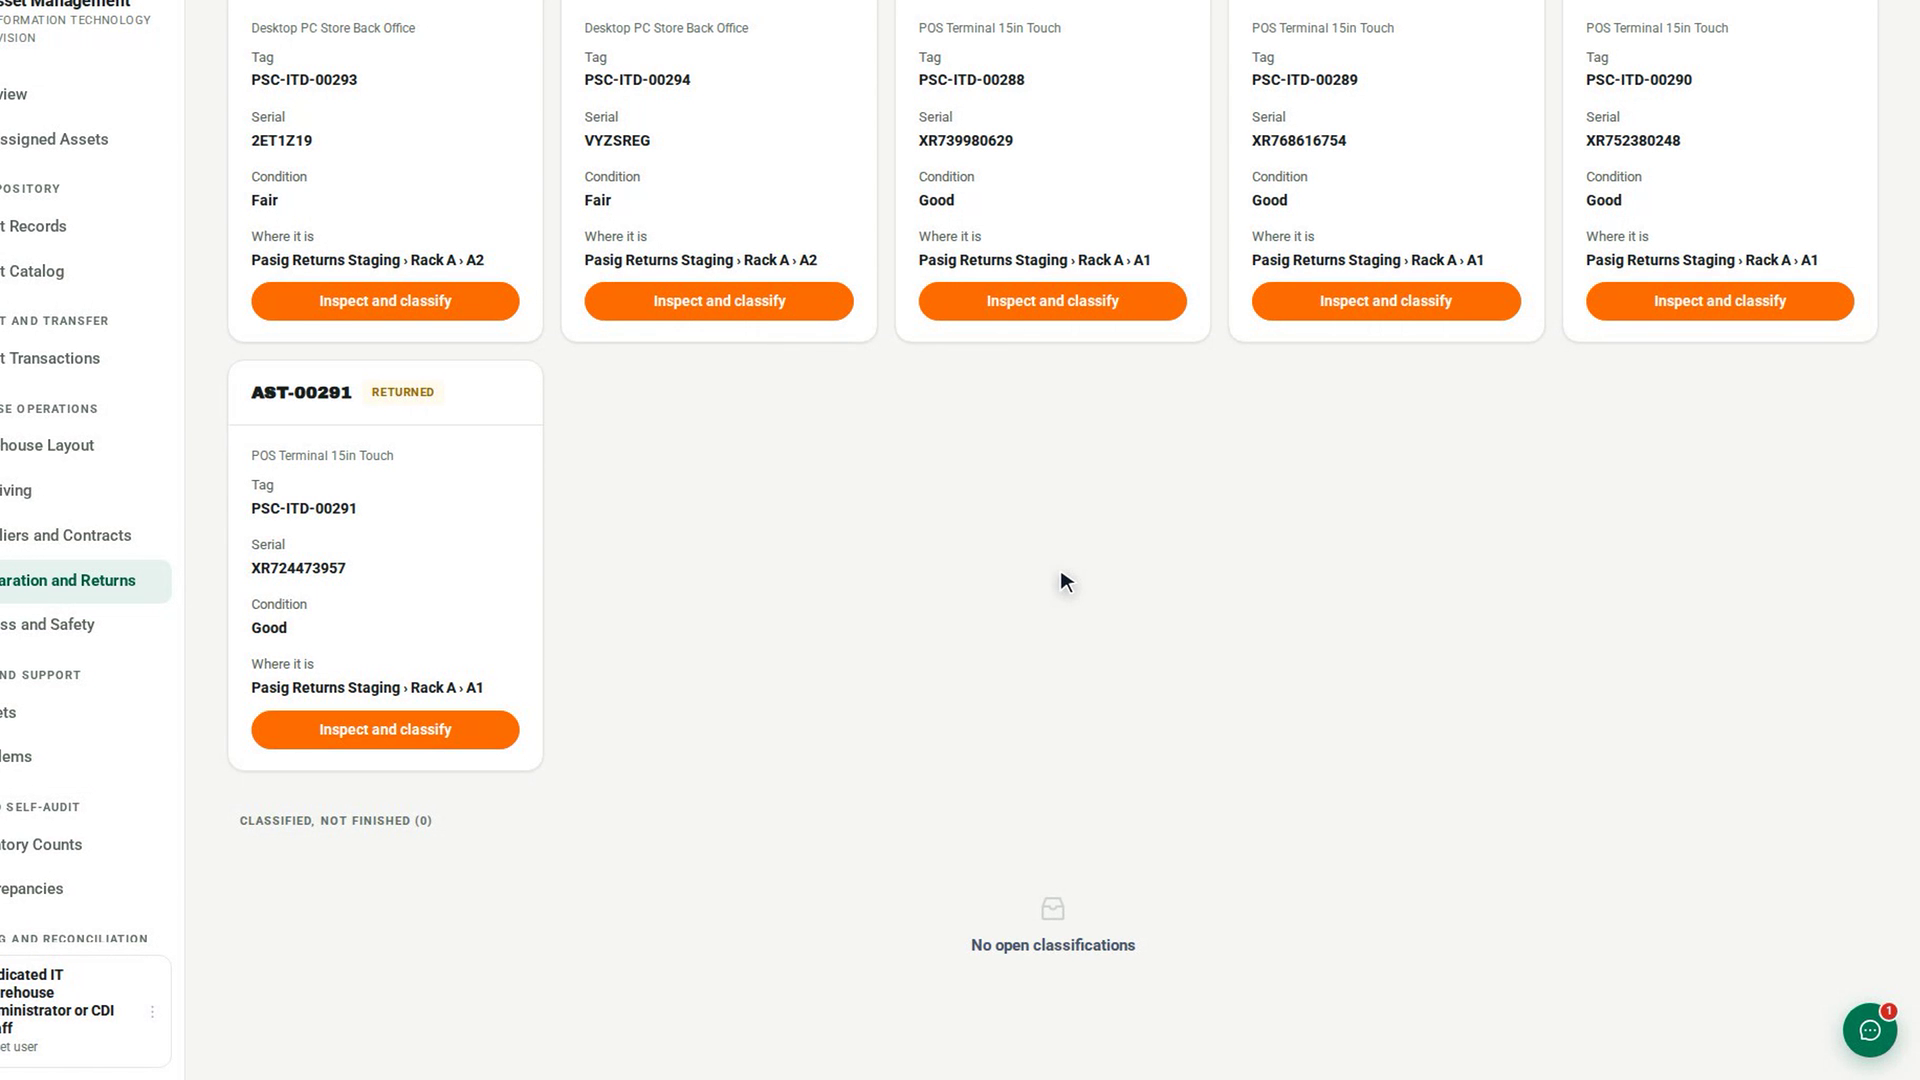
Step 6: Close the return
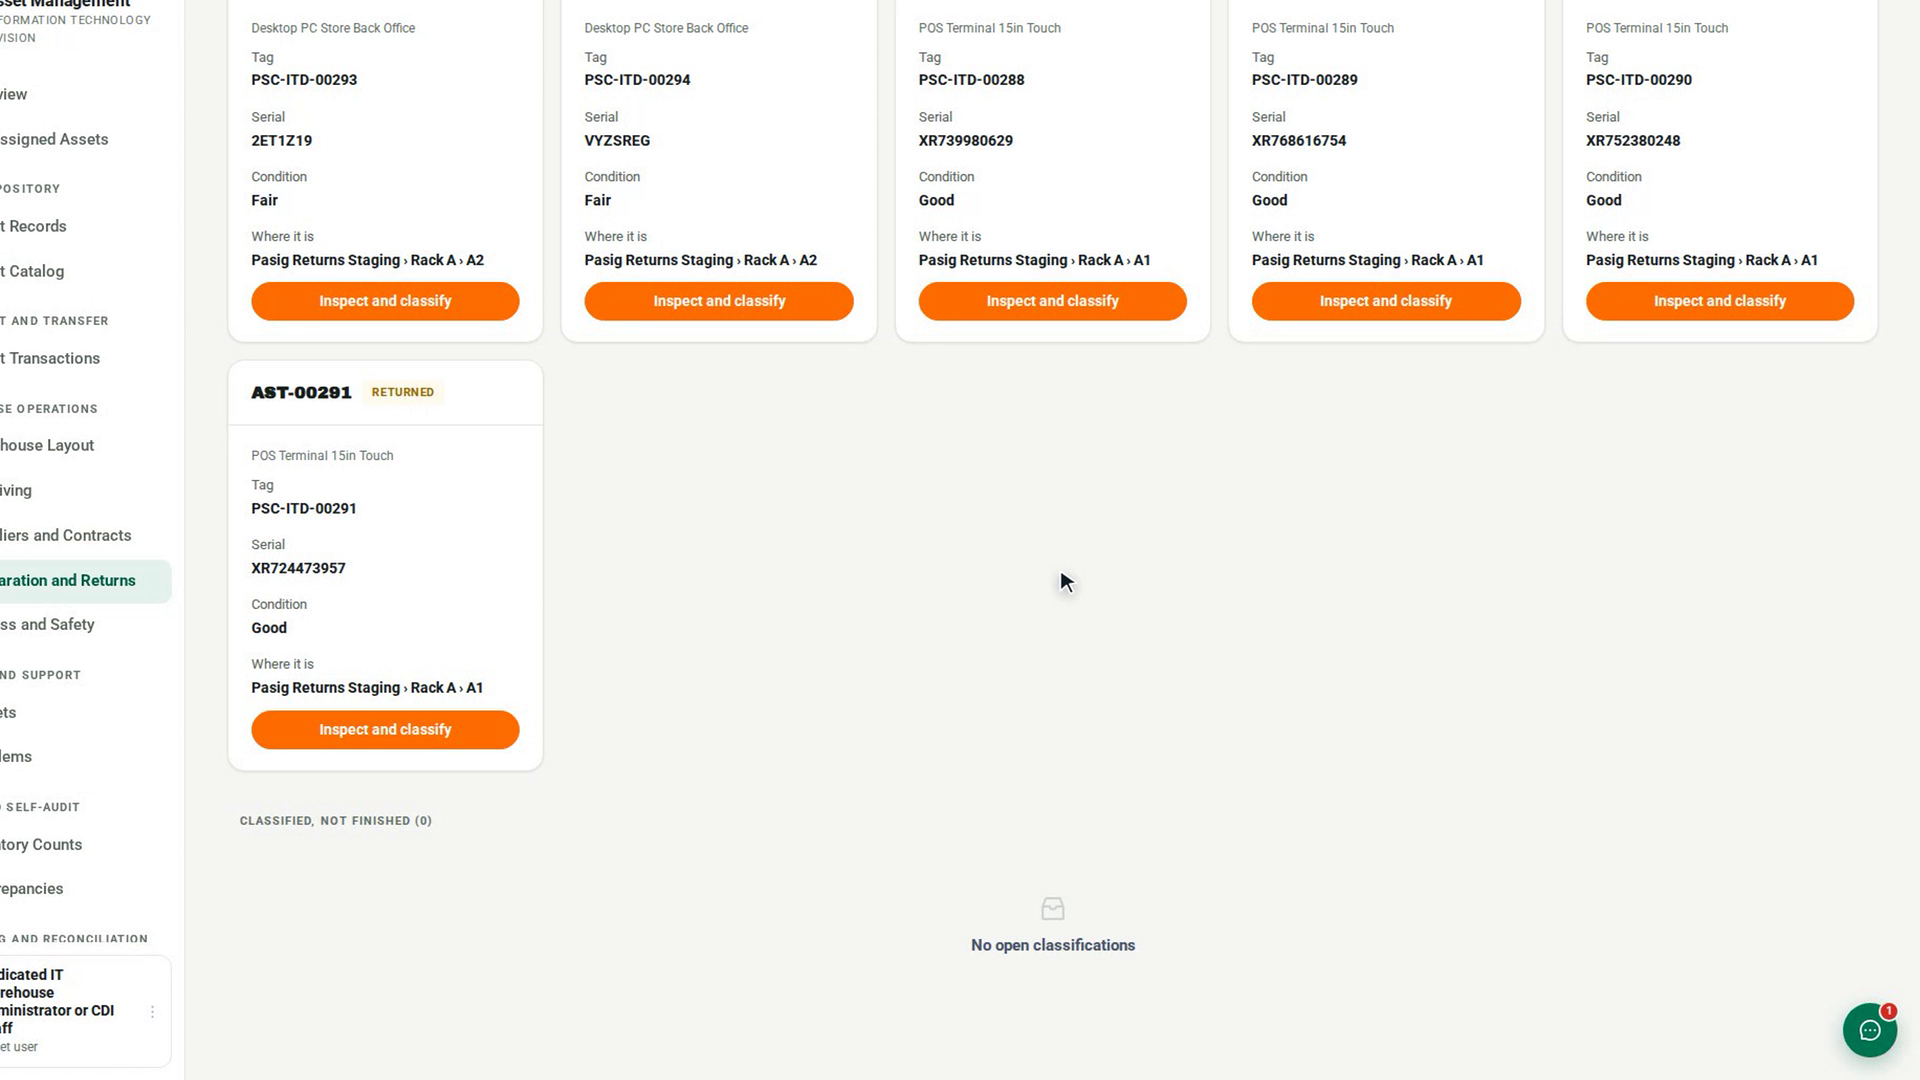
Watch how
If you choose a slot in the wrong kind of area, 7-Asset refuses it and names both the required area and the one you chose. The asset's status changes when you classify it, but its location changes only when you record where it went.
Tip: The Classified, not finished list is where you catch returns that stalled. Segregated shows Not yet moved for an asset still sitting in the wrong place, and Close stays unavailable until the move and any follow-up are recorded. Hover over Close to see what is missing.