Replace a failed asset
Give a user a working unit in place of a failed one, and record the swap on the ticket. The ticket records which asset replaced which. Both asset records change only through their own transactions: the failed unit's return and the replacement's allocation.
Before you start
- To resolve the ticket, you need a role that can update tickets, such as IT Service Operations, IT Warehouse Technical Team or Dedicated IT Warehouse Administrator or CDI Staff.
- To create the transactions, you need a role that can prepare asset transactions, such as Asset and Logistics Associate. Someone else approves them.
- There must be a ticket for the failed asset, and a replacement unit in deployable stock.
Steps
Open the failed asset's ticket
In the sidebar, under Service and Support, select Tickets and open the ticket. The Asset card shows the failed unit. The ticket must be In Progress or pending before you can resolve it.
Choose the replacement unit
In the sidebar, under Asset Repository, select Asset Records and find a working unit of the same kind in deployable stock. Note its asset id.
Record the asset movements
In the sidebar, under Movement and Transfer, select Asset Transactions. Create a return or pullout for the failed unit and an allocation of the replacement to the user. Each goes through its own approval.
Resolve the ticket as replaced
Back on the ticket, select Resolve. In Resolve ticket, choose replaced as the Resolution, enter the new unit in Replacement asset id, and describe What was done. Select Mark resolved. The thread records the resolution.
Link the asset record change
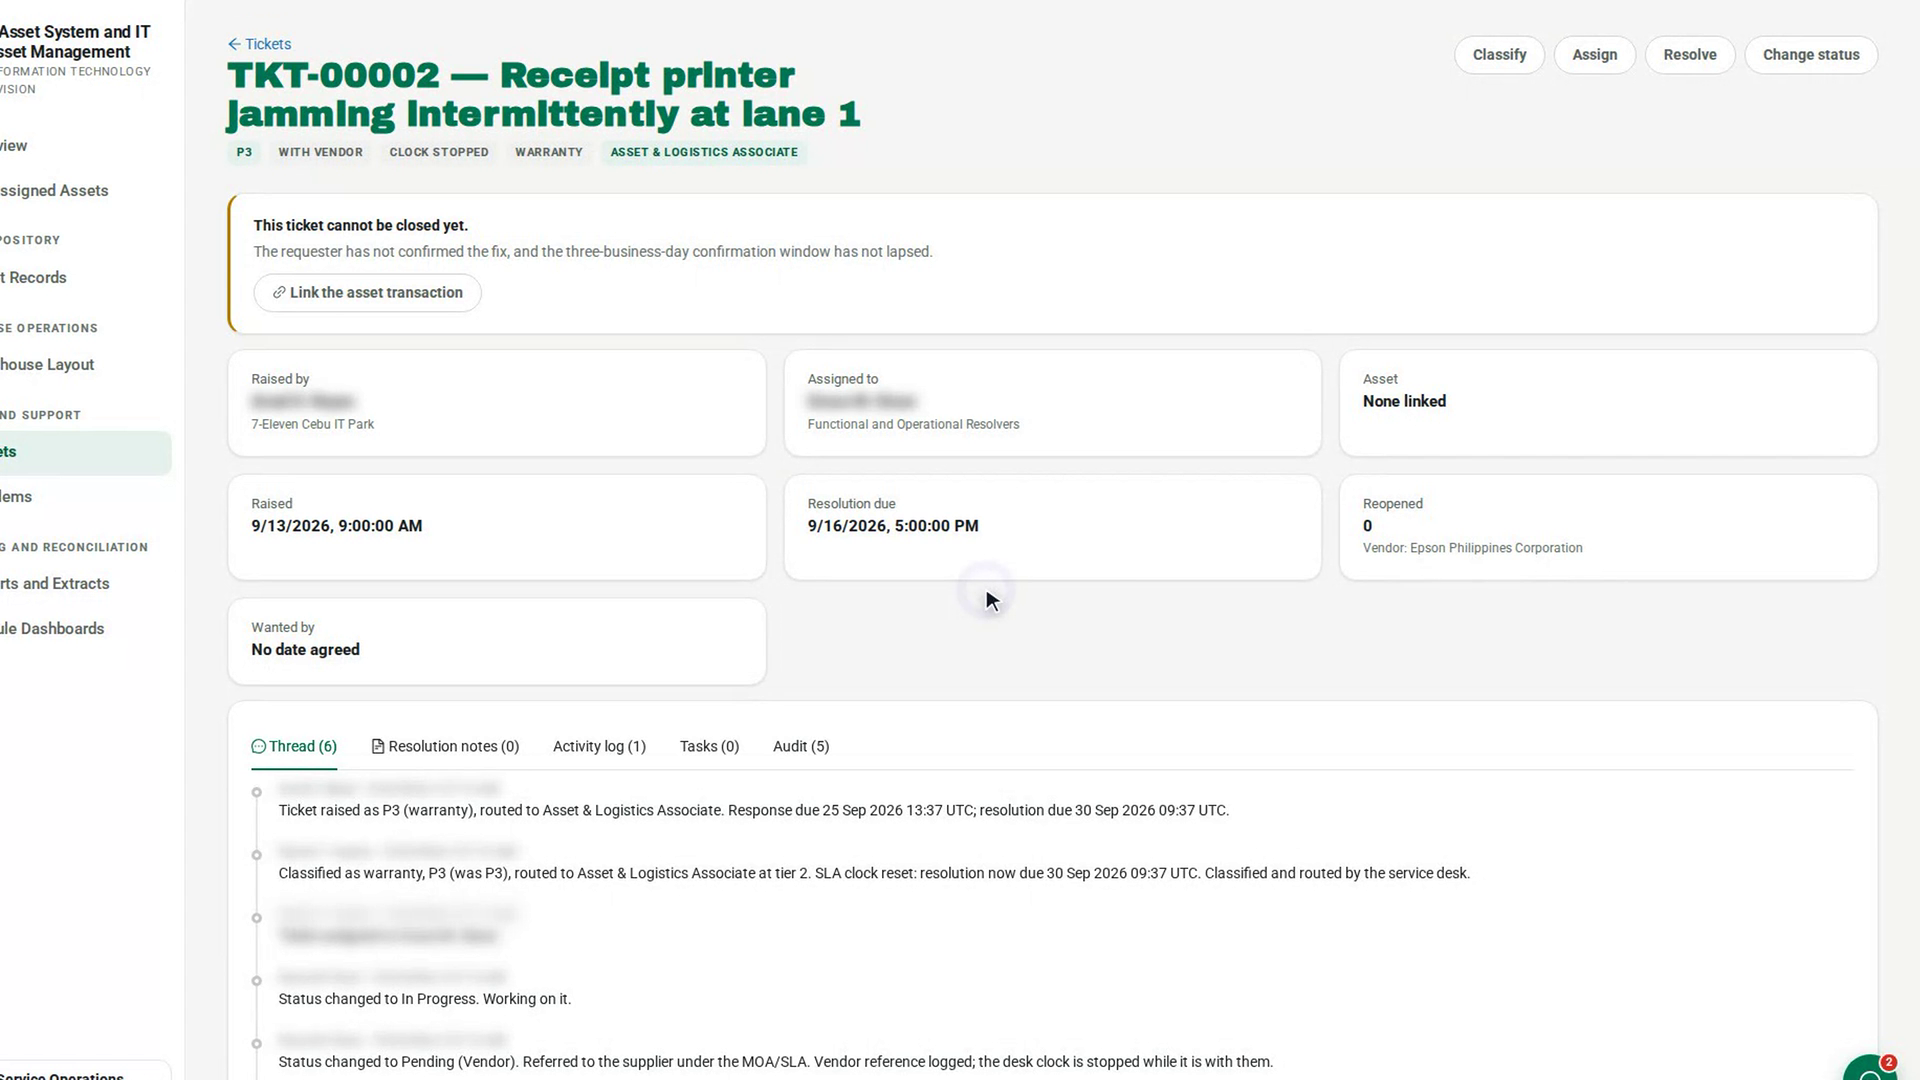
If the ticket shows This ticket cannot be closed yet. with a required return or pullout, select Link the asset transaction. In Link the asset record change, enter the failed unit's return transaction in Asset transaction id and select Link.
Confirm and close
The requester selects Confirm fix and chooses Yes — the issue is resolved. A resolver then selects Close and Close ticket.
Screenshots
Step 1: Open the failed asset's ticket
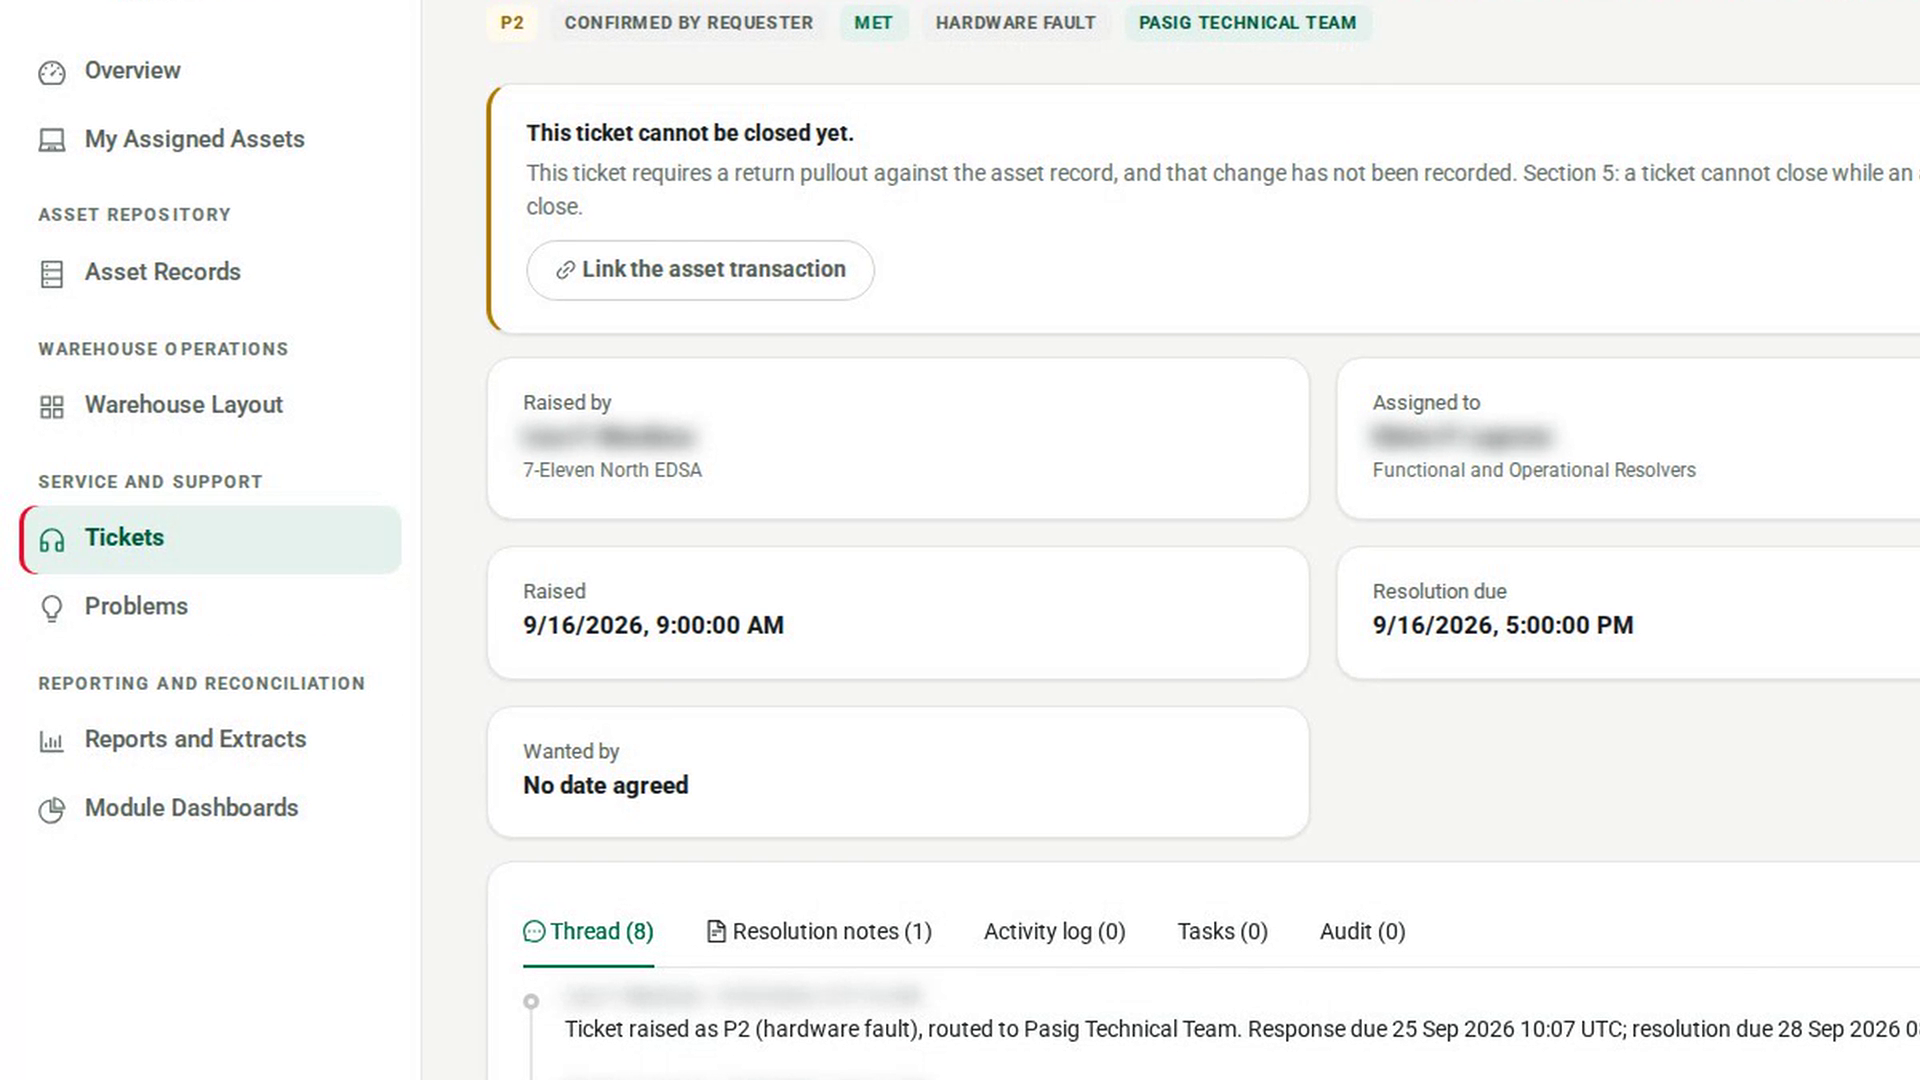
Step 2: Choose the replacement unit
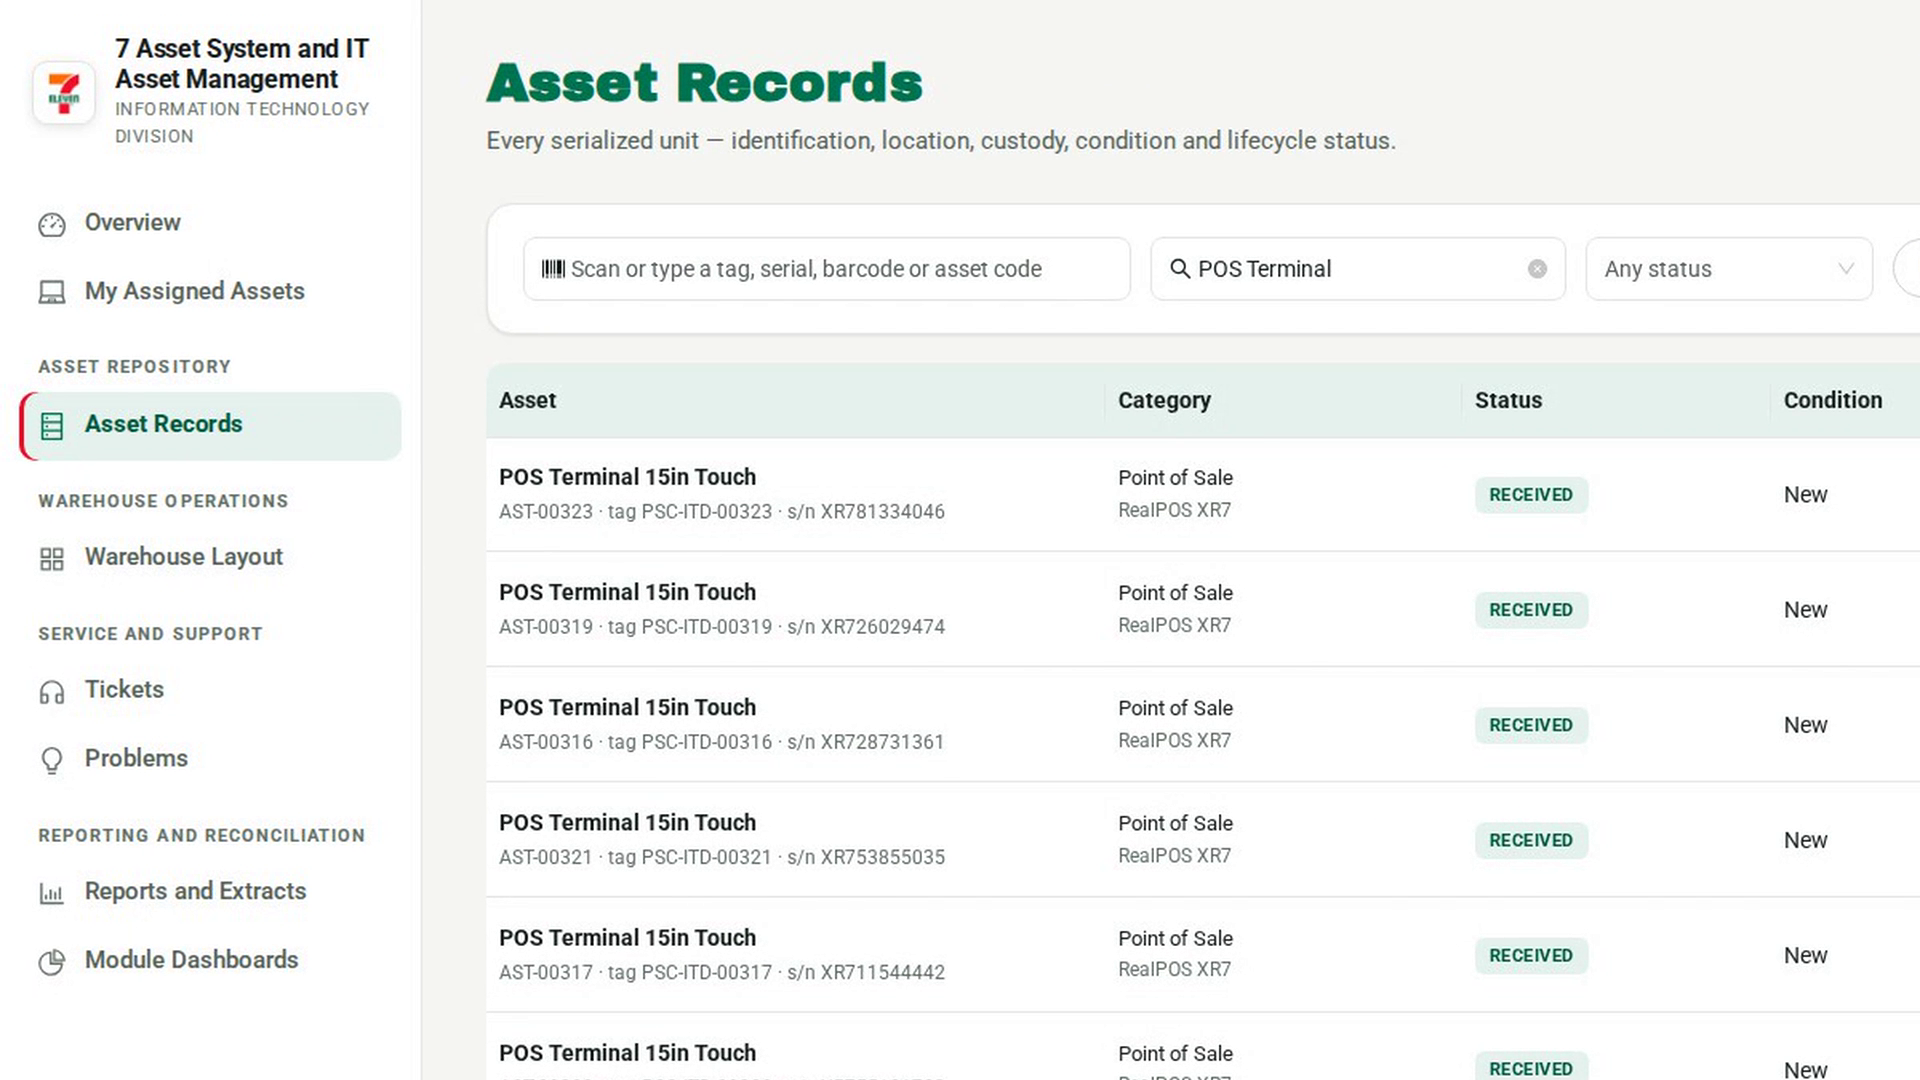
Step 3: Record the asset movements
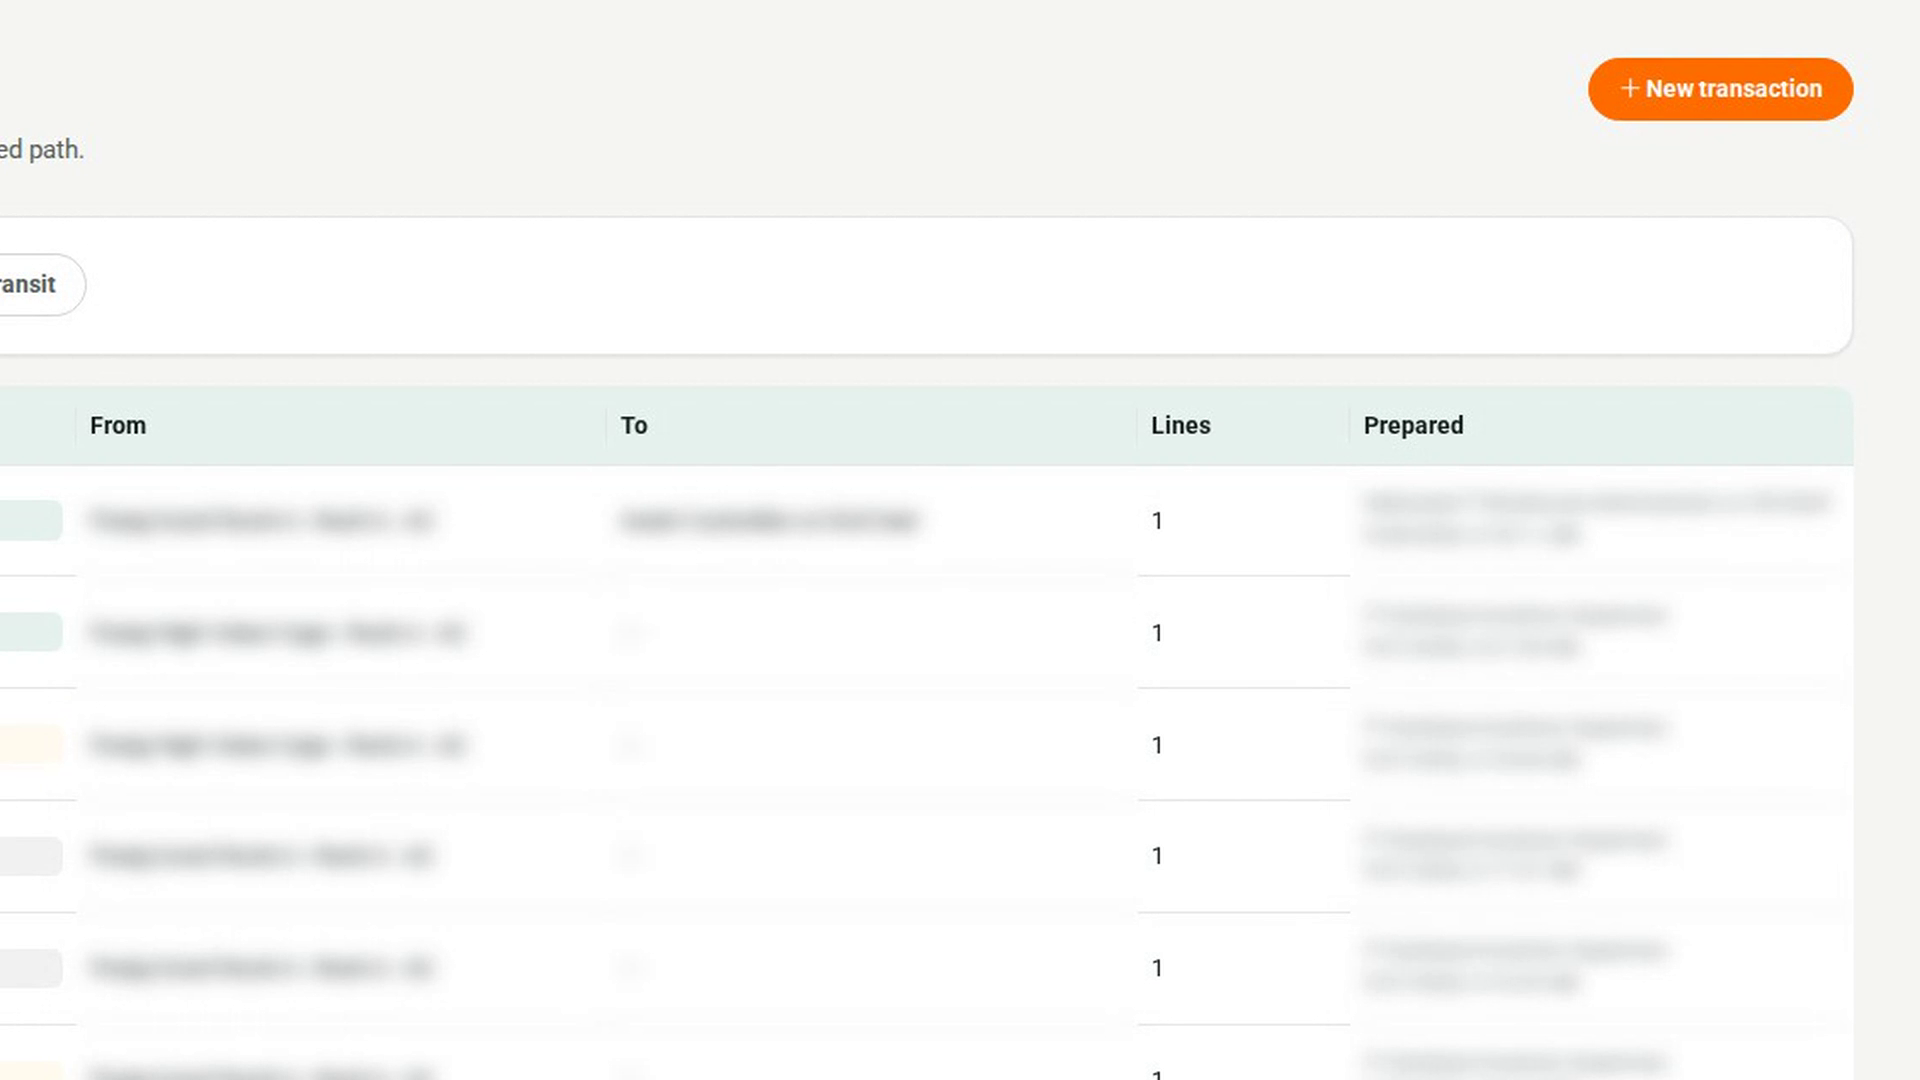
Step 4: Resolve the ticket as replaced
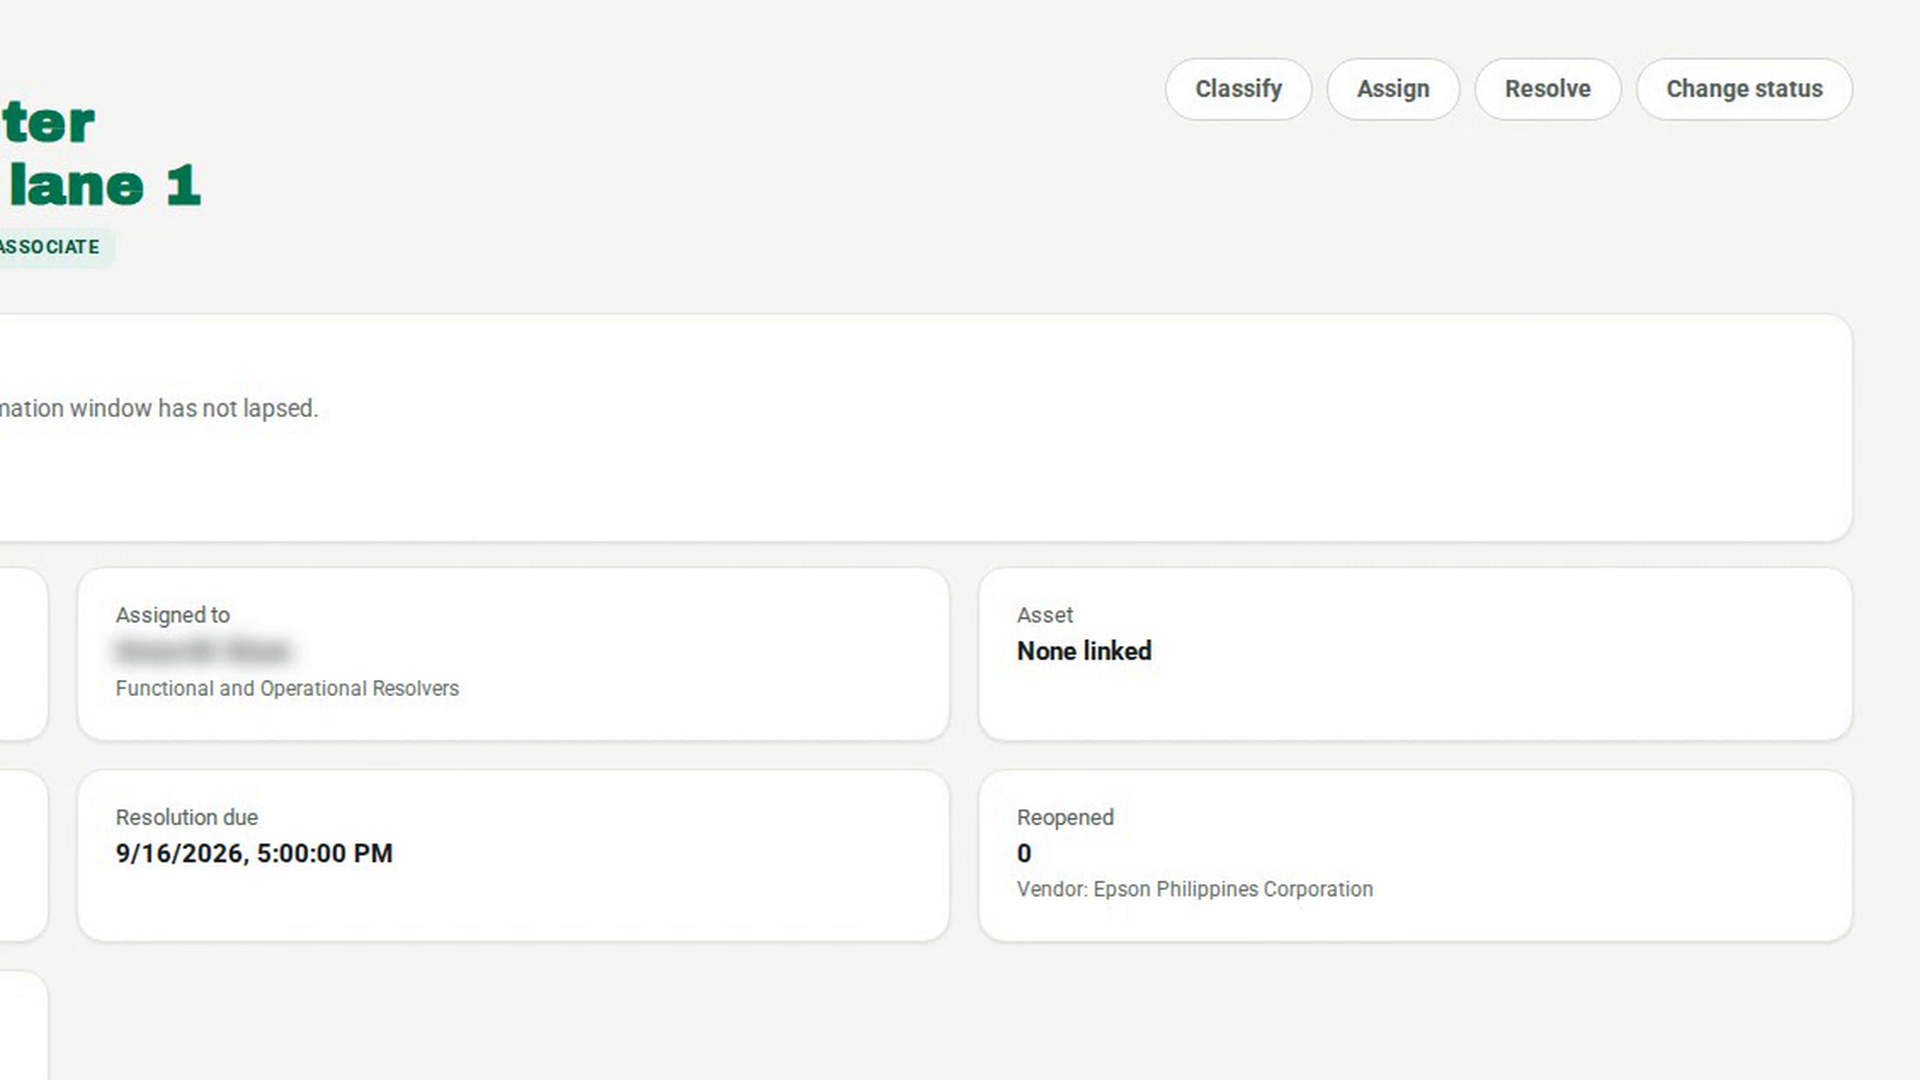
Step 5: Link the asset record change
Step 6: Confirm and close
Watch how
The replacement must be a different asset. If you enter the failed asset's own id in Replacement asset id, 7-Asset refuses it.
Tip: Resolving the ticket does not change either asset record. Until the transactions are completed, the failed unit still shows its old custodian and the replacement is still in stock. The ticket page itself does not show the replacement after resolving. The ticket extract on Reports and Extracts has a replacement asset column.