Test and prepare an asset for deployment
Record the testing, imaging and configuration of an asset, have a colleague quality-check it, and conclude the preparation. An asset only becomes deployment ready through a passed quality check.
Before you start
- To open a preparation, record a technical result or conclude one, you need to be IT Warehouse Technical Team, Dedicated IT Warehouse Administrator or CDI Staff, IT Hardware Inventory Supervisor, or IT Business Systems or Application Team.
- To record the quality check, you need to be IT Warehouse Technical Team, IT Hardware Inventory Supervisor, or IT Business Systems or Application Team. You cannot check a build you tested yourself.
- You need the asset's id from the asset register. The asset cannot be in transit, disposed or written off, and it cannot already be on the bench.
Steps
Open Preparation and Returns
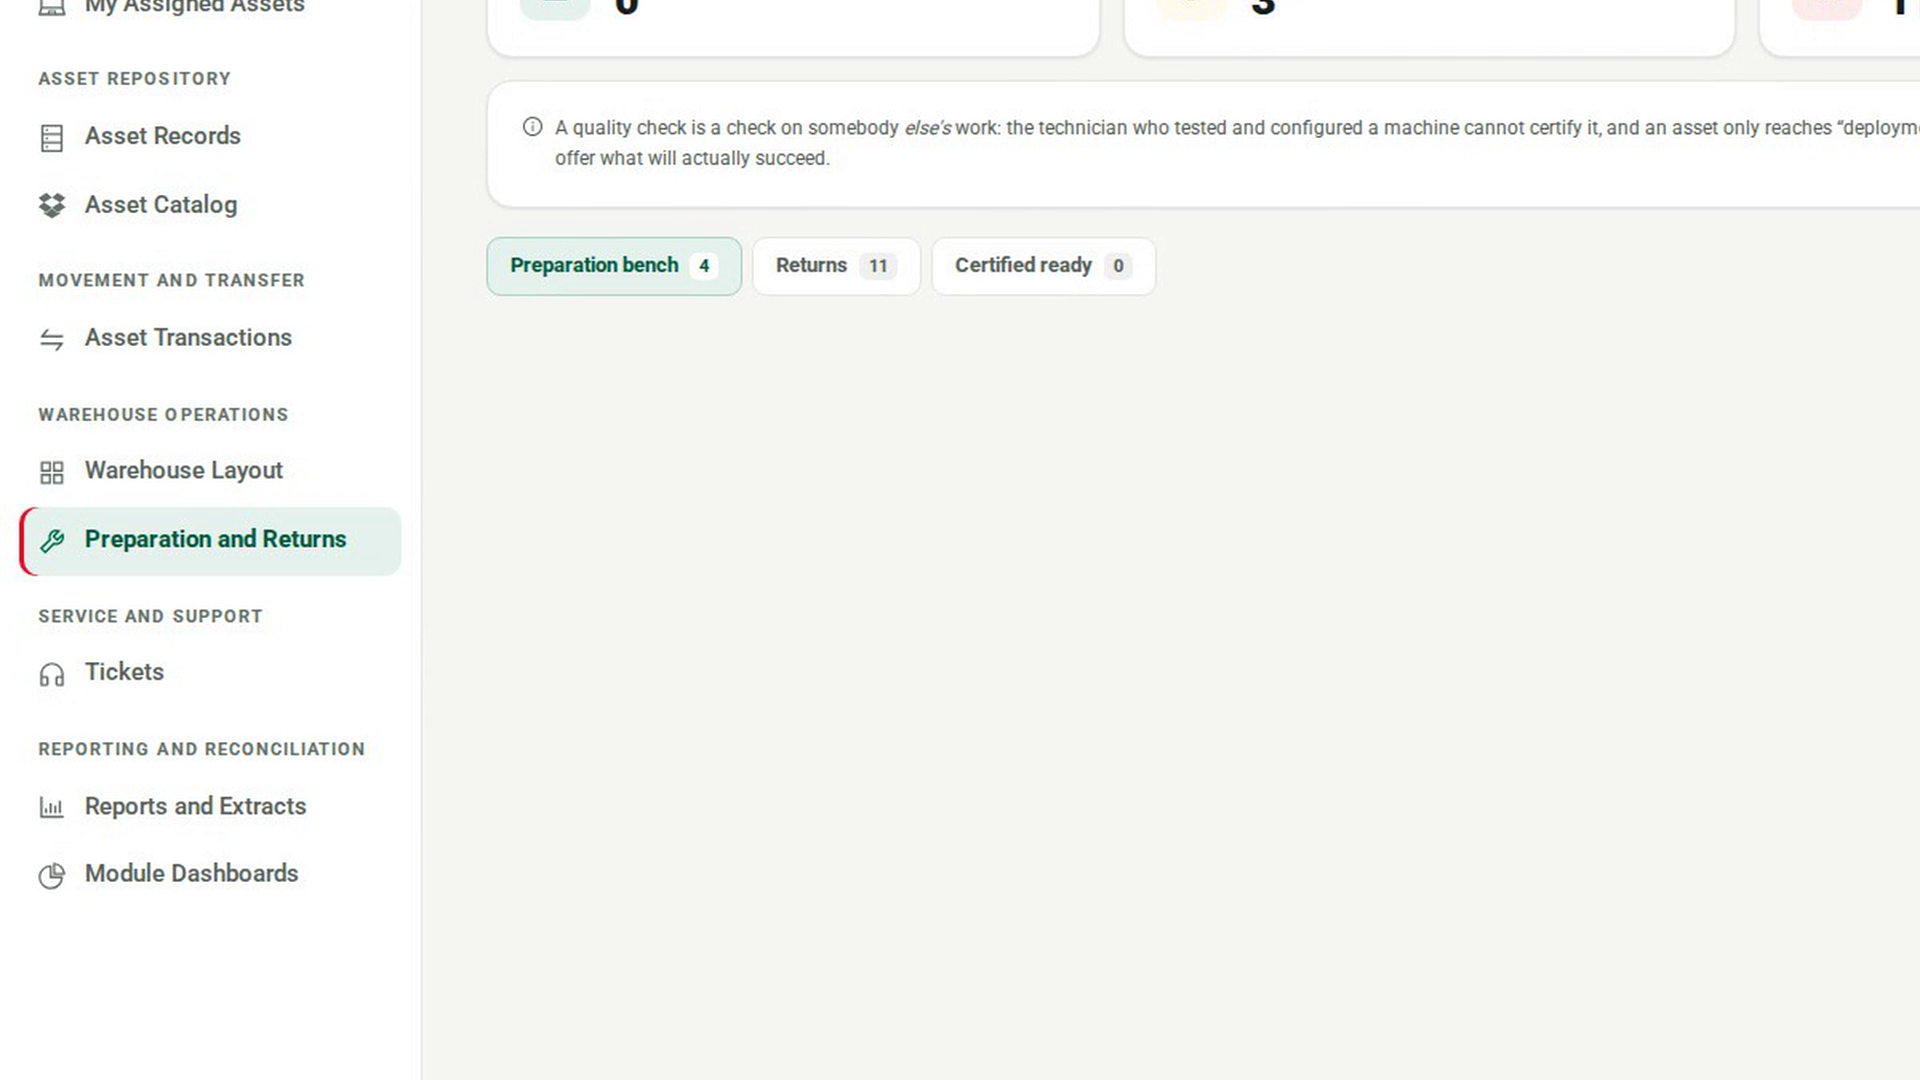
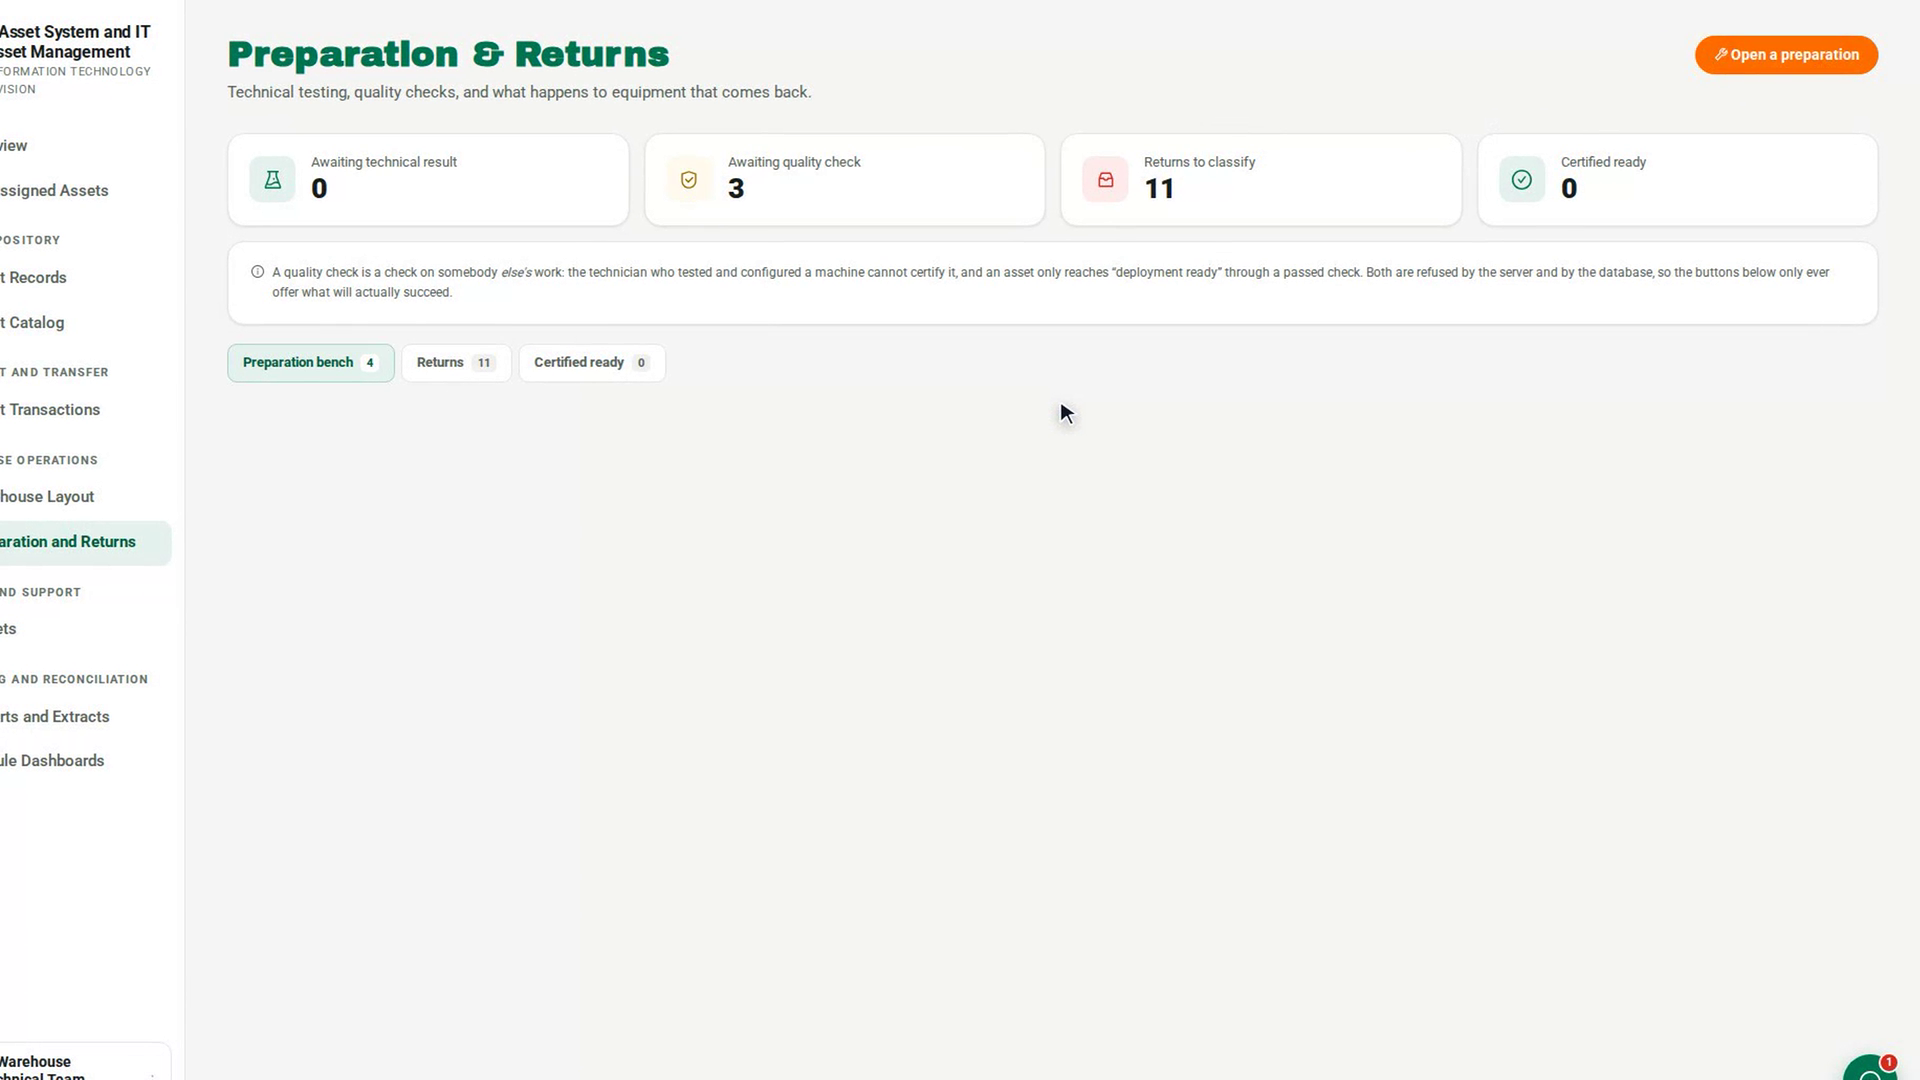
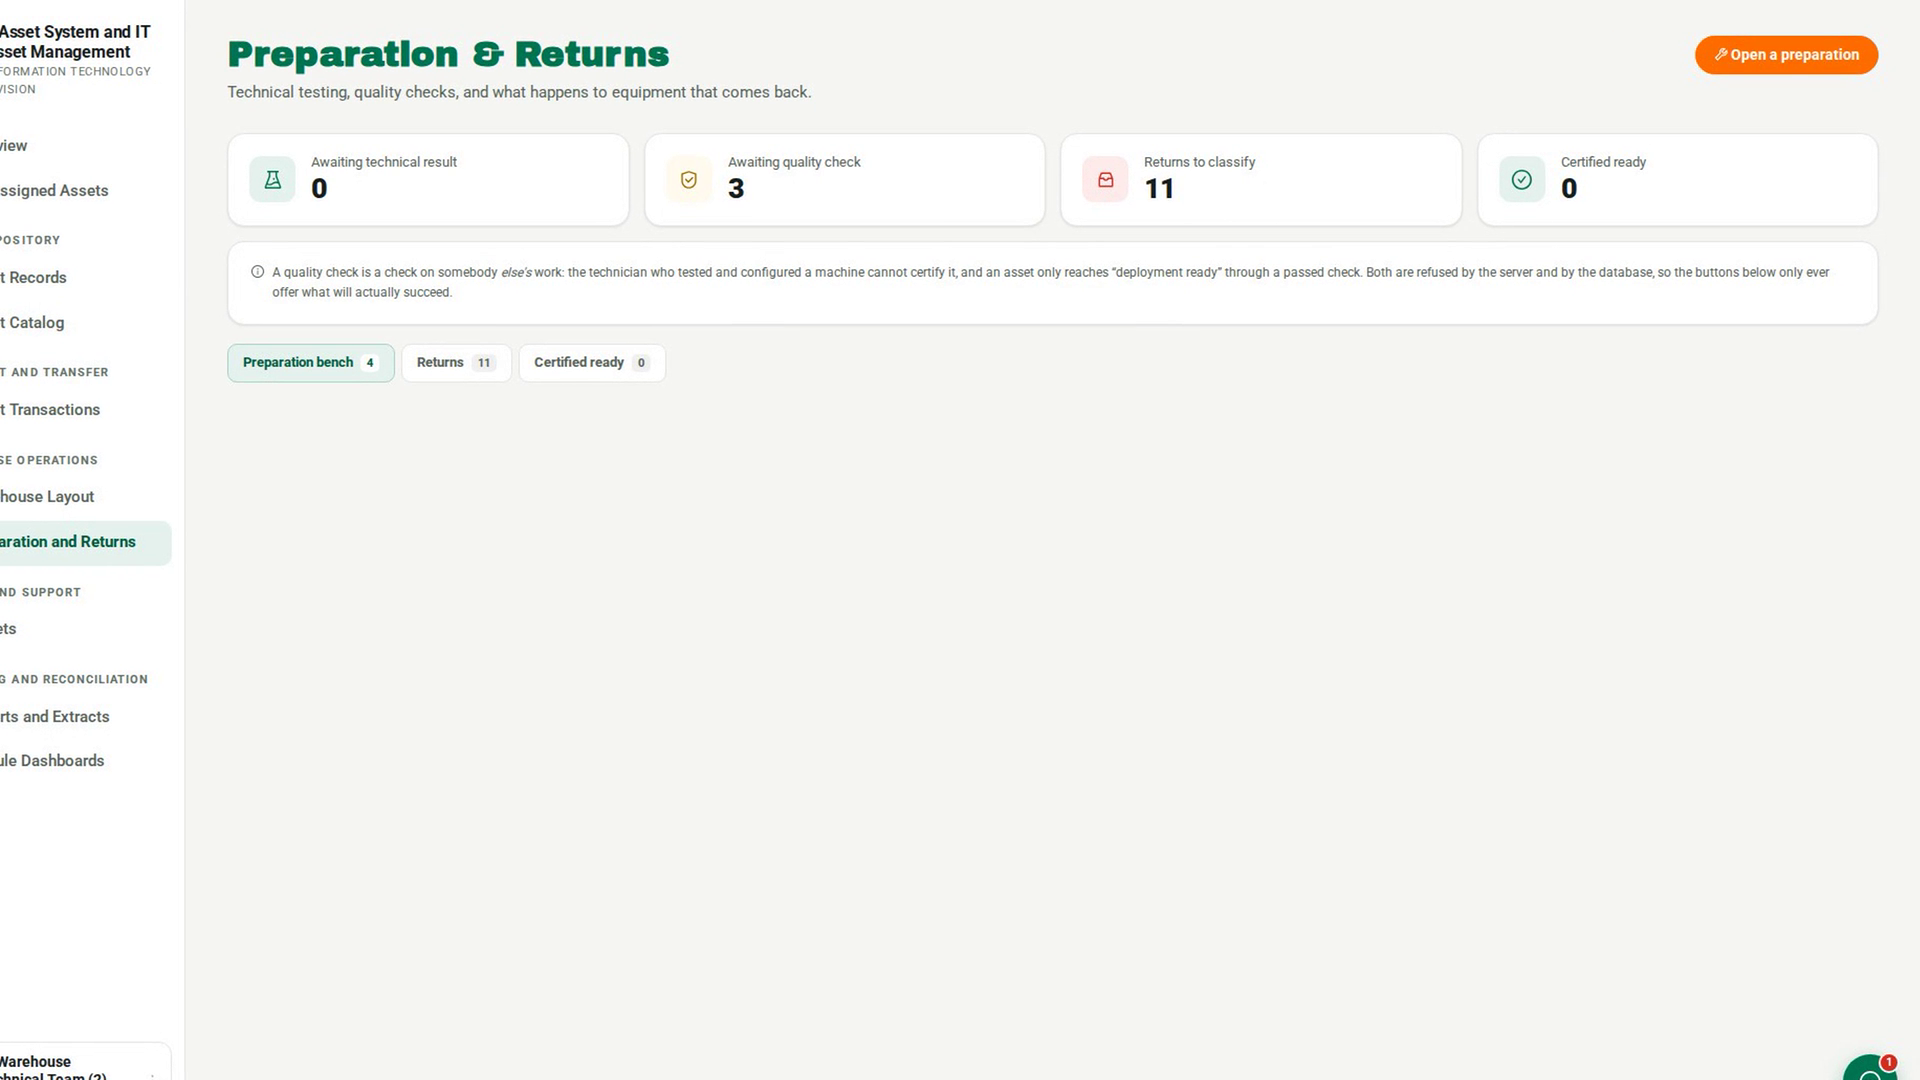
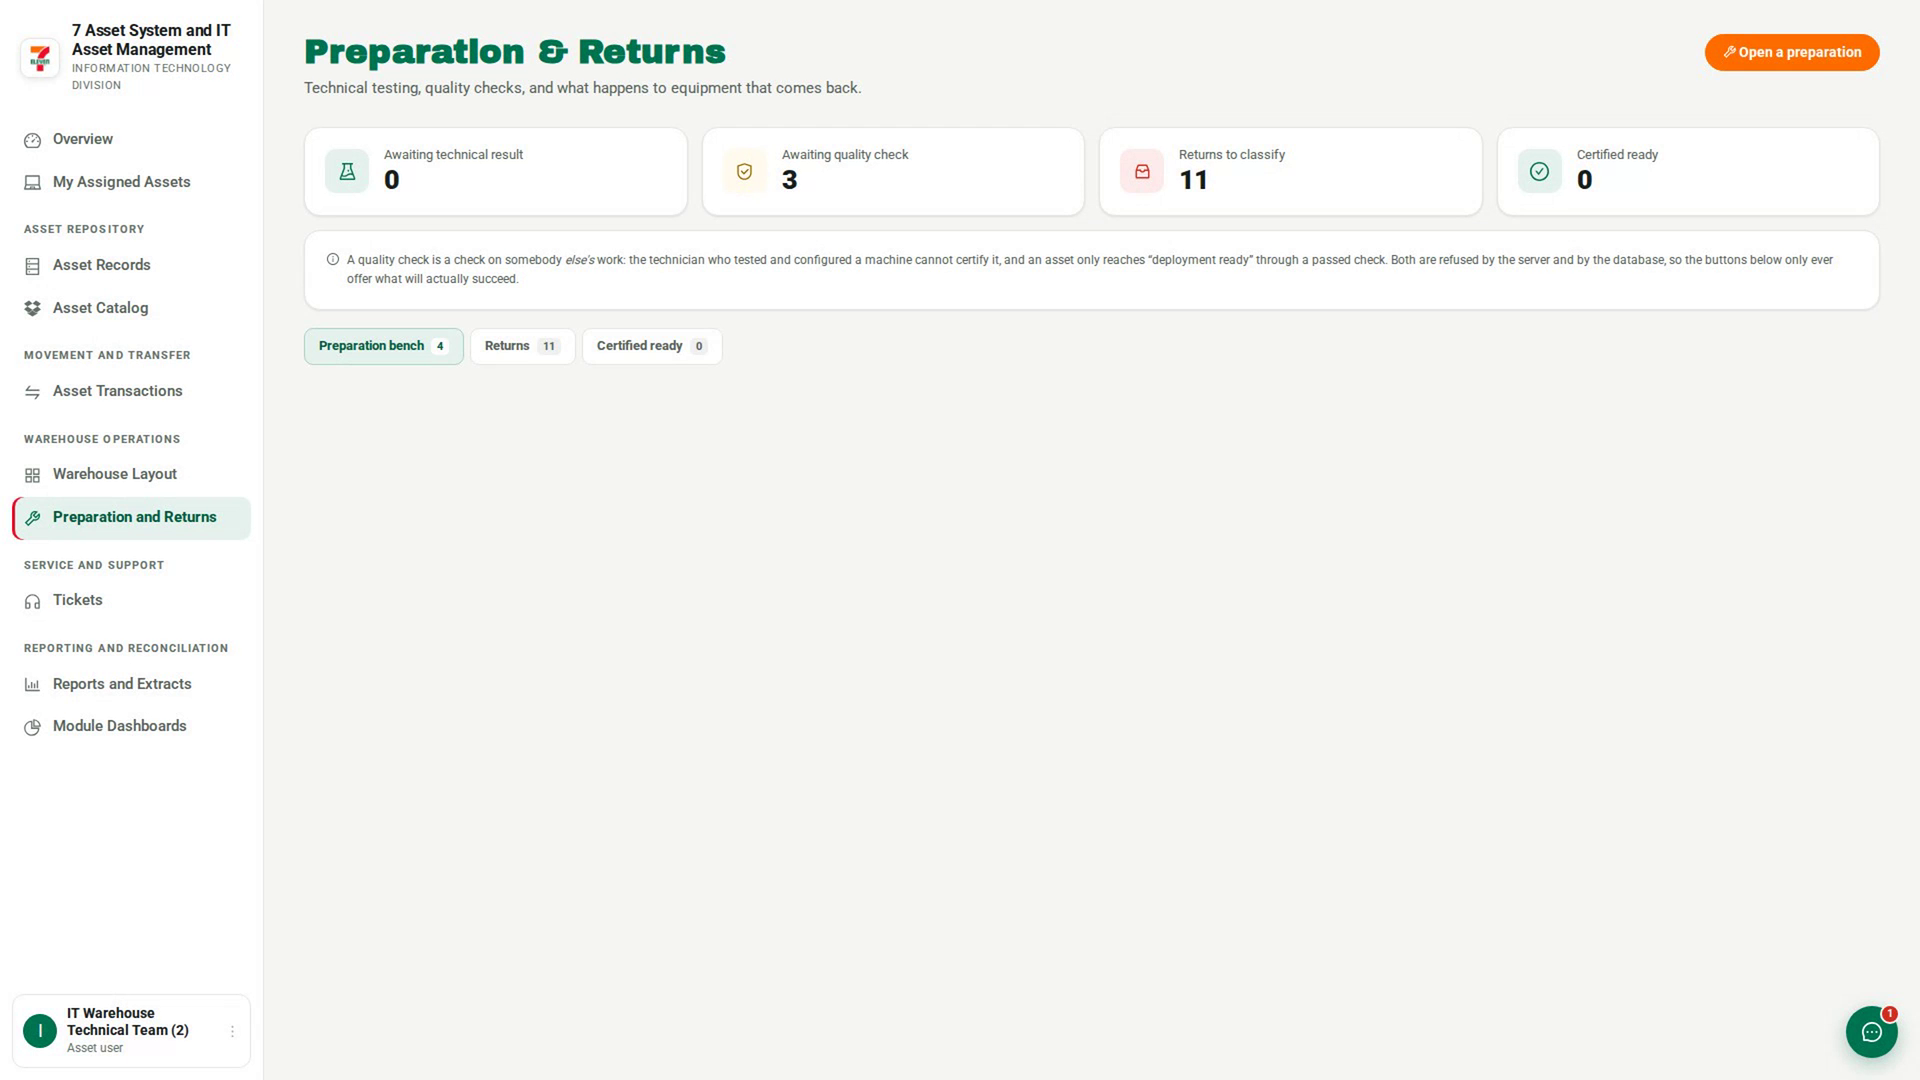
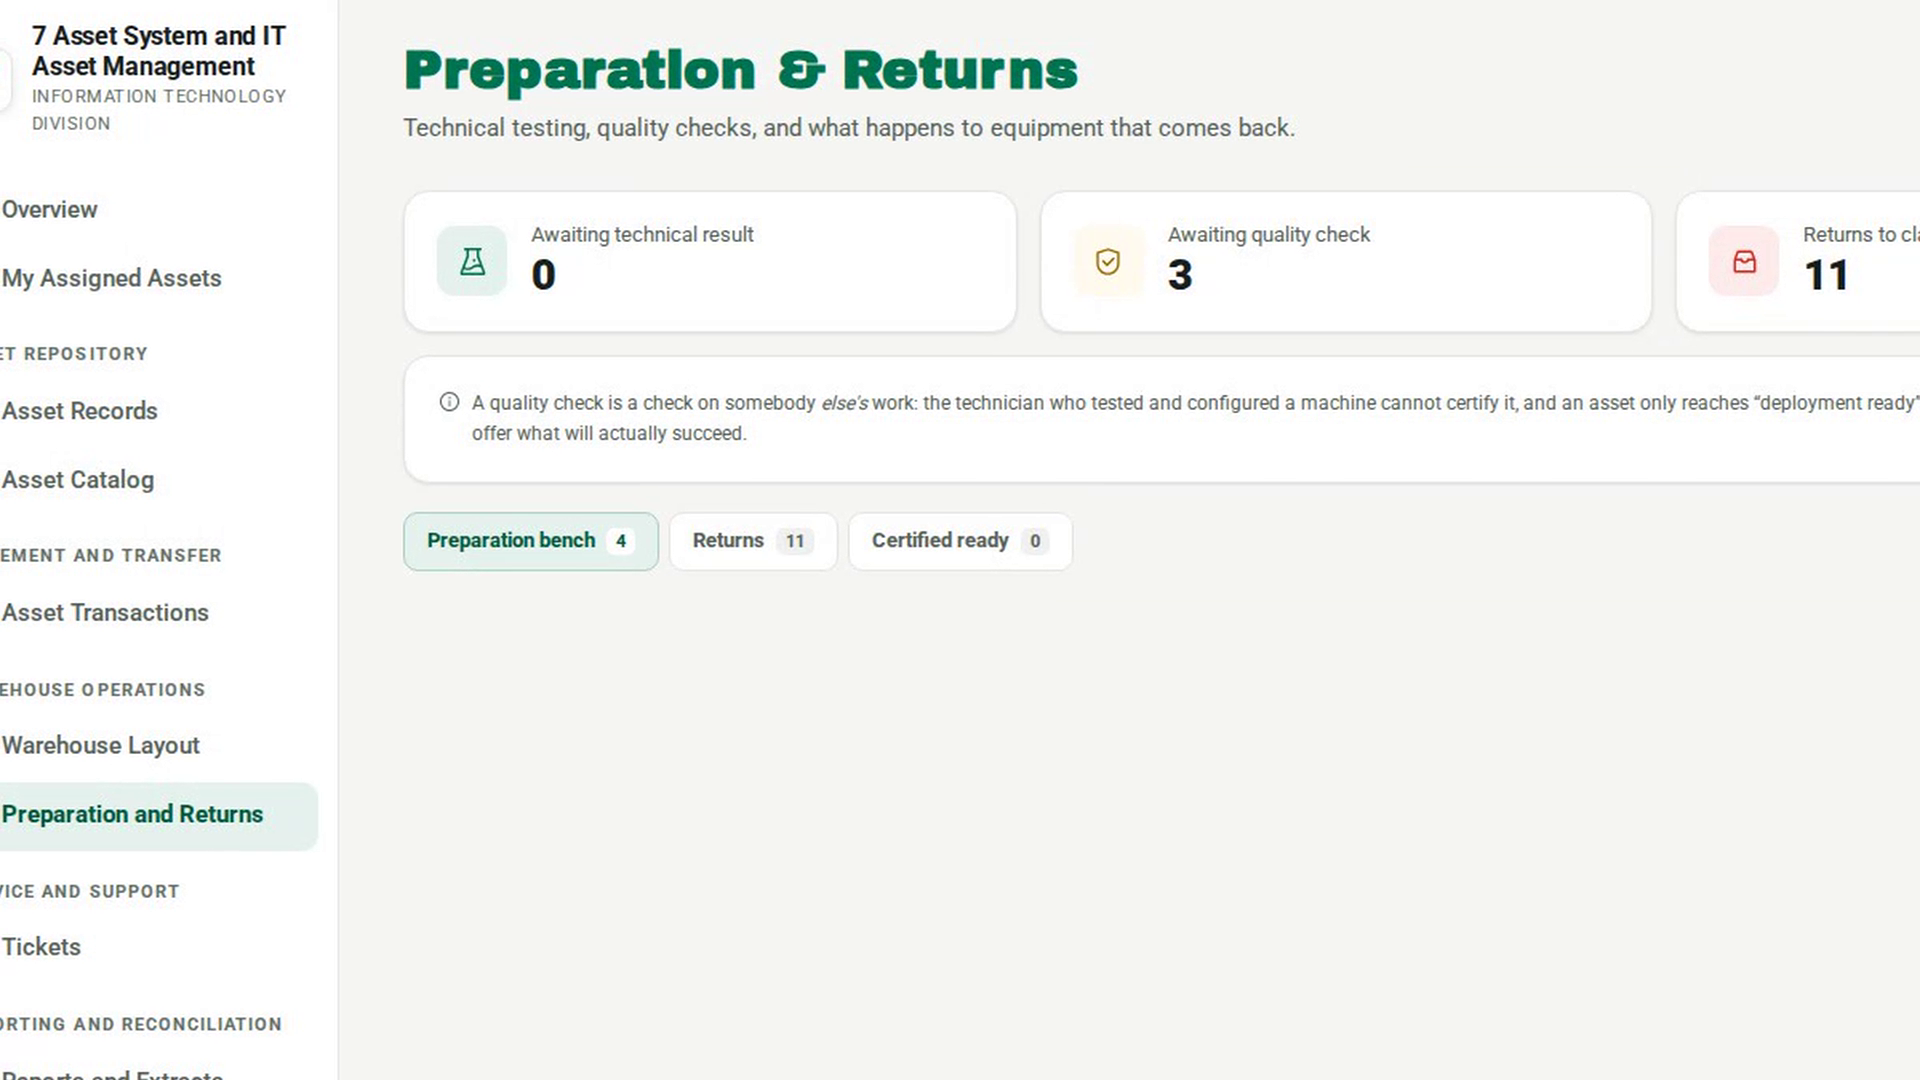
In the sidebar, under Warehouse Operations, select Preparation and Returns. The page opens on the Preparation bench tab, with counts for Awaiting technical result, Awaiting quality check, Returns to classify and Certified ready at the top.
Open a preparation
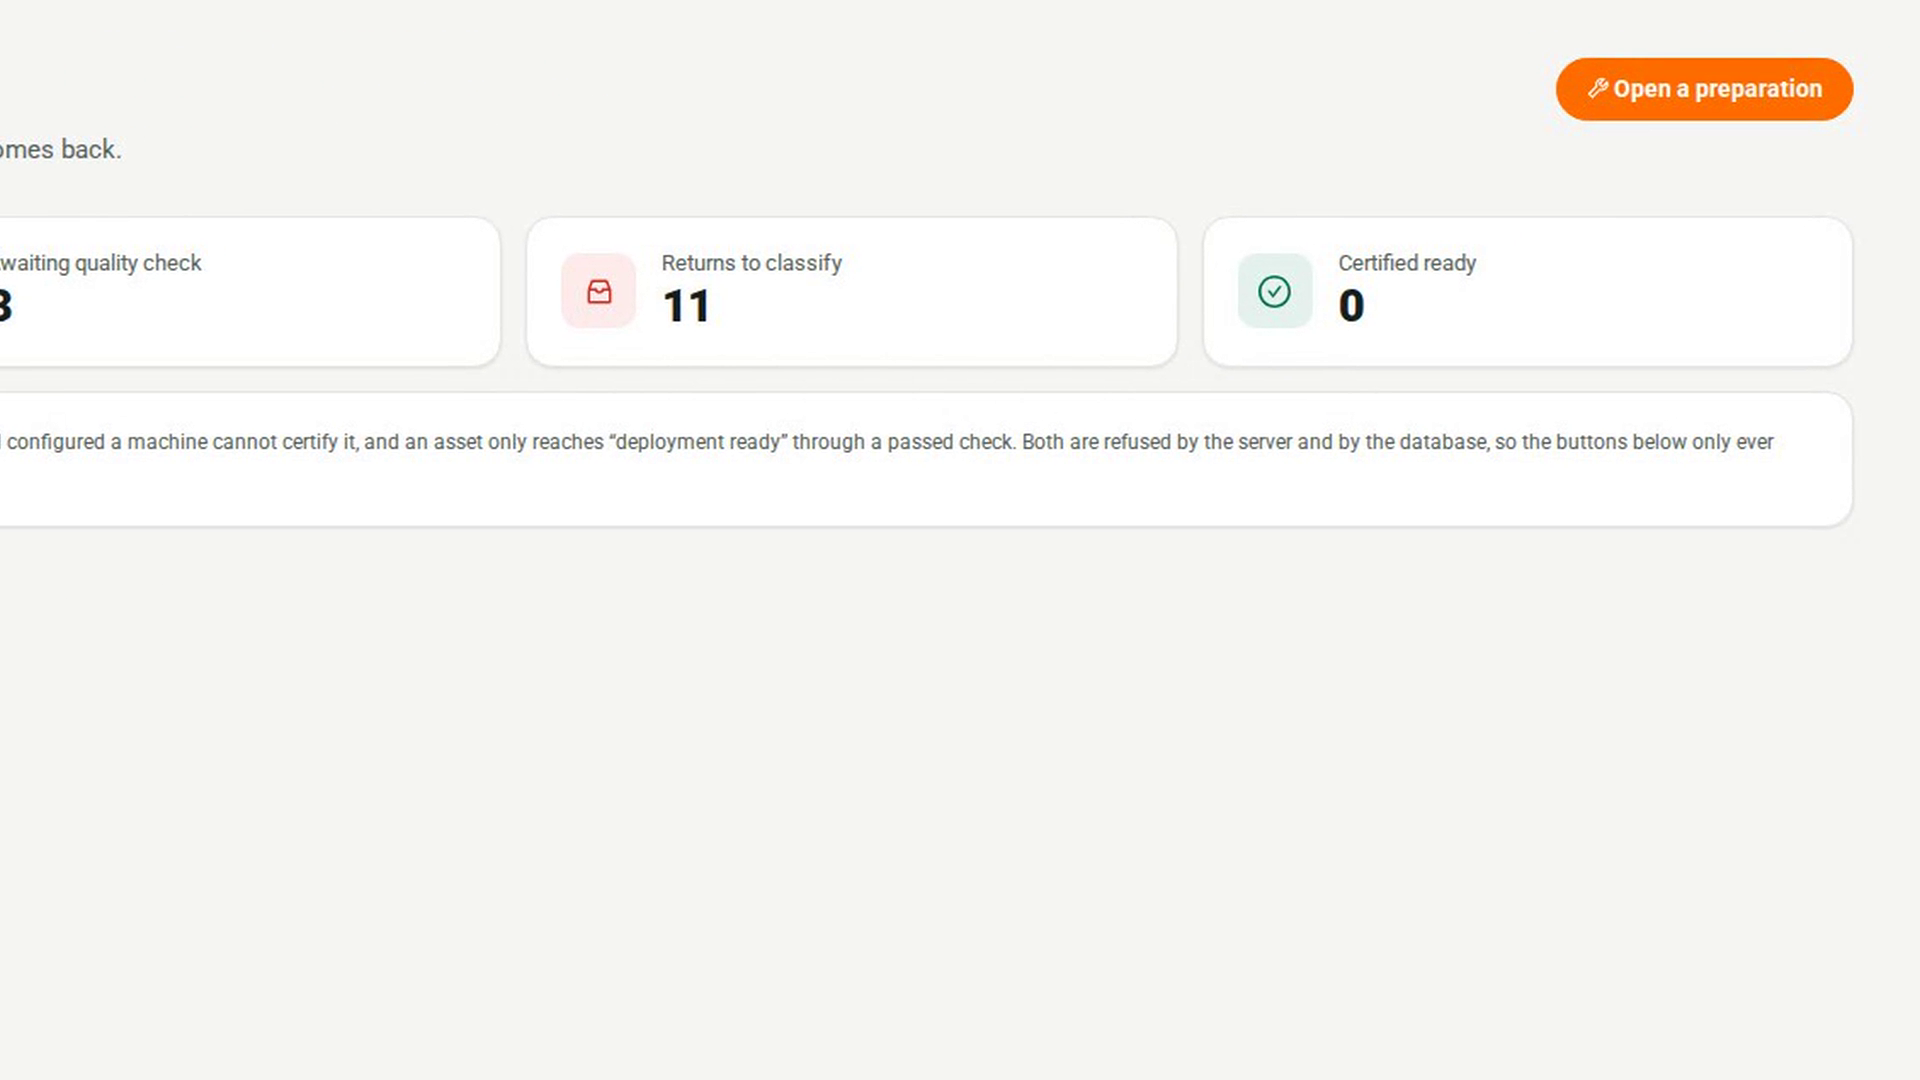
Select Open a preparation. In the Open a preparation dialog, enter the Asset id and choose Why is it being prepared?: New stock, Returned, Back from repair, Redeployment or Reconfiguration. Select OK. A card for the asset appears on the bench, and the asset's status changes to in testing.
Record the technical result
On the asset's card, select Record technical result. Choose a Technical result of Pass, Partial or Fail, and fill in Image reference, Configuration, Diagnosis and Notes as needed. Select OK. The card's stage changes to Quality check and shows you as the Technician.
Record the quality check
A different person checks the build. The checker selects Quality check on the card. The button stays unavailable until a technical result is recorded, and hovering over it says why. The dialog names who built the machine. Choose a Verdict of Pass or Fail. If the build failed, say what failed in Notes. Select OK. The card shows the verdict and the checker's name under Quality check.
Conclude the preparation
Select Conclude. In Conclude the preparation, choose the Outcome: Deployment ready, Needs repair, Warranty claim, Defective, Return to vendor or For retirement. Add Notes if needed, then select OK. The card leaves the bench, and the asset's status changes to match the outcome.
Check the Certified ready tab
Open the Certified ready tab. An asset concluded as Deployment ready appears here with Certified by and Ready since.
Screenshots
Step 1: Open Preparation and Returns
Step 2: Open a preparation
Step 3: Record the technical result
Step 4: Record the quality check
Step 5: Conclude the preparation
Step 6: Check the Certified ready tab
Watch how
The technician cannot sign off their own build. If you recorded the technical result, 7-Asset refuses your quality check with: The technician and the quality checker of this preparation must be different people. Deployment ready is also refused unless the quality check passed.
Tip: If you record a new technical result after the quality check, 7-Asset clears that quality check. The check applied to the earlier build, so someone has to check the new one again.
Tip: Concluding a preparation as Needs repair, Warranty claim or Defective changes the asset's status only. It does not move the asset to another area or open a ticket. Do those separately.