Dispose of an asset
Disposal is the last step in an asset's life. A Disposal transaction needs an independent approval, and the disposal vendor's handover must be acknowledged before it completes. Keep the disposal certificate with the transaction as evidence.
Before you start
- To request, release or acknowledge a disposal you need to be an Asset and Logistics Associate, Dedicated IT Warehouse Administrator or CDI Staff, IT Hardware Inventory Supervisor, or IT Business Systems or Application Team.
- To approve it you need to be an IT Hardware Inventory Supervisor or the IT Business Systems or Application Team, and you must not be the person who requested it.
- The asset should already be retired.
- Every data-bearing asset on the disposal must have a wipe certificate recorded on it. Otherwise the release is blocked.
Steps
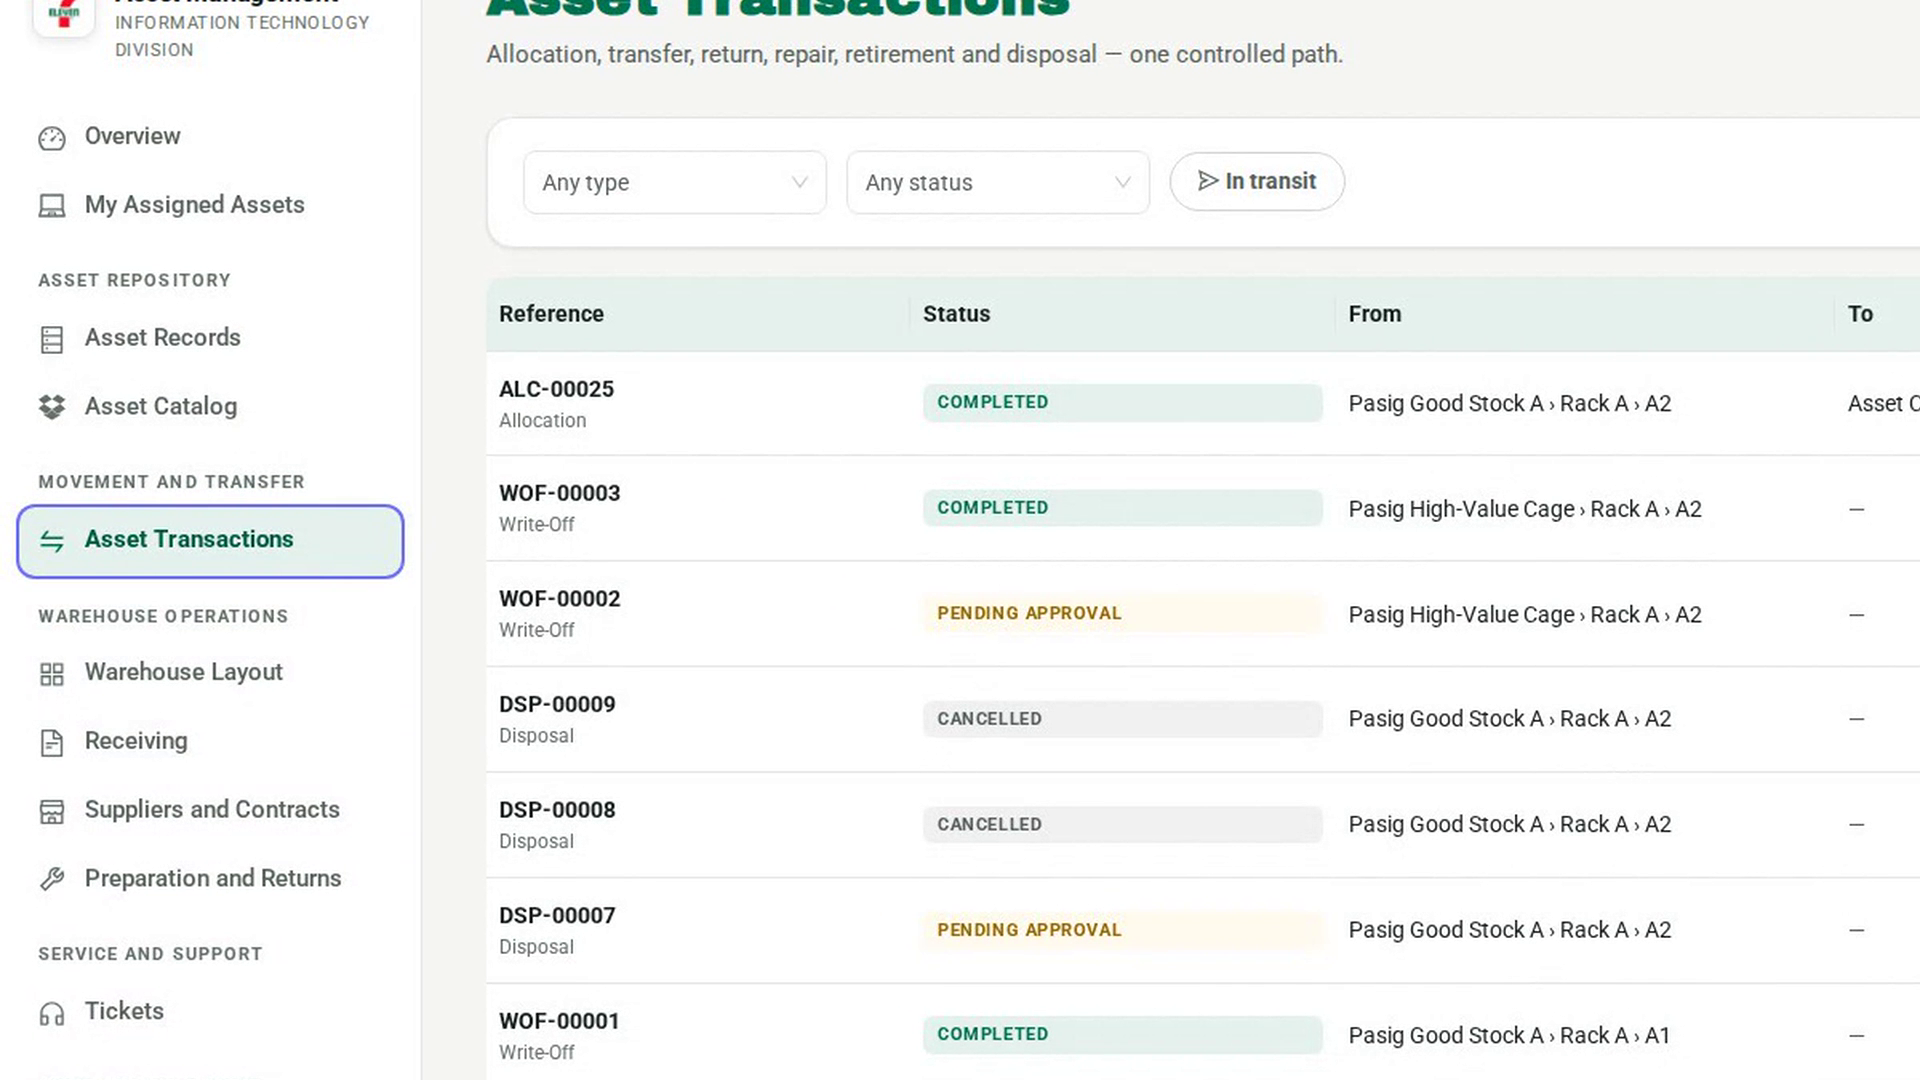
Start a disposal
In the sidebar, under Movement and Transfer, select Asset Transactions, then New transaction. Under What kind of movement, choose Disposal. The note reads Needs an independent approval before it can be released. The destination must acknowledge receipt before it completes.
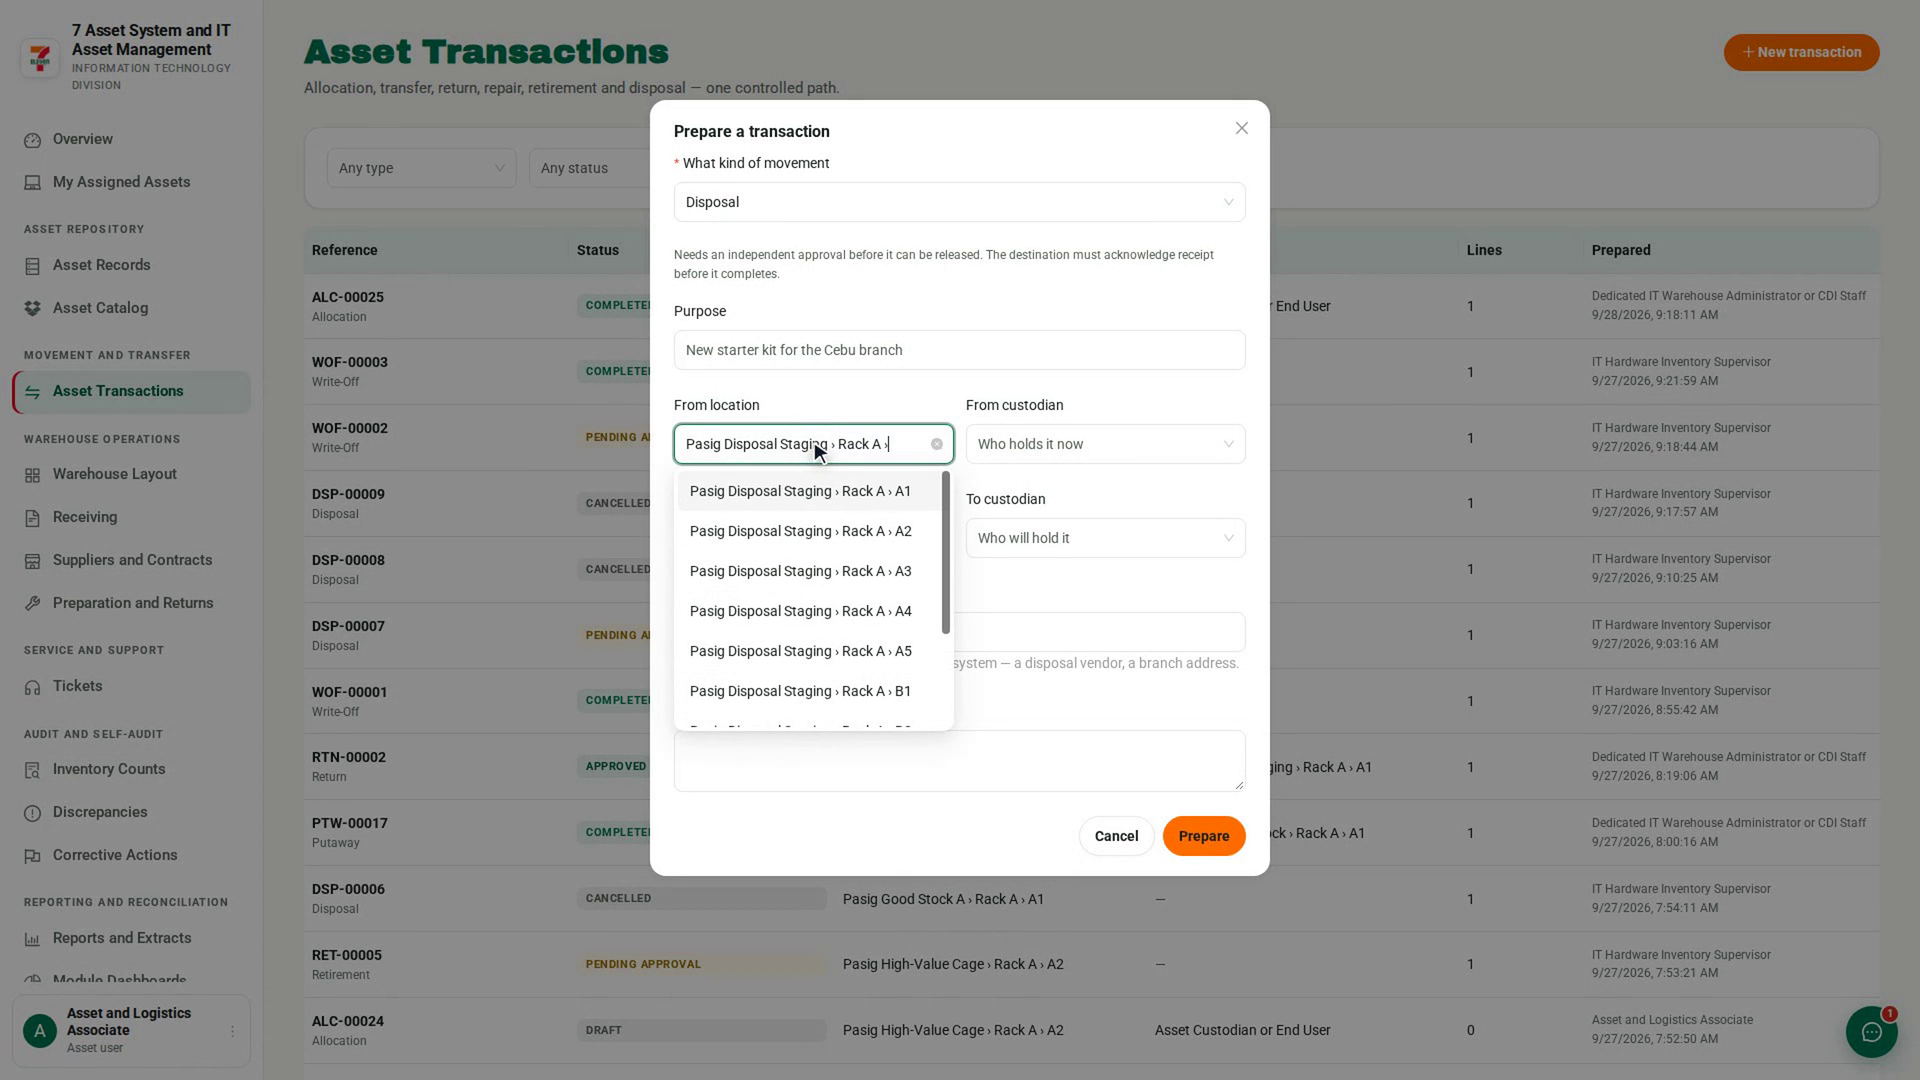
Say where it is and who takes it
Choose the From location that holds the asset. Name the disposal vendor in Destination note, give the reason in Purpose, then select Prepare.
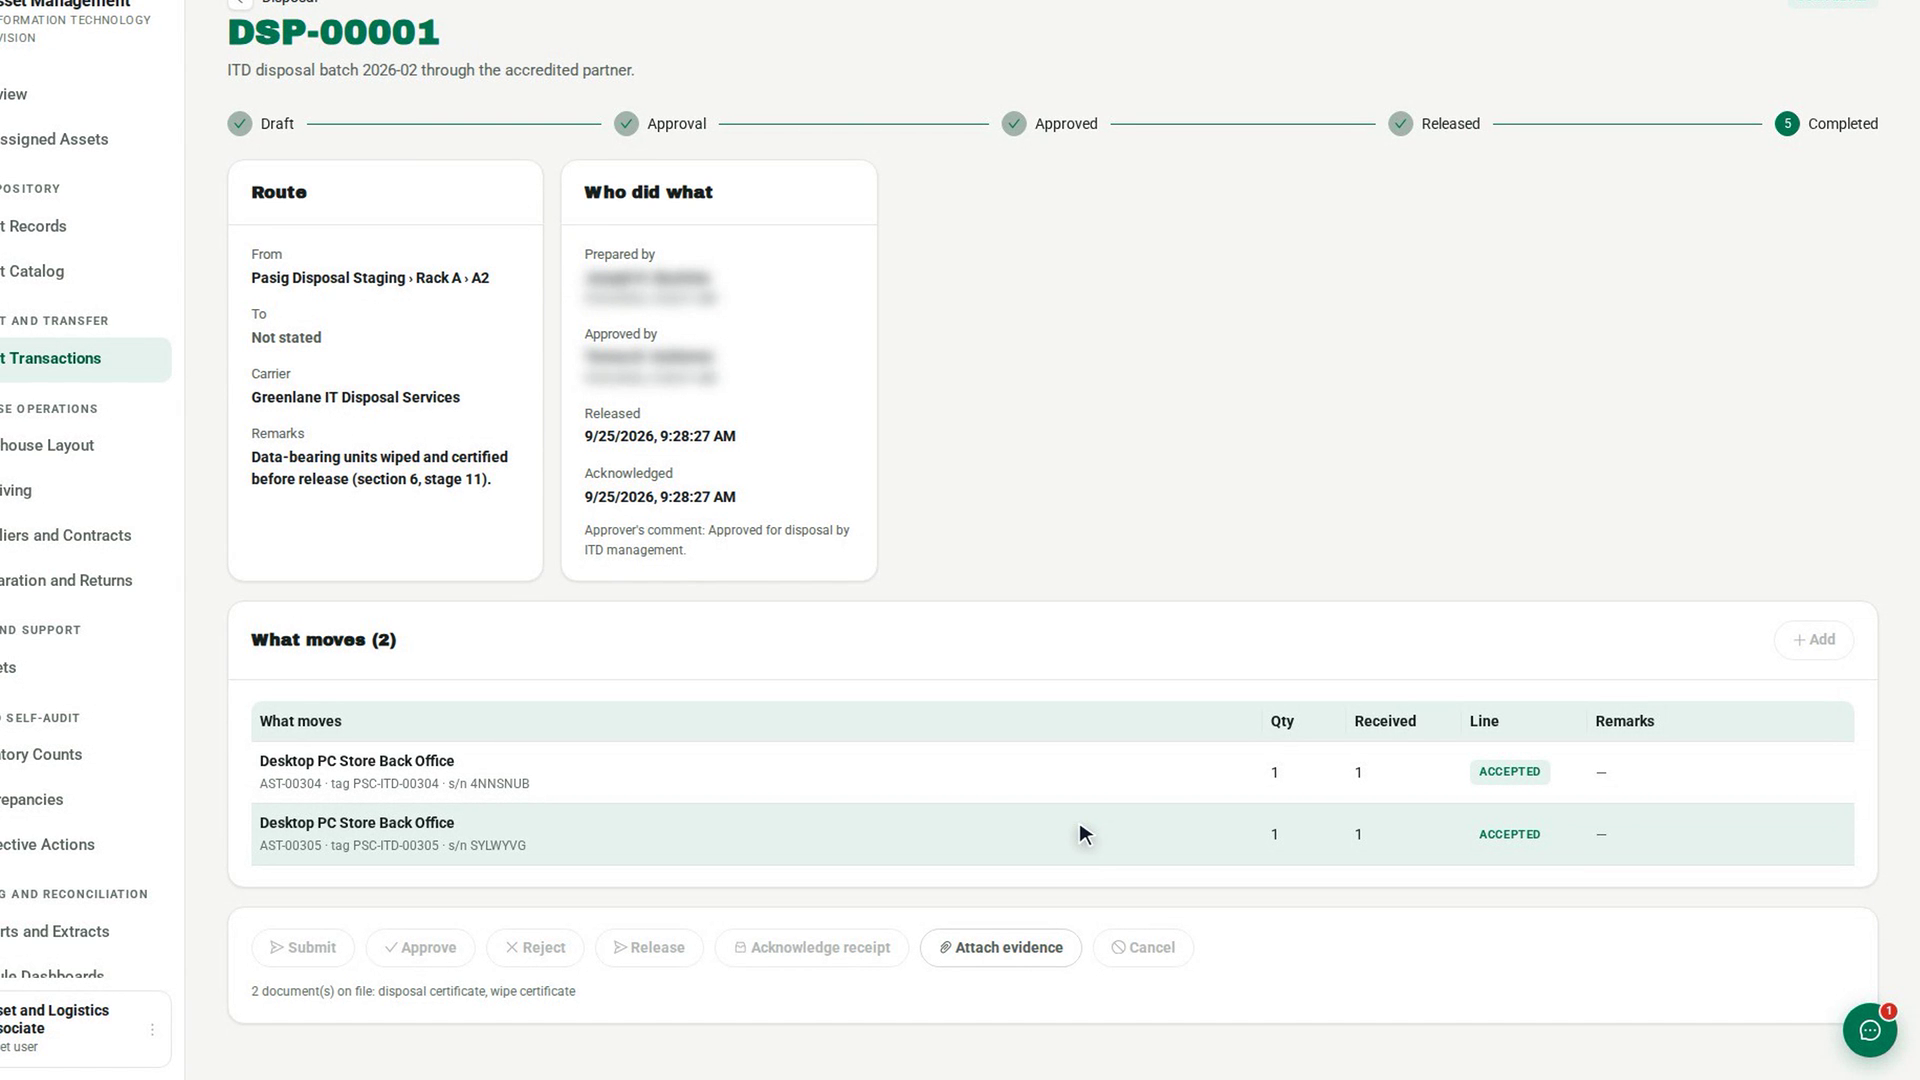
Add the assets and submit
In What moves, select Add and select each asset. Then select Submit. The status changes to Pending Approval, and a different approver approves it from Approvals.
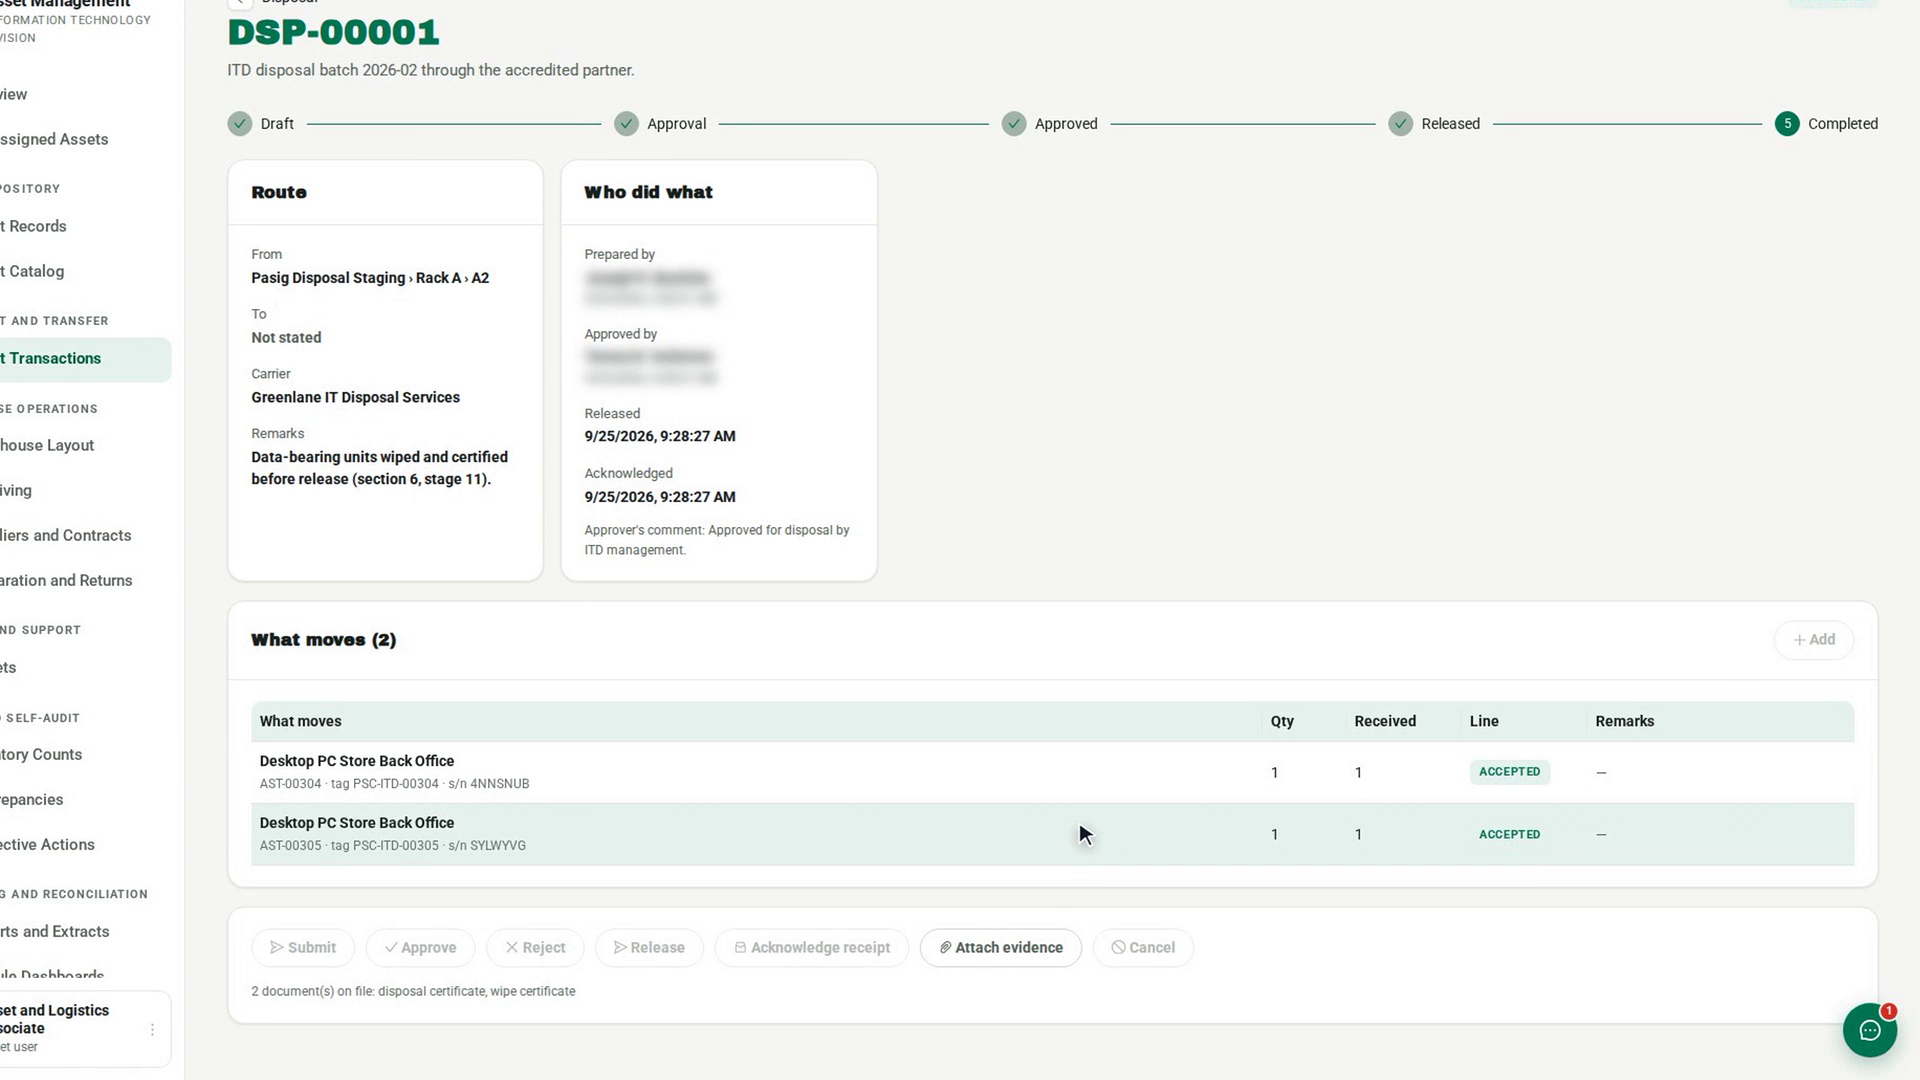
Check the release is not blocked
Once it is Approved, look under the buttons. If a data-bearing asset has no wipe certificate, the reason is printed there and names the assets. Record the wipe on each one first.
Release it to the vendor
Select Release, record the vendor's collector in Carrier or recipient and the document number in Delivery document reference, then select Confirm release.
Acknowledge the handover
Select Acknowledge receipt, confirm each line, and select Record receipt. The disposal completes and each asset is recorded as Disposed.
File the disposal certificate
Select Attach evidence, choose disposal certificate as the Document type, add the link or file, and select File evidence.
Screenshots
Step 1: Start a disposal
Step 2: Say where it is and who takes it
Step 3: Add the assets and submit
Step 4: Check the release is not blocked
Step 5: Release it to the vendor
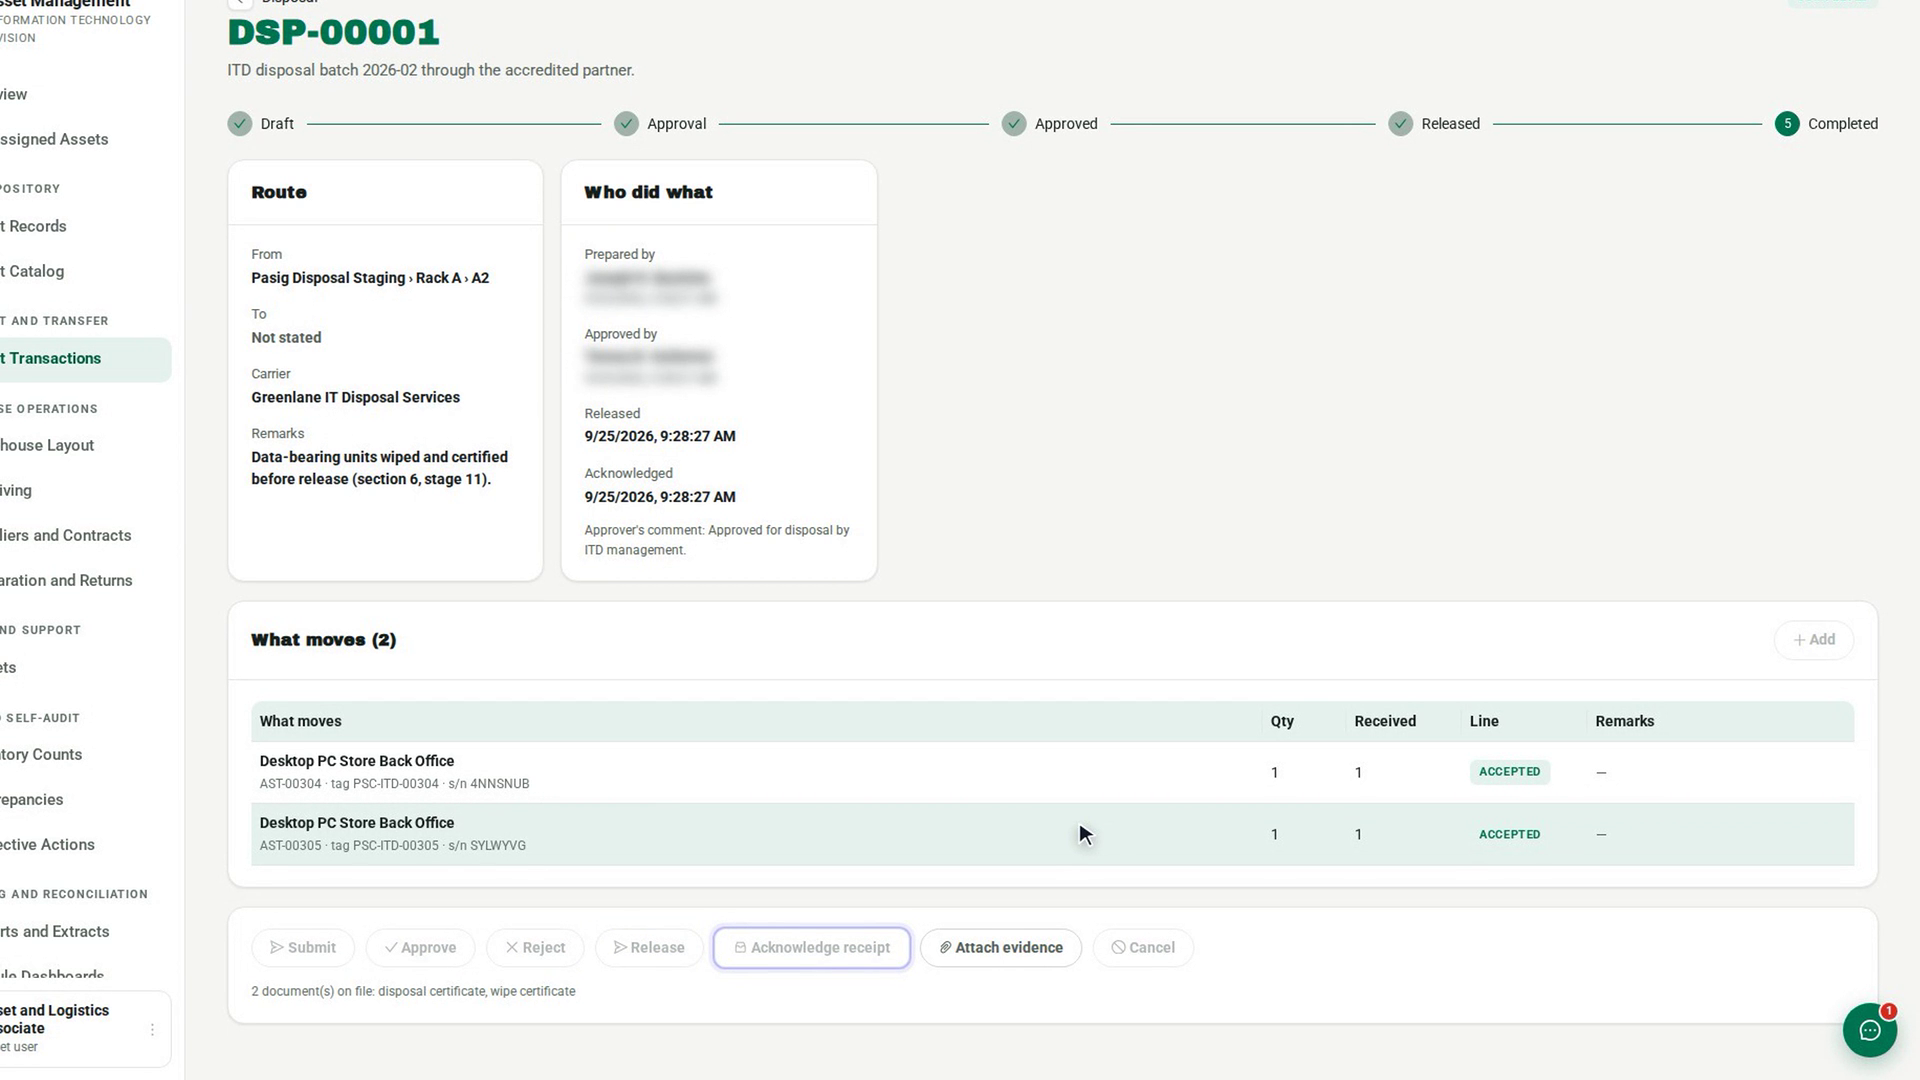
Step 6: Acknowledge the handover
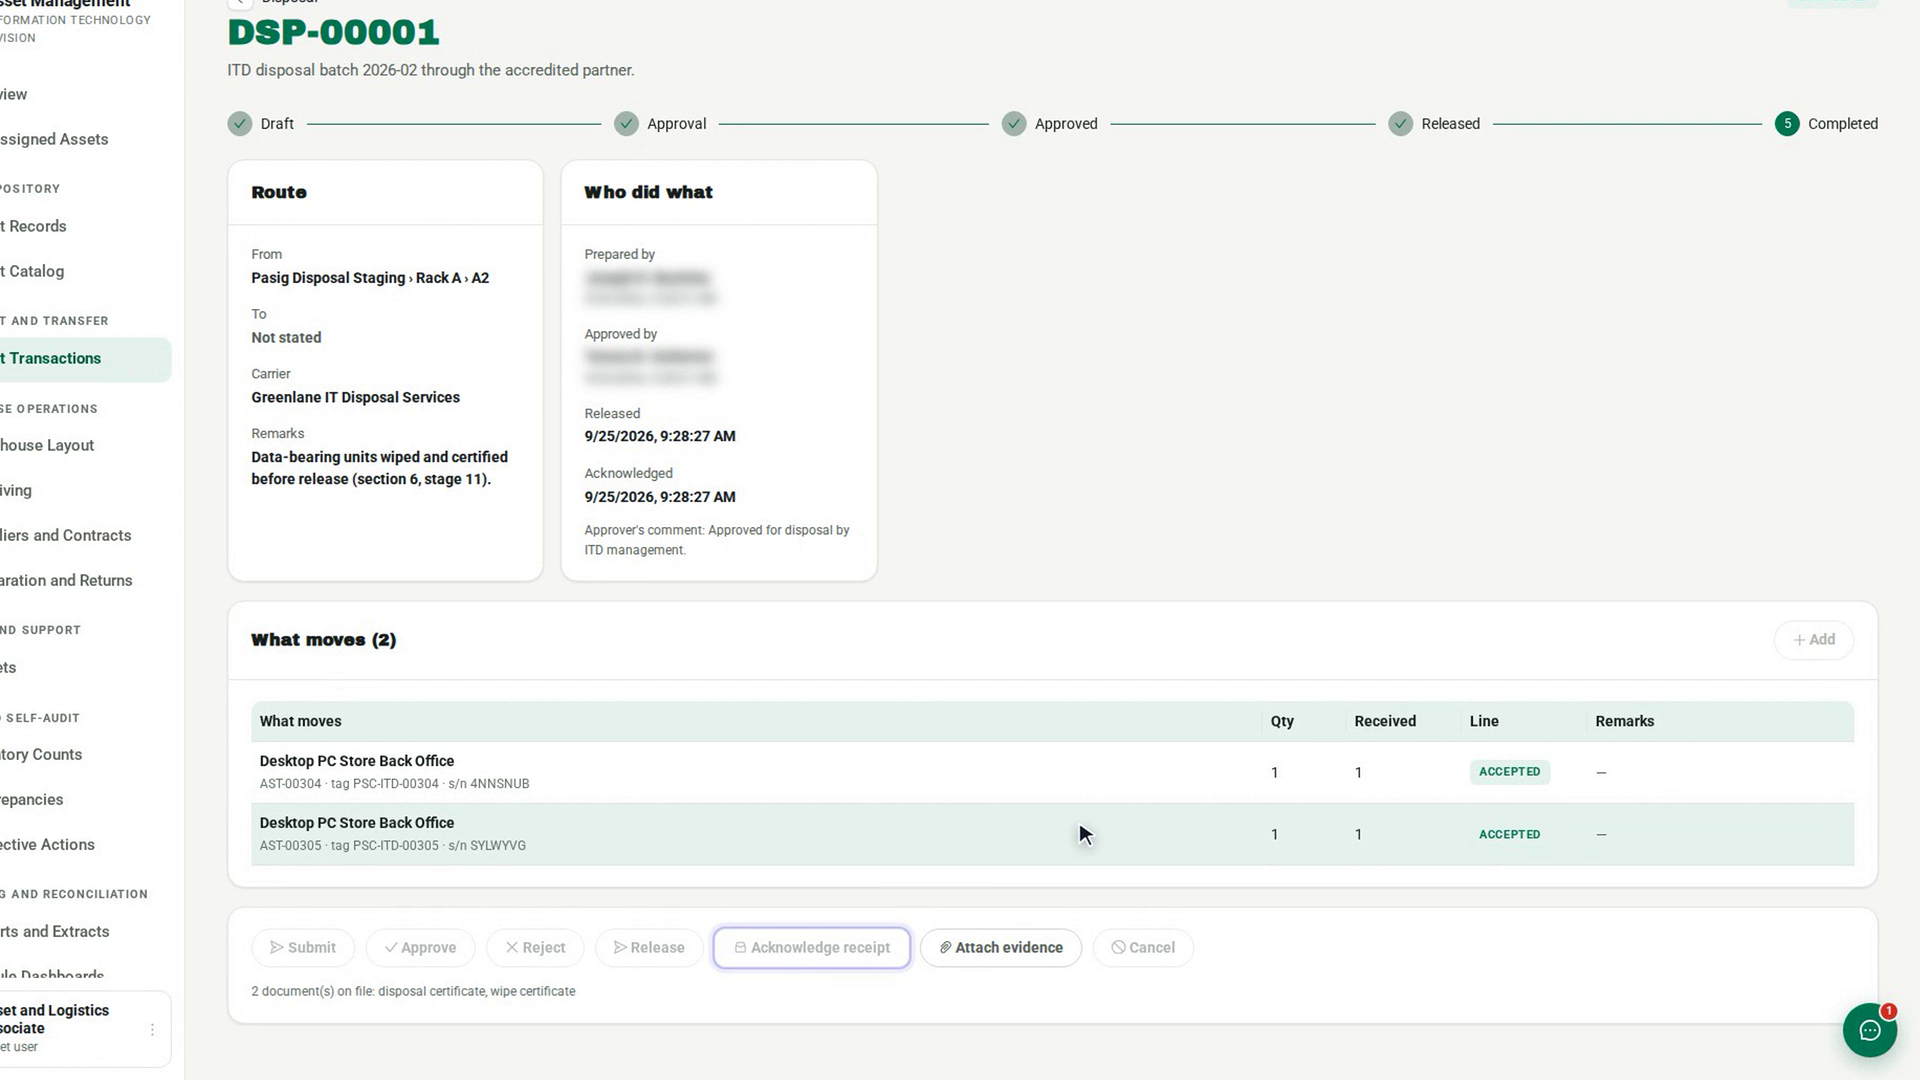
Step 7: File the disposal certificate
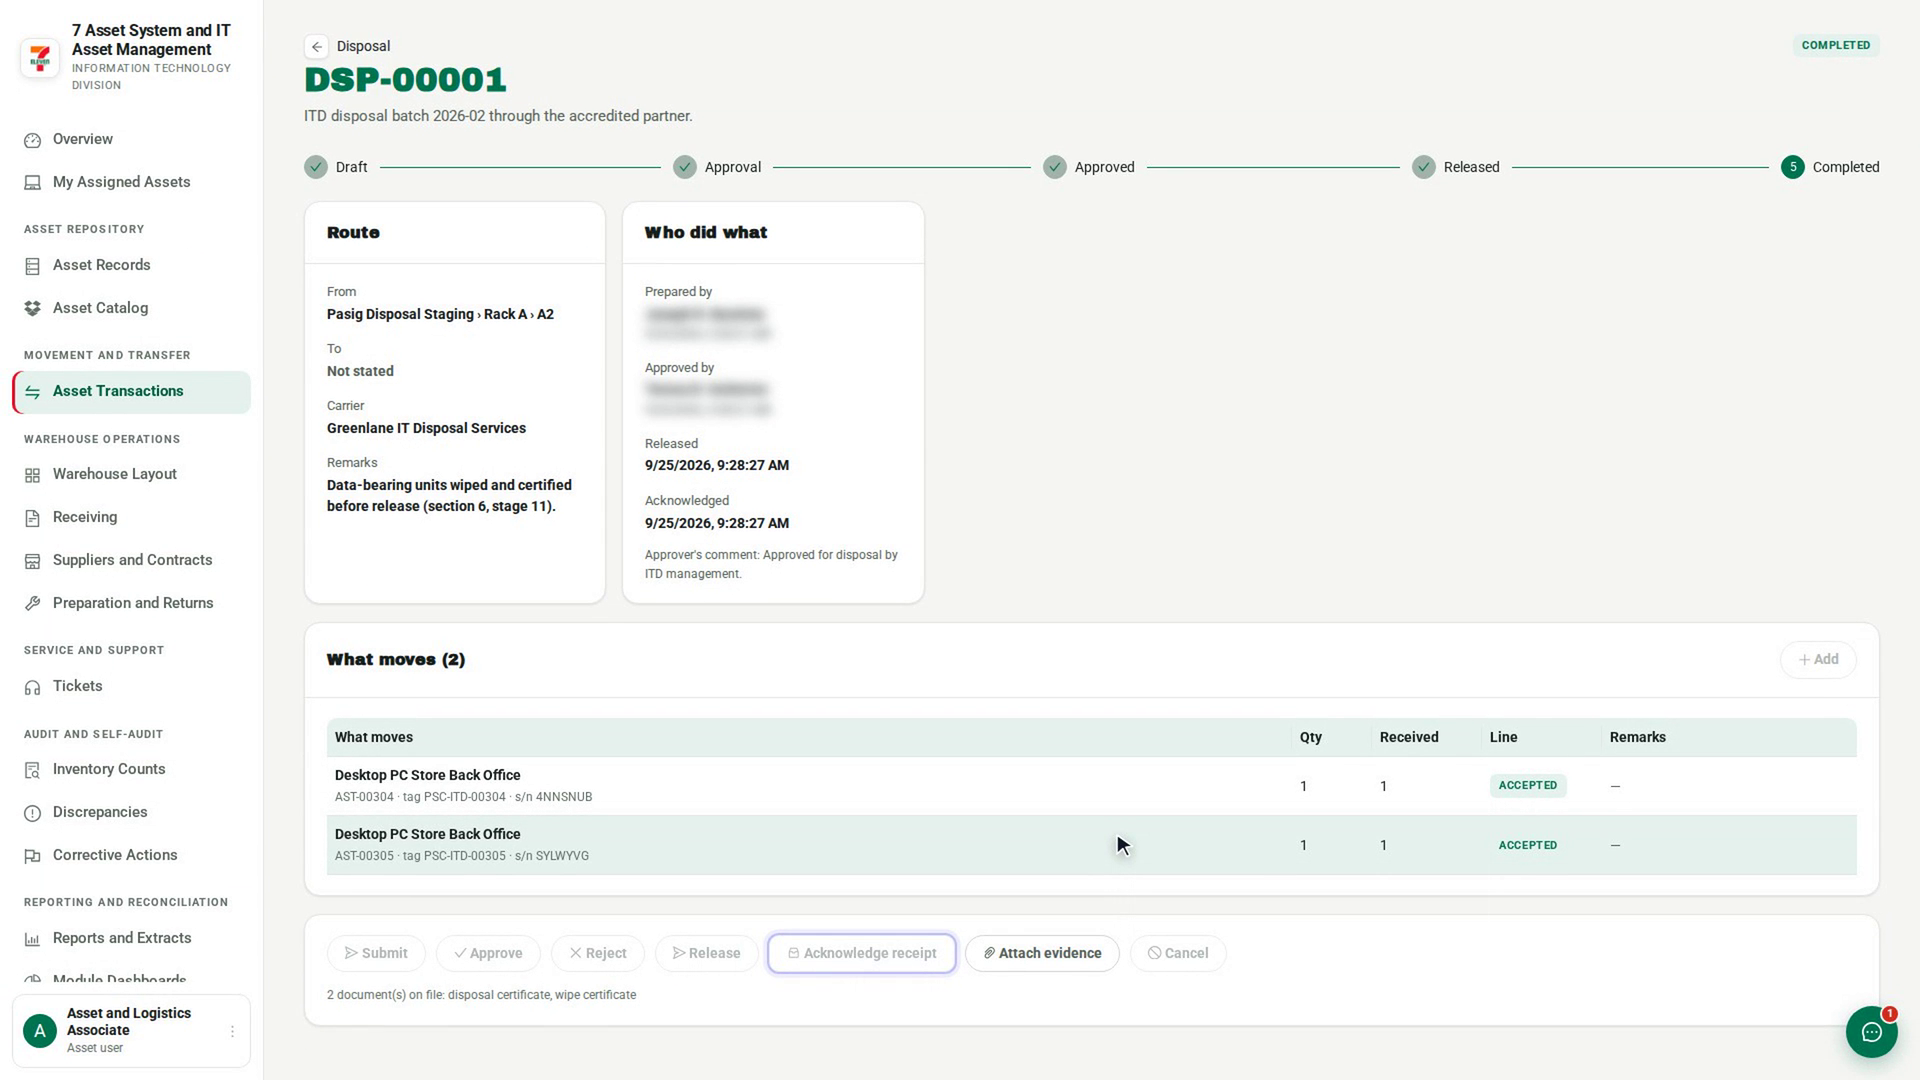
Watch how
Disposal is final. A disposed asset cannot be brought back or added to any other transaction; the app refuses it with has been disposed of and cannot move. Check the lines carefully before you acknowledge the handover.
Tip: Record the wipe before the release, not after. A certificate recorded after disposal proves nothing about what left the building, which is why the release waits for it.